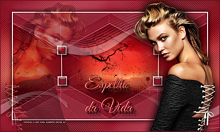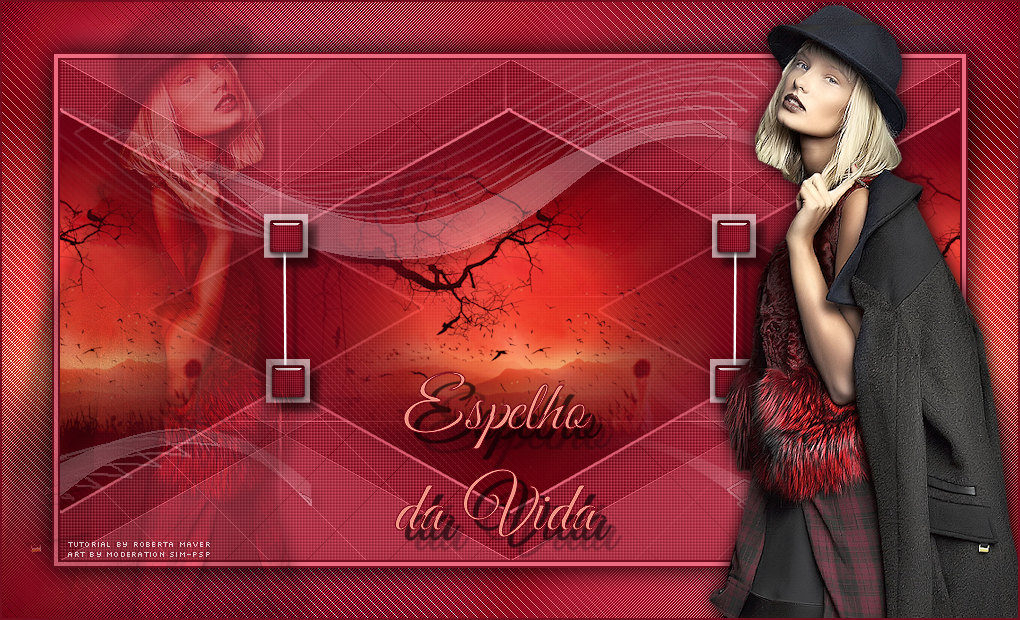
Tutorial By RobertaMaver English Translation by SIM-PSP moderation Original Tutorial
MATERIAL 1 Main Tube of your choice 1 Misted Landscape of your choice Decor_Roberta Decor1_Roberta MasksAC_48
PLUGIN L & K
TUTORIAL
1- Open the material on the PSP, duplicate and close the original. Choose two colors to work with. Foreground #740d1d Background #ef9284
2- Open a transparent image of 900 x 500 px. Paint with the color of the Foreground #740d1d
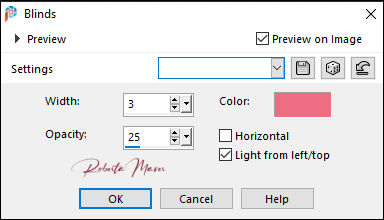
3- Effects > Texture Effects > Blinds: Color: Background #ef9284
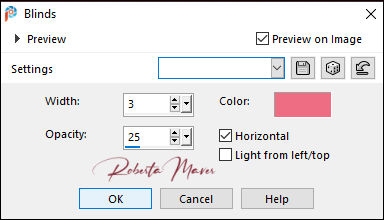
4- Effects > Texture Effects > Blinds: Color: Background #ef9284
Adjust > Sharpness > Sharpen
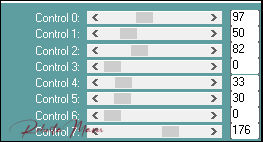
5- Effects > Plugin > L em K Paris
6- Layers > New Raster Layer. Paint with the background color.
Layers > New Mask Layer > From Image:
AC_48
Adjust > Sharpness >
Sharpen
Layers > Merge > Merge
Group.
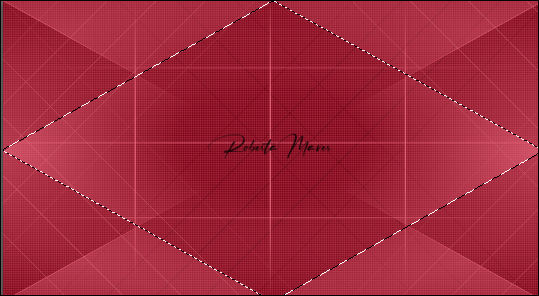
7- With the Freehand Selection tool, select as in the example:
8- Layers > New Raster Layer. Paint with the color of the Foreground
#740d1d.
9- Effects > Plugin
> L em K Paris
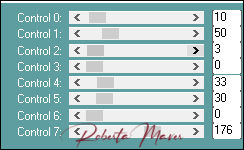 10- Layers > New Raster Layer. Still selected: Selection > Modify > Select Selection Bords. 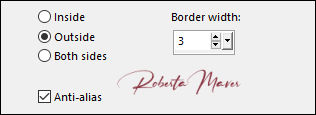 Paint with the background color.
Selections > Select None
11 - Edit > Copy on the Misted Landscape Edit > Paste as new layer. Image> resize of your choice Adjust > Sharpness > Sharpen Layers > Arrange > Move Down.
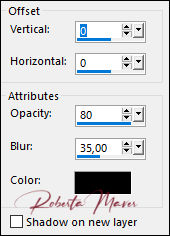
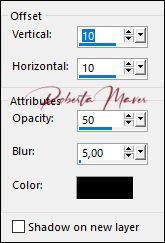
12- Activate the top layer. Effects > 3D Effects > Drop Shadow.
Layers > Merge > Merge Down. Repeat > Layers > Merge > Merge Down.
13- Image> Resize > 80% > All layers, unchecked
14- Effects > Image Effects > Seamless Tiling: 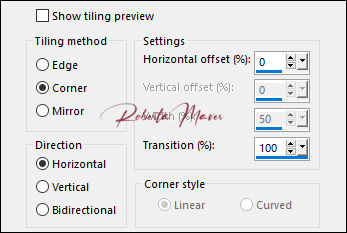 15- Edit > Copy no decor_Espelho_ByRoberta.
Edit > Paste a New Layer.
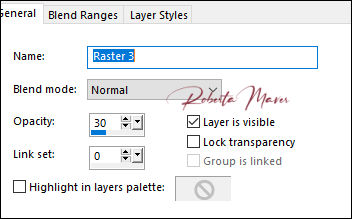
16- Layers > Properties > General > Blend Mode:
Normal - Opacity: 30%
 17- Image > Add Borders: 2 px cor Foreground >#740d1d 4 px cor Background >#ef6d82 2 px cor Foreground >#740d1d Selections > Select All. Edit > Copy Image > Add Broders: 50 px with any color. Selections > invert. Edit > paste into selection.
18 - Adjust > Blur > Gaussian Blur: 20
19- Effects > Plugin > L em K Paris
Edit > Repeat L en K Paris Adjust > Sharpness > Sharpen Selections > invert.
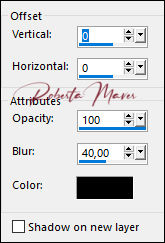
20- Effects > 3D Effects > Drop Shadow.
Selections > Select None
21- Edit
> Copy in the decor1_Espelho_ByRoberta.
Edit > Paste a New Layer. Adjust > Sharpness > Sharpen.
22- Layers >
Duplicate.
23- Adjust
> Blur > Gaussian Blur: 10
Layers > Properties > General > Blend Mode: Multiply
Layers >
Arrange > Move Down. 24- Activate the top layer. Effects > 3D Effects > Drop Shadow
25- Edit > Copy on the main tube. Edit > Paste a new Layer. De resize if necessary Position to the right. Effects > 3D Effects > Drop Shadow as you prefer.
26- Layers >
Duplicate.
Image> Mirror > Mirror Horizontal
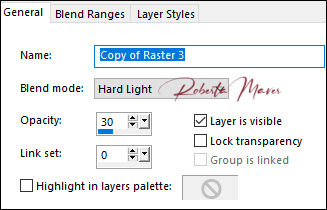
27- Layers > Properties >
General > Blend
Mode: Hard light - Opacity: 30%
28- Edit > Copy no Titulo. Edit > Paste a New Layer. Position as you prefer.
29- Image > Add Borders: 2 px cor Foreground >#740d1d
30-
If desired, resize your work.
Apply your watermark or signature. File > Export > JPEG Optimizer .
CREDITS:
Tutorial by
Roberta Maver
English Translation by
Moderation SIM-PSP
Main Tube:
Tubed by LuzCristina
Misted Landscape:
Tubed by LisaT
Feel free to send your versions. I will be happy to publish them on our website. |
