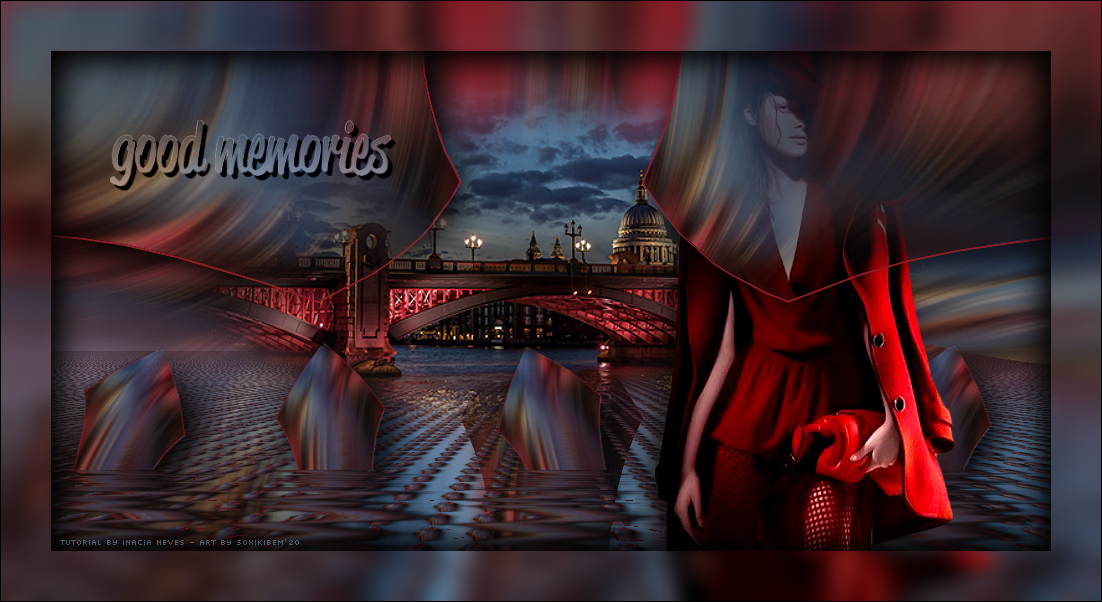
SUPLIES: Main Tubeof your choice MistedLandscape of your choice Wordart
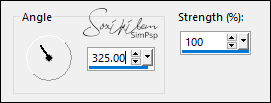
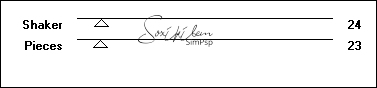
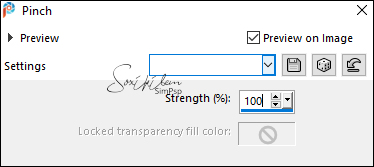
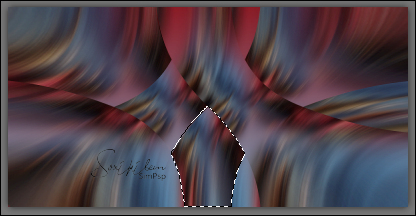
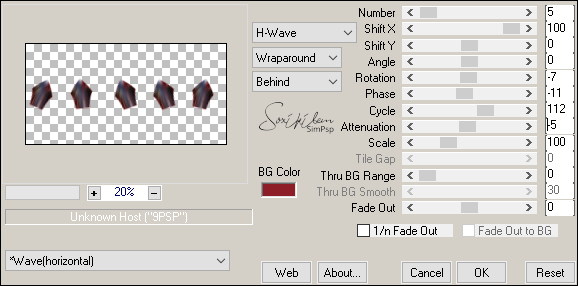
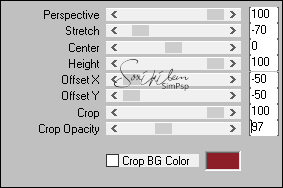
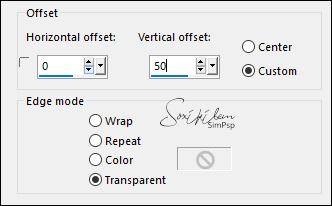
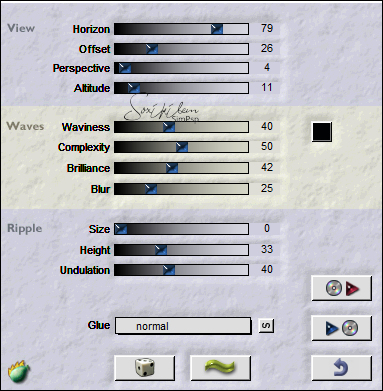
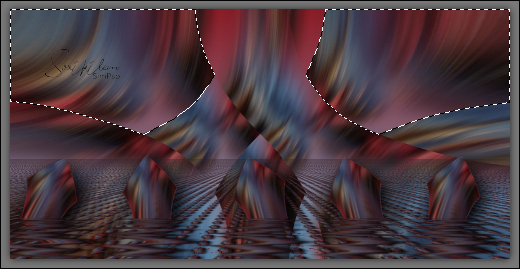
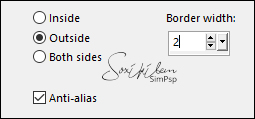
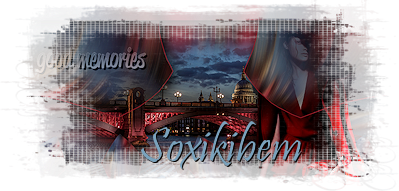
PLUGINS: FM Tile Tools > Blend Emboss Filter Factory Gallery H > Jumble Simple > Diamonds Mura's Meister > Copies Mura's Meister > Perspective Tiling Flaming Pear > Flood *************** I would like to thank all tube artists for their beautiful Tubes and Masks, as this tutorial would not have been possible without their work. When sharing or using these materials, please keep the Tubes unaltered and preserve all proper credits. Feel free to adapt the blend modes according to the colors you are using. Recolor the decorative elements whenever necessary to better match your chosen color palette. *************** TUTORIAL 1- Open the landscape misted and choose two colors I chose the colors: Background: # 7aa2bc Foreground: # 8d1d27 Form a gradient Style Linear > Angle 0 > Repeats 0 2- Open a 1000 x 500 px transparency Paint with the gradient. Layers > New Raster Layer. Selections > Select All 3- Edit > Copy in the misted landscape Edit > Paste Into Selection Selections > Select None 4- Effects > Image Effects > Seamless Tiling > Default Adjust > Blur > Motion Blur: Repeat Motion Blur. 5- Effects > Plugin FM Tile Tools > Blend Emboss Effects > Plugin Filter Factory Gallery H > Jumble: 6- Effects > Plugin Simple > Diamonds Effects > Distortion Effects > Pinch: Repeat the Pinch effect, changing Strength to 50 7- Configure the Freehand Selections tool according to the print below: And select the effect, as shown in the print below: Edit > Copy Selections > Select None Edit > Paste as New Layer Image > Resize > 60% > All Layers unchecked 8- Selections > Select All Selections > Float Selections > Defloat Layers > New Raster Layer. Paint with dark color Selections > Modify > Contract > 1 Press the Delete key on the keyboard. Selections > Select None Layers > Merge > Merge Down 9- Effects > Plugin Mura's Meister > Copies: Objects > Align > Bottom Effects > 3D Effects > Drop Shadow: 10/10/100/50 Color #000000 10-Layers > Duplicate. ActivateRaster 3 Effects > Plugin > Mura's Meister > Perspective Tiling: With the Pick tool, decrease, in height, even below the middle or to your liking 11- Activate the top layer (Copy of Raster 3) Effects > Image Effects > Offset: 12- Effects > Plugin Flaming Pear > Flood: 13- Activate Raster 2 and with the Freehand Selection tool, select the top two side effects. 14- Edit > Copy Layers > New Raster Layer. Edit > Paste Into Selection Selections > Modify > Select Selection Borders: 15-Layers > New Raster Layer. Paint with dark color. Selections > Select None Layers > Merge Down Effects > 3D Effects > Drop Shadow > 10/10/100/50 Color #000000 Layers > Arrange > Move Up 16- Edit> Copy in the misted landscape. Edit > Paste as New Layer Layers > Arrange > Move Down 17- Edit > Copy in the maintube. Edit > Paste as New Layer. Adjust > Sharpness > Sharpen Position. Effects > 3D Effects > Drop Shadow of your choice (As I wanted to place the tube behind the upper side effect, I placed the Raster 4 at the top) 18-Edit > Copy in the wordart_goodmemories Edit > Paste as New Layer Position as you prefer. Layers > Merge > Merge All 19- Edit > Copy at work Selections > Select All Image > Add Borders > 50 px > Symmetric > with any color. Selections > Invert Edit > Paste Into Selection. Adjust > Blur > Gaussian Blur > Radius: 10 Effects > 3D Effects > 10/10/100/50 Color #000000 RepeatDrop Shadow com -10/-10/100/50 Selections > Select None 20-Image > Add Borders > Symmetric > 1 px > color #000000 21- If you want to resize the job. Apply your watermark or signature. File > Export > JPEG Optimizer. CREDITS Tube Principal: SuizaBella Misted Paisagem: Colybrix Wordart: Recebida em grupos de trocas, sem autoria Feel free to submit your versions. I will be happy to publish them on our website. Send your version to: inacia.neves@gmail.com SimPSP Social Media
|