|
Translated into
English by Márcinha
SUPPLIES: 1 Main Tube of your choice Other Materials by CidaBen
PLUGINS: Graphics Plus > Cross Shadow. Mehdi > Sorting Tiles. VM Texture > Cross Weave. Tramages > Glass. MuRa's Meister > Pole Transform 2.1. VM ToolBox > Blast.
MuRa's Filter Meister > Perspective Tiling. Orment's Filters > Artistic 1. Orment's Filters > Drawer 1.
Tutorial created in PSP 2022 translated into English by Marcinha in PSP 2020.
I would like to thank the
tube and mask artists, without whom this project would not have been
possible.
TUTORIAL 1 - Open the materials in PSP, duplicate and close the originals.
*Remove the watermark from all supplied
materials.
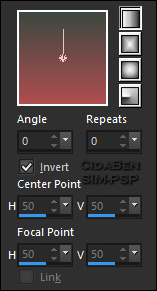
2 - Open the file AlphaChannel29_byCidaBen. Angle 0 >
Repeats 0 > Invert checked.
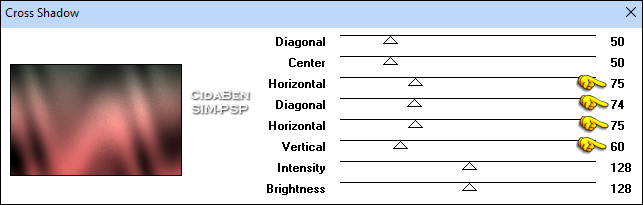
4 - Effects > Plugins > Graphics Plus > Cross Shadow.
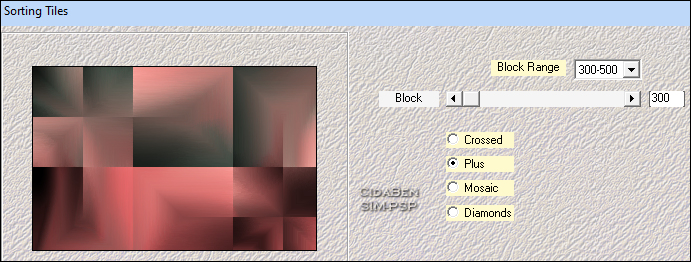
5 - Effects > Plugins > Mehdi > Sorting Tiles.
6 - Selections > Load/Save
Selection > Load Selection From Alpha Channel: Selection #1
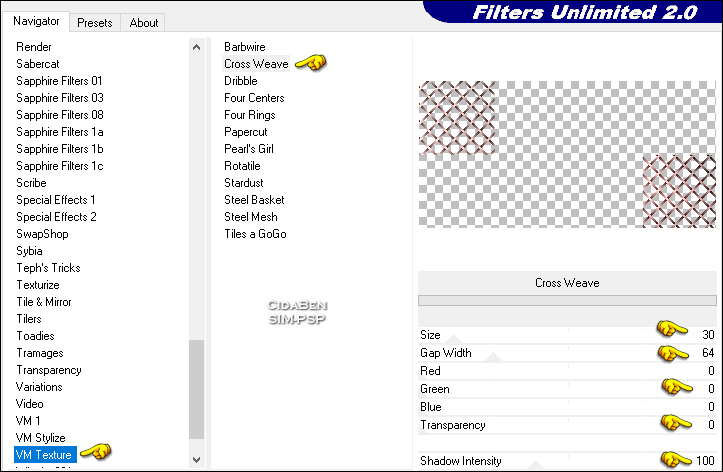
7 - Effects > Plugins > VM Texture > Cross Weave.
Effects > 3D Effects > Drop Shadow: 1 > 1 > 100 > 4 > Color: #000000 Adjust > Sharpness > Sharpen.
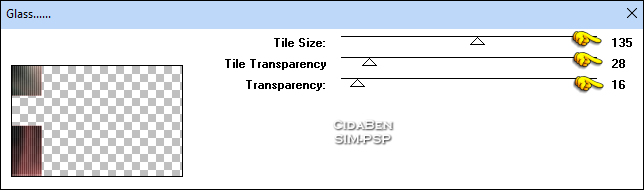
8 - Activate Raster Layer 1. Selections > Load/Save Selection > Load Selection From Alpha Channel: Selection #2 Selections > Promote Selection to Layer. Effects > Plugins > Tramages > Glass.
Effects > 3D Effects > Drop Shadow: 3 > 5 > 80 > 8 > Color: #000000.
9 - Activate Raster Layer 1. Selections > Load/Save Selection > Load Selection From Alpha Channel: Selection #3 Selections > Promote Selection to Layer. Effects > Plugins > MuRa's Meister > Pole Transform 2.1.
Layers > Arrange > Bring to Top. Image > Mirror > Mirror Horizontal. Image > Resize > 65% > Resize All Layers unchecked. Pick Tool: Position X: 689, Position Y: 2
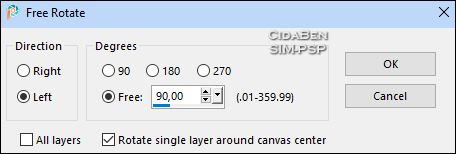
10 - Activate Raster Layer 1. Selections > Load/Save Selection > Load Selection From Alpha Channel: Selection #3 Selections > Promote Selection to Layer. Image > Free Rotate:
Pick Tool: Position X: 626, Position Y: 0 Layers > Arrange > Bring to Top. Layers > Arrange > Move Down.
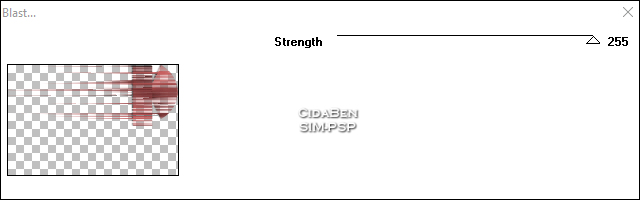
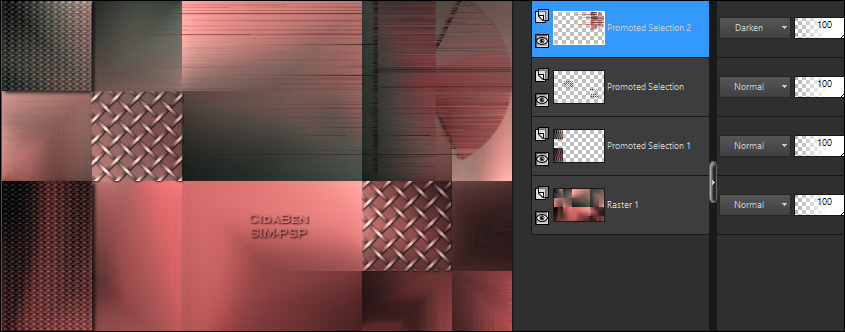
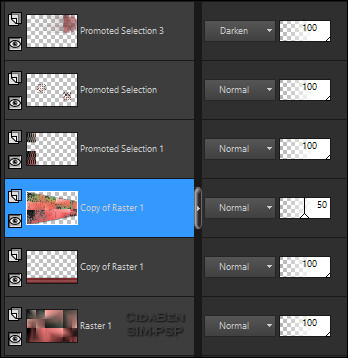
11 - Activate Promoted Selection Layer 2 (the top layer). Layers > Merge > Merge Down. Effects > 3D Effects > Drop Shadow: -3 > -5 > 80 > 8 > Color: #000000 Layers > Properties > Blend Mode: Darken > Opacity: 100% Effects > Plugins > VM ToolBox > Blast.
Adjust > Sharpness > Sharpen
Current Layer position:
12 - Activate Raster Layer 1. Layers > Duplicate. Effects > Plugins > MuRa's Filter Meister > Perspective Tiling.
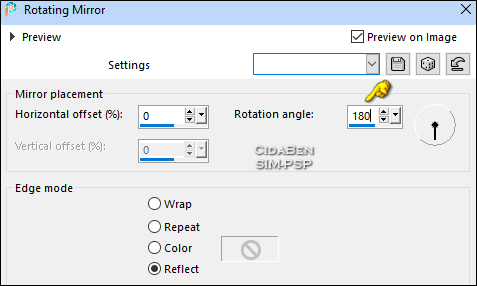
***Edit > Repeat > Perspective Tiling. Effects > Plugins > Reflection Effects > Rotating Mirror.
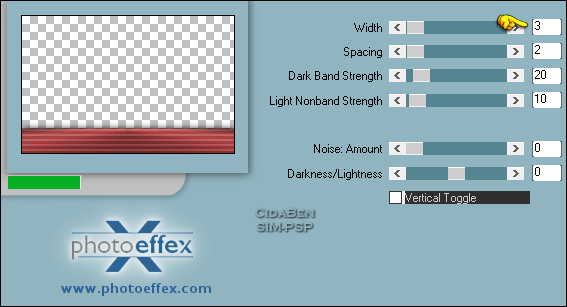
Effects > 3D Effects > Drop Shadow: 1 > 1 > 100 > 40 > Color: #000000 (black). Effects > Plugins > PhotoEffex > Scanlines.
Adjust > Sharpness > Sharpen.
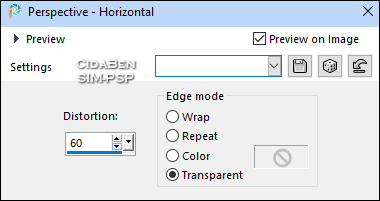
13 - Activate and select Raster Layer 1. Layers > Duplicate. Layers > Arrange > Move Up. Effects > Geometric Effects > Perspective - Horizontal.
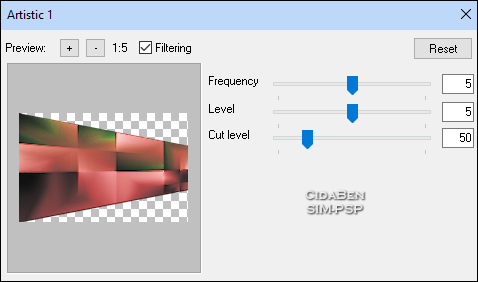
Effects > Plugins > Orment's Filters > Artistic 1.
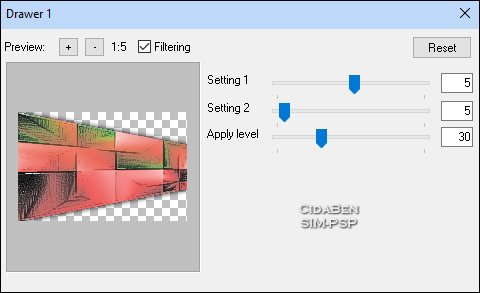
Layers > Properties > General > Opacity: 50%. Effects > 3D Effects > Drop Shadow: 0 > 0 > 100 > 40 > Color: #000000 (black). Effects > Plugins > Orment's Filters > Drawer 1.
Current Layer position:
14 - Edit > Copy Special > Copy Merged.
15 -
Image >
Add Borders > Symmetric: Selections > Invert. Edit > Paste Into Selection. Adjust > Blur > Gaussian Blur > Radius: 30%.
16 - Selections > Invert. Effects > 3D Effects > Drop Shadow: 0 > 0 > 100 > 50 > Color: #000000 (black). Selections > Select None.
17 -
Edit > Copy the main tube. Resize if necessary. The
tube included in the materials was resized to 98%. Effects > 3D Effects > Drop Shadow: 0 > 0 > 80 > 40 > Color: #000000 (black). Or apply an effect as you prefer. Position as you prefer.
18 - Edit > Copy Titulo29_CidaBen. Edit > Paste As New Layer. Pick Tool: Position X: 635, Position Y: 468 or position as you prefer. Effects > 3D Effects > Drop Shadow: 9 > -3 > 30 > 2 > Color: #000000 (black).
19 - Image > Add Borders > Symmetric: 1px in Color 2 (#b14c4f).
20 - Edit > Copy Credit-Tutorial_byCidaBen.
Edit > Paste As New Layer. Position as you prefer. Apply your watermark
or signature.
A Special Gift from
CidaBen! exclusive signature tag
for the Silent Harmony tutorial as a special gift for you.
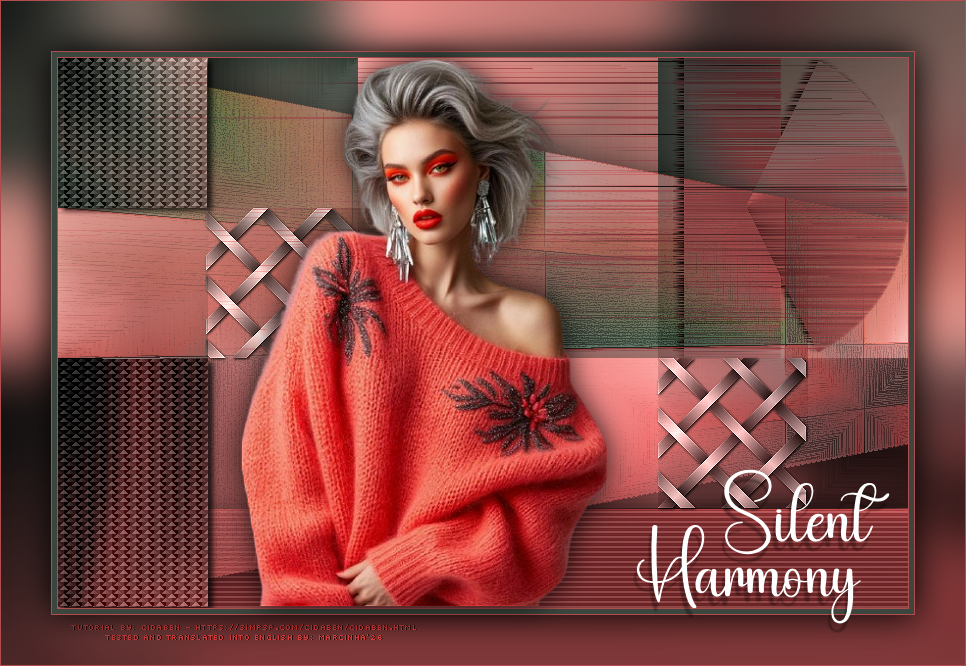
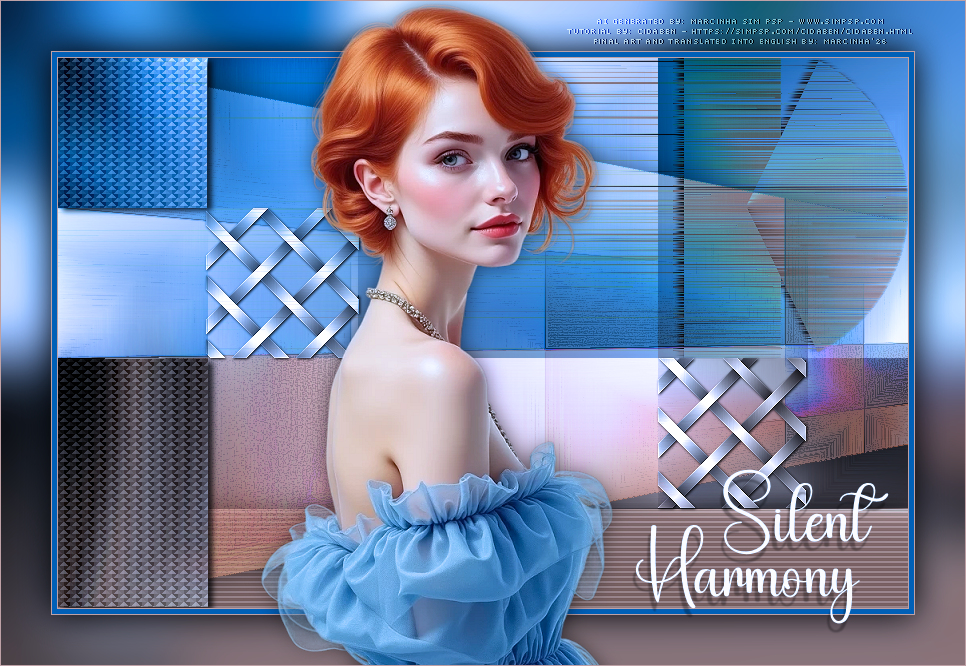
MY Version:
Credits: Formatting, Final Artwork, and English Translation by Márcinha Tutorial by: CidaBen - Main Tube: AI-generated by Marcinha (SIM PSP) Prints: by CidaBen
Feel free to send your versions.
Send your version to the e-mail:
CidaBen Social Media
SimPSP Social Media
|