|
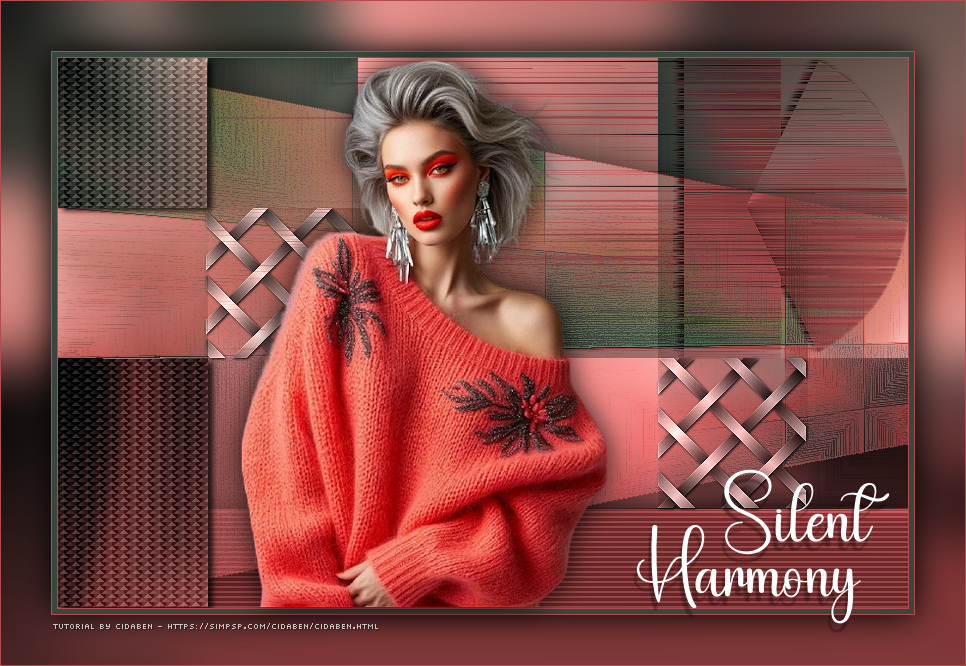
"No silêncio das nossas
pausas mais sinceras, encontramos as respostas mais claras.
TRADUÇÕES:
O Sim
PSP valoriza e reconhece o trabalho das tradutoras que tornam os
tutoriais acessíveis a diferentes idiomas.
MATERIAL: 1 Tube Principal ou Personagem à sua escolha Outros Materiais by CidaBen
PLUGINS: Graphics Plus > Cross Shadow. Mehdi > Sorting Tiles. VM Texture > Cross Weave. Tramages > Glass. MuRa's Meister > Pole Trasform 2.1. VM ToolBox > Blast.
MuRa's Filter Meister > Perspective Tiling. Orment's Filters > Artistic 1. Orment's Filters > Drawer 1.
Tutorial elaborado no PSP 2022 Testado e revisado por Márcinha no PSP 2020.
Agradeço às Tubeiras pelos Tubes e Masks, pois sem eles não seria
possível criar este trabalho.
1 - Abrir o material no PSP, duplique e feche os originais.
*Deletar a Marca D'água de todos os
materiais.
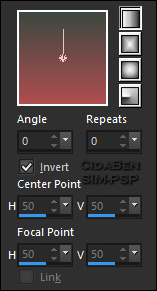
2 - Abra o arquivo
AlphaChannel29_byCidaBen. Angle 0 >
Repeats 0 > Invert marcado.
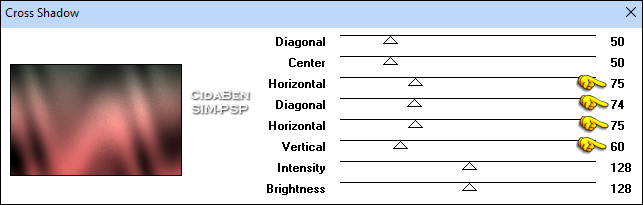
4 - Effects > Plugins > Graphics Plus > Cross Shadow.
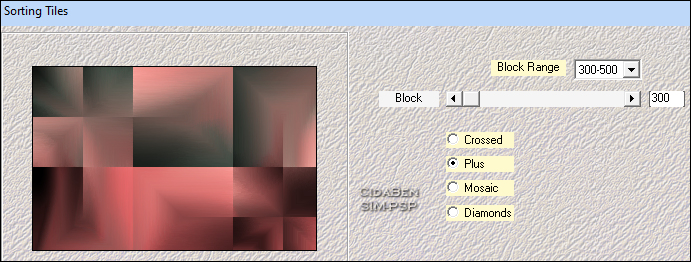
5 - Effects > Plugins > Mehdi > Sorting Tiles.
6 - Selections > Load/Save
Selection > Load Selection From Alpha Channel: Selection #1
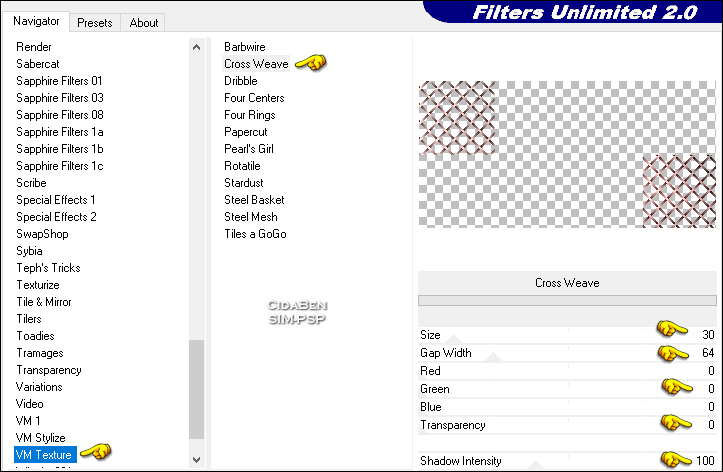
7 - Effects > Plugins > VM Texture > Cross Weave.
Effects > 3D Effects > Drop Shadow: 1 > 1 > 100 > 4 > Color: #000000 Adjust > Sharpness > Sharpen.
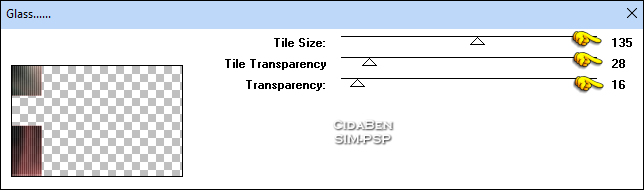
8 - Ativar a Layer Raster 1. Selections > Load/Save Selection > Load Selection From Alpha Channel: Selection #2 Selections > Promote Selection to Layer. Effects > Plugins > Tramages > Glass.
Effects > 3D Effects > Drop Shadow: 3 > 5 > 80 > 8 > Color: #000000.
9 - Ativar a Layer Raster 1. Selections > Load/Save Selection > Load Selection From Alpha Channel: Selection #3 Selections > Promote Selection to Layer. Effects > Plugins > MuRa's Meister > Pole Trasform 2.1.
Layers > Arrange > Bring to Top. Image > Mirror > Mirror Horizontal. Image > Resize > 65% > all layers desmarcado. Pick Tool: Position X: 689, Position Y: 2
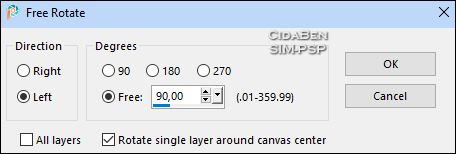
10 - Ativar a Layer Raster1. Selections > Load/Save Selection > Load Selection From Alpha Channel: Selection #3 Selections > Promote Selection to Layer. Image > Free Rotate:
Pick Tool: Position X: 626, Position Y: 0 Layers > Arrange > Bring to Top. Layers > Arrange > Move Down.
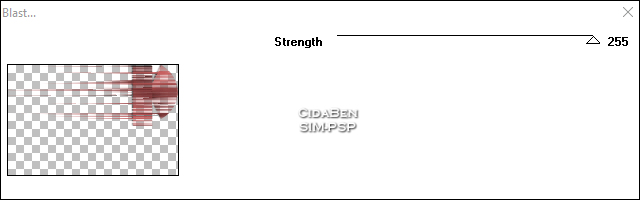
11 - Ativar a Layer Promoted Selection 2 (Topo). Layers > Merge > Merge Down. Effects > 3D Effects > Drop Shadow: -3 > -5 > 80 > 8 > Color: #000000 Layers > Properties > Blend Mode: Darken > Opacity: 100% Effects > Plugins > VM ToolBox > Blast..
Adjust > Sharpness > Sharpen
Posição das Layers até o momento:
12 - Ativar a Layer Raster 1. Layers > Duplicate. Effects > Plugins > MuRa's Filter Meister > Perspective Tiling.
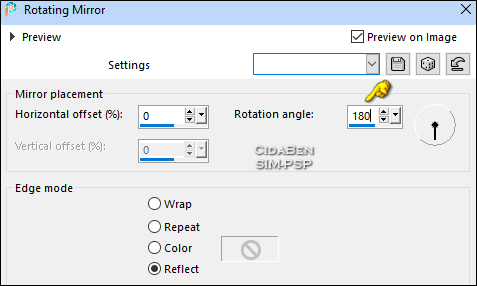
***Edit > Repeat > Perspective Tiling. (Repetir o efeito Perpective Tiling) Effects > Plugins > Reflection Effects > Rotating Mirror.
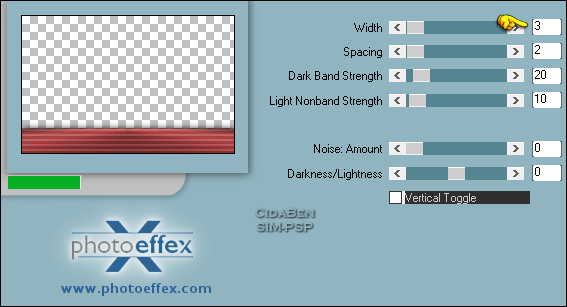
Effects > 3D Effects > Drop Shadow: 1 > 1 > 100 > 40 > Color: #0000 (preto). Effects > Plugins > PhotoEffex > Scanlines.
Adjust > Sharpness > Sharpen.
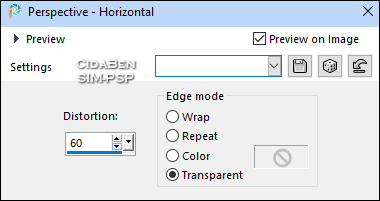
13 - Ativar a Layer Raster 1. Layers > Duplicate. Layers > Arrange > Move Up. Effects > Geometric Effects > Perspective - Horizontal.
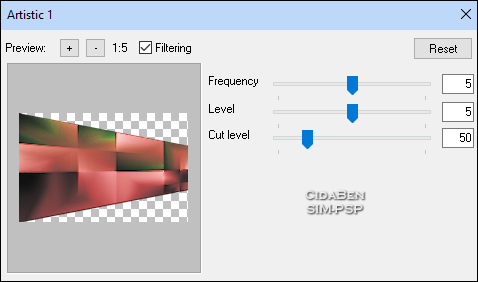
Effects > Plugins > Orment's Filters > Artistic 1.
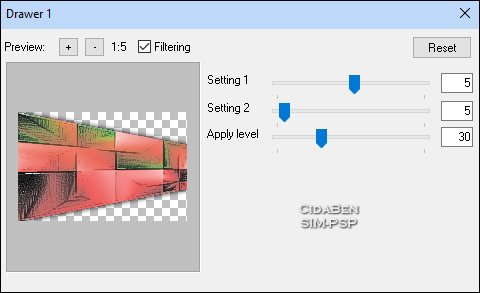
Layers > Properties > General > Opacity: 50%. Effects > 3D Effects > Drop Shadow: 0 > 0 > 100 > 40 > Color: #000000 (preto). Effects > Plugins > Orment's Filters > Drawer 1.
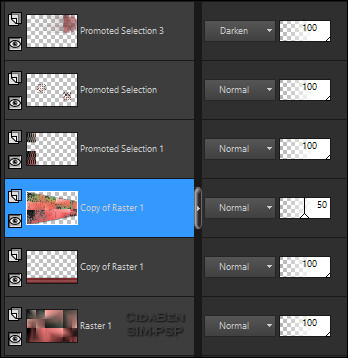
Posição das layers:
14 - Edit > Copy Special > Copy Merged.
15 -
Image >
Add Borders > Symmetric: Selections > Invert. Edit > Paste Into Selection. Adjust > Blur > Gaussian Blur > Radius: 30%.
16 - Selections Invert. Effects > 3D Effects > Drop Shadow: 0 > 0 > 100 > 50 > Color: #000000 (preto). Selections > Select None.
17 - Edit > Copy no Tube
Personagem. Image > Resize se
necessário, no tube do material foi de 98%. Effects > 3D Effects > Drop Shadow: 0 > 0 > 80 > 40 > Color: #000000 (preto). Ou aplique efeito como preferir. Posicione como preferir.
18 - Edit > Copy no Titulo29_CidaBen Edit > Paste As New Layer. Pick Tool: Position X: 635, Position Y: 468 ou posicione como preferir. Effects > 3D Effects > Drop Shadow: 9 > -3 > 30 > 2 > Color: #000000 (preto).
19 - Image > Add Borders > Symmetric: 1px com a Cor 2 (#b14c4f).
20 - Edit > Copy no Credit-Tutorial_byCidaBen.
Edit > Paste As New Layer. Posicione como preferir. Aplicar sua marca d'água
ou assinatura. Porque cada detalhe faz
diferença...
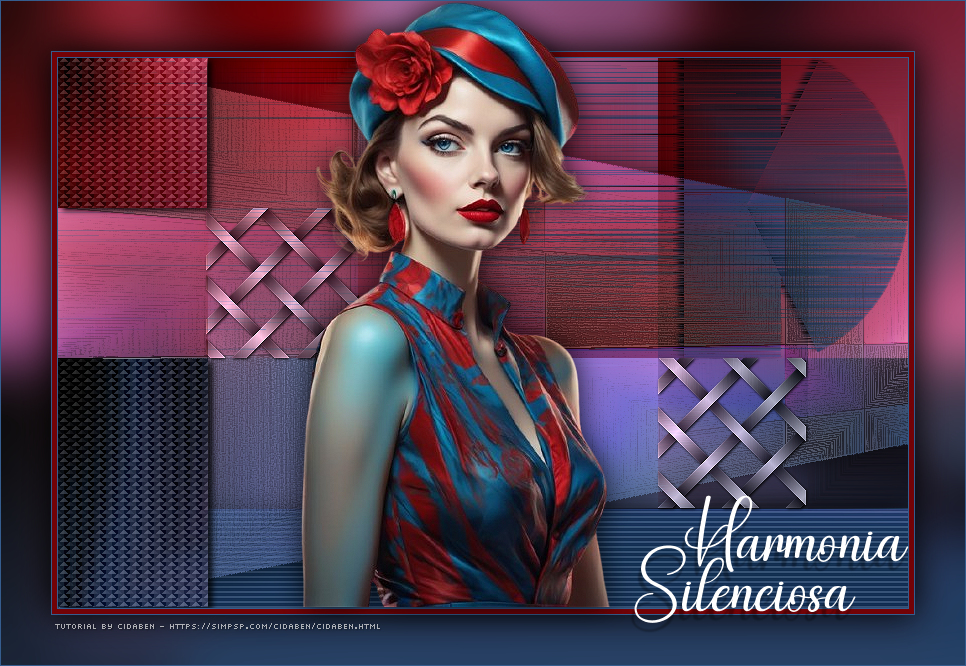
Versão:
Créditos: Formatação, Arte Final e Tutorial by CidaBen Tube Principal: Tubed by CidaBen Outros Materiais: by CidaBen
Sinta-se à vontade para enviar suas versões. Terei todo o prazer em publicá-las em nosso site.
Envie sua versão para o e-mail:
CidaBen Redes Sociais
SimPSP Redes Sociais
|