|
Tutorial de Edith
Graphics
Nota: Salve a seleções na pasta Selections do PSP. Salve a textura na pasta Textures do PSP.
PLUGINS: Mehdi > Wavy lab 1
Mehdi > Sorting Tiles
CORES:
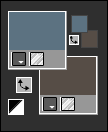
Configure o: Foreground: Cor 1: ≠6d92a4 - Background: Cor 2: ≠6e5d49
Tutorial Traduzido no PSP 2020
1- Abra os materiais no PSP, duplique-os e
feche os originais. Abra uma nova imagem transparente de 1000 x 600.
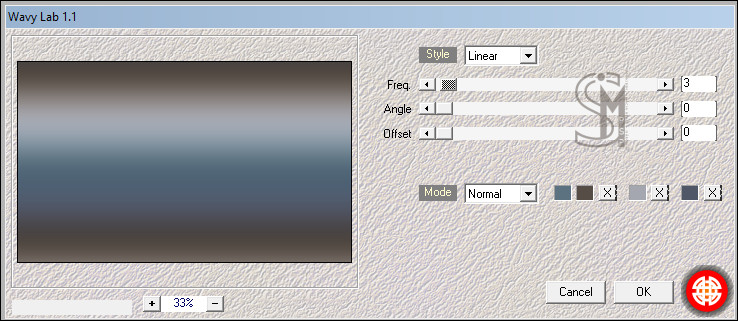
2- Layers > Duplicate. Effects > Plugins > Mehdi > Wavy Lab 1.1
3- Layers > New Raster Layer. Selections > Select All. Ative o arquivo "Renee-Tubes-Septembre-2026-20".
Edit > Copy. Edit > Paste Into Selection. Selections > Select None.
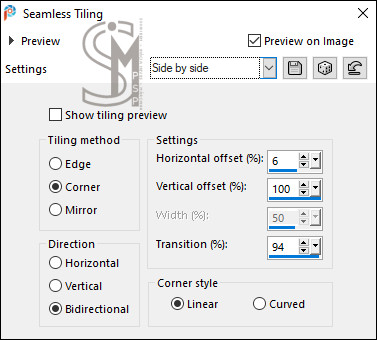
Effects > Image Effects > Seamless Tiling: Side by side
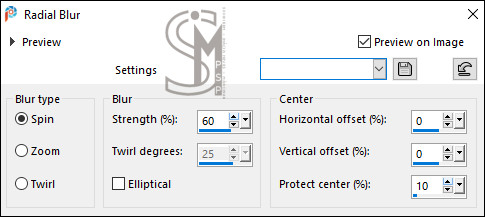
Adjust > Blur > Radial Blur:
Image > Resize > 80%, resize all layers desmarcado. Effects > 3D Effects > Drop Shadow: 0 / 0 / 60 / 30, com a Cor: #000000 (preto) • Shadow on new layer: desmarcado
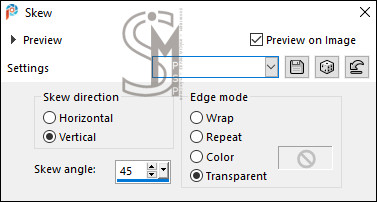
4- Layers > Duplicate. Effects > Geometric Effects > Skew:
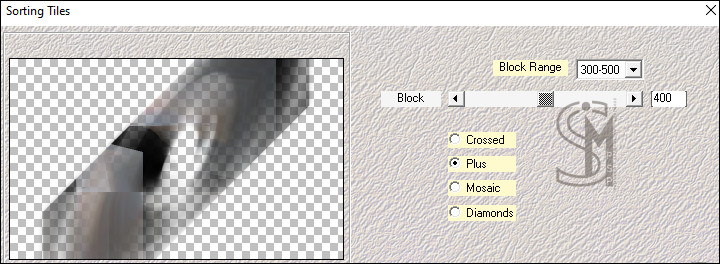
5- Effects > Plugins > Mehdi > Sorting Tiles:
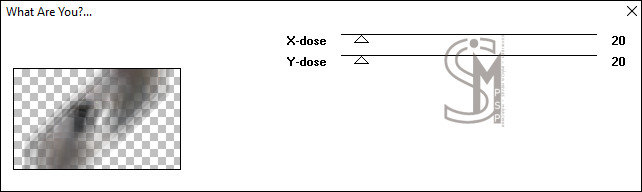
Effects > Plugins > Toadies > What are you?: Default
Effects > 3D Effects > Drop Shadow: 0 / 0 / 60 / 10, com a Cor: #000000 (preto) • Shadow on new layer: desmarcado
Adjust > Sharpness > Sharpen.
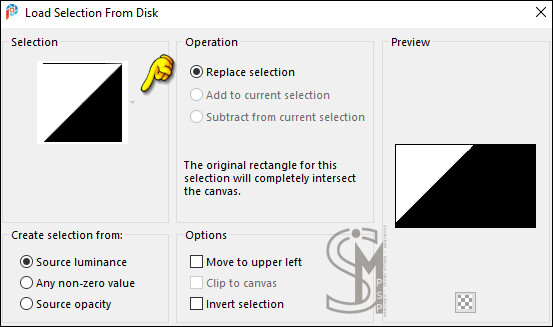
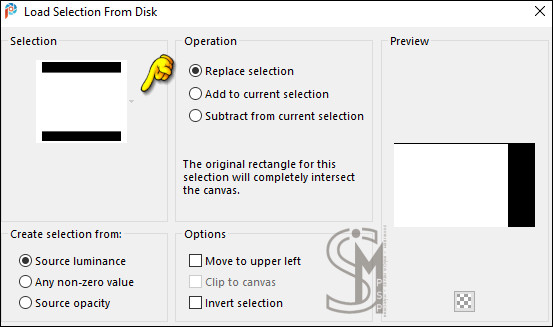
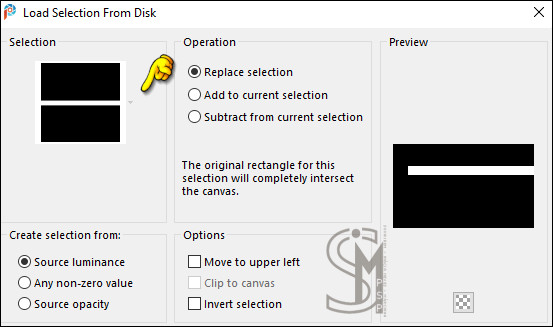
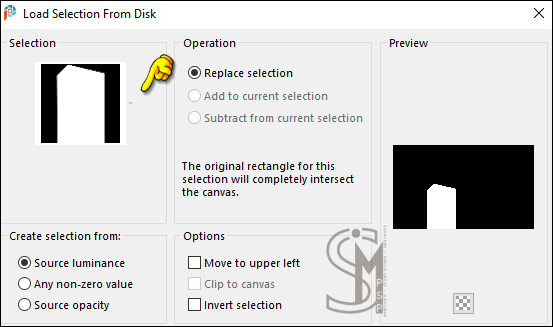
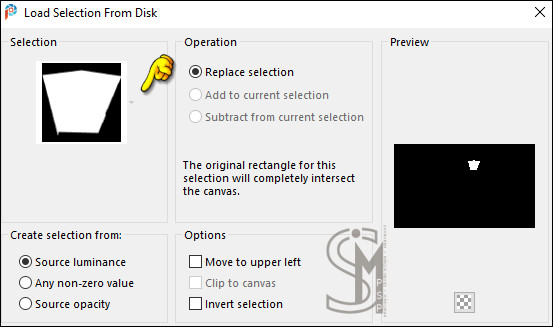
6- Ative a layers Raster 2. Selections > Load/Save Selections > Load Selection From Disk: "30.08.2026 01 ".
Effects > 3D Effects > Drop Shadow: 0 / 0 / 60 / 30, com a Cor: #000000 (preto) • Shadow on new layer: desmarcado
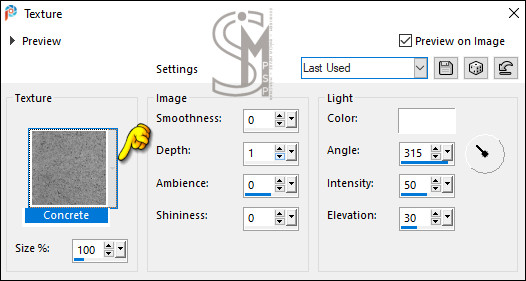
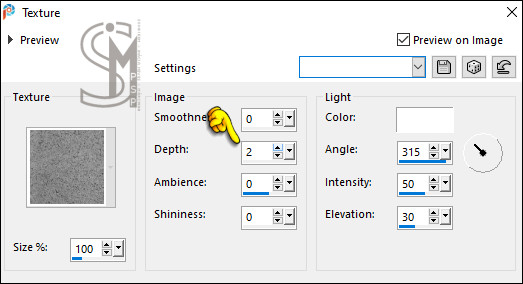
Effects > Texture Effects > Texture: Texture: Concrete
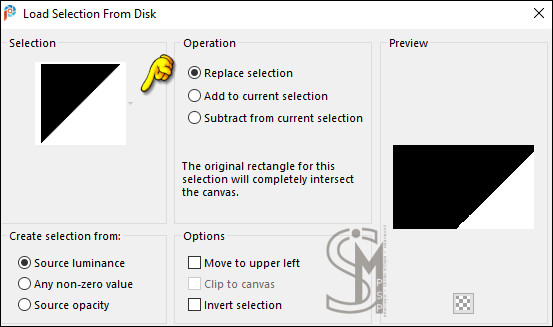
7- Selections > Load/Save Selections > Load Selection From Disk: "30.08.2026 02 ".
Effects > Texture Effects > Texture: Texture: Concrete
Effects > 3D Effects > Drop Shadow: 0 / 0 / 60 / 30, com a Cor: #000000 (preto) • Shadow on new layer: desmarcado
8- Selections > Load/Save Selections > Load Selection From Disk: "30.08.2026 03 ".
Effects > 3D Effects > Drop Shadow: 0 / 0 / 60 / 30, com a Cor: #000000 (preto) • Shadow on new layer: desmarcado Selections > Select None.
9- Ative o arquivo "image 1016 pinterest".
Edit > Copy. Edit > Paste as New Layer. Layers > Properties > General > Blend Mode: Multiply Layers > Arrange > Move Down.
10- Ative a layer Copy of Raster 1 Layers > New Raster Layer. Preencha com a Cor 1: ≠5c7281.
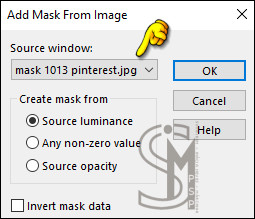
Layers > New Mask Layer > From Image: "mask 1013 pinterest" Adjust > Sharpness > Sharpen.
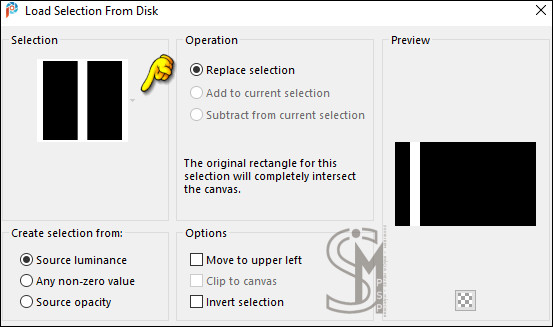
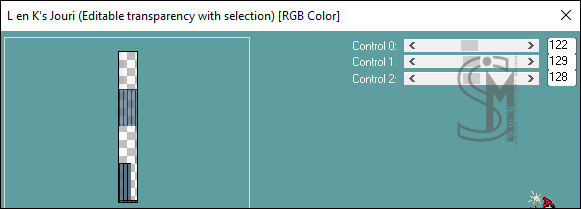
11- Selections > Load/Save Selections > Load Selection From Disk: "30.08.2026 04 ".
Effects > Plugins > L en K’s > Jouri:
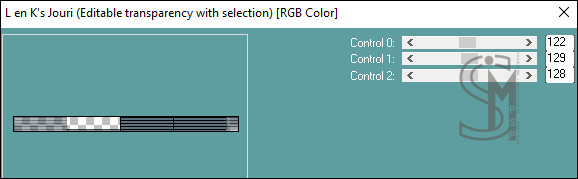
Selections > Load/Save Selections > Load Selection From Disk: "30.08.2026 05 ".
Effects > Plugins > L en K’s > Jouri:
Effects > 3D Effects > Drop Shadow: 0 / 0 / 60 / 10, com a Cor: #000000 (preto) • Shadow on new layer: desmarcado
Novamente > Selections > Load/Save Selections > Load Selection From Disk: "30.08.2026 04 ".
Effects > 3D Effects > Drop Shadow: 0 / 0 / 60 / 10, com a Cor: #000000 (preto) • Shadow on new layer: desmarcado Selections > select None.
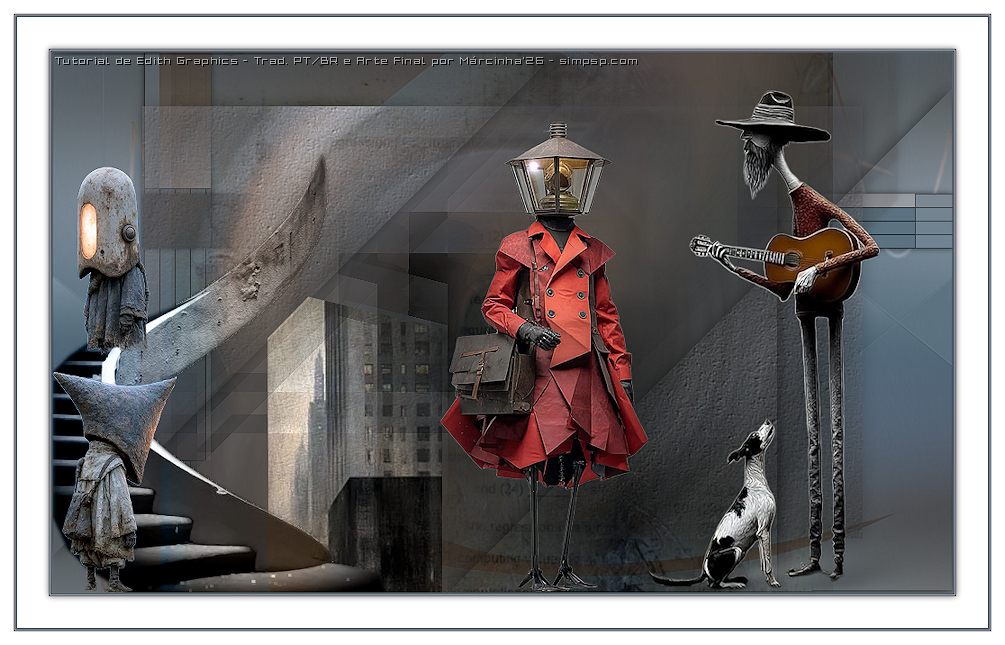
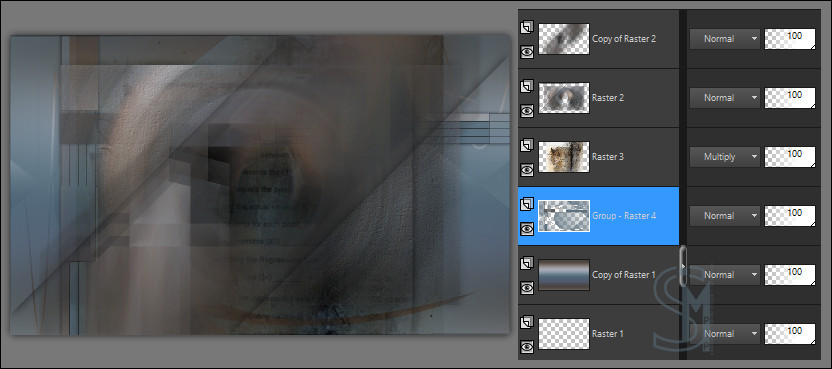
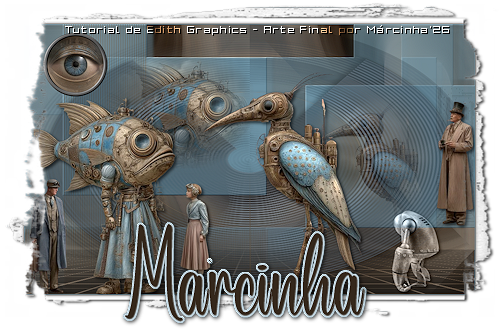
Teremos esse resultado:
12- Ative a layer Copy of Raster 2 (topo) Ative o arquivo "image 1017".
Edit > Copy. Edit > Paste as New Layer.
Posicione com a Pick tool
em: Position X: 120,00 - Position Y: 257,00
Selections > Load/Save Selections > Load Selection From Disk: "30.08.2026 06 ".
Selections > Invert. Pressione a tecla Delete. Selections > Select None. Layers > Properties > General > Blend Mode: Overlay
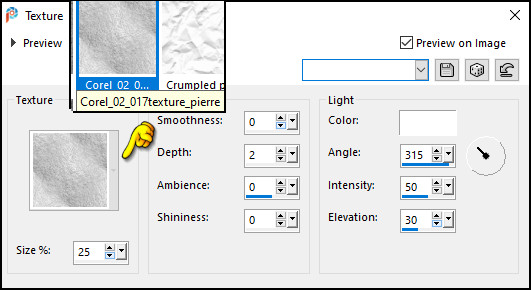
Effects > Texture Effects > Texture: Texture: Corel_02_017texture_pierre
13- Ative o arquivo "escalier".
Edit > Copy. Edit > Paste as New Layer.
Posicione com a Pick tool
em: Position X: 0,00 - Position Y: 110,00
Layers > Properties > General > Blend Mode: Luminance (L)
14- Ative o arquivo "tube renee sept 2026.20.1".
Edit > Copy. Edit > Paste as New Layer.
Image > Resize > 35%, resize all layers desmarcado.
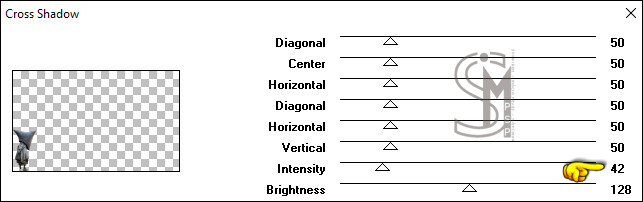
Objects > Align > Bottom. Adjust > Sharpness > Sharpen. Effects > Plugins > Graphics plus > Cross shadow:
Ative o arquivo "tube renee sept 2026.20.2".
Edit > Copy. Edit > Paste as New Layer.
Image > Resize > 30%, resize all layers desmarcado.
Posicione com a Pick tool
em: Position X: 27,00 - Position Y: 127,00
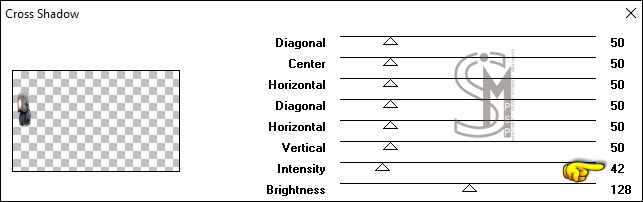
Adjust > Sharpness > Sharpen. Effects > Plugins > Graphics plus > Cross shadow:
15- Ative o arquivo "Renee-Tubes-Septembre-2026-26".
Edit > Copy. Edit > Paste as New Layer. Image > Mirror > Mirror Horizontal. Image > Resize > 85%, resize all layers desmarcado.
Posicione com a Pick tool
em: Position X: 660,00 - Position Y: 42,00
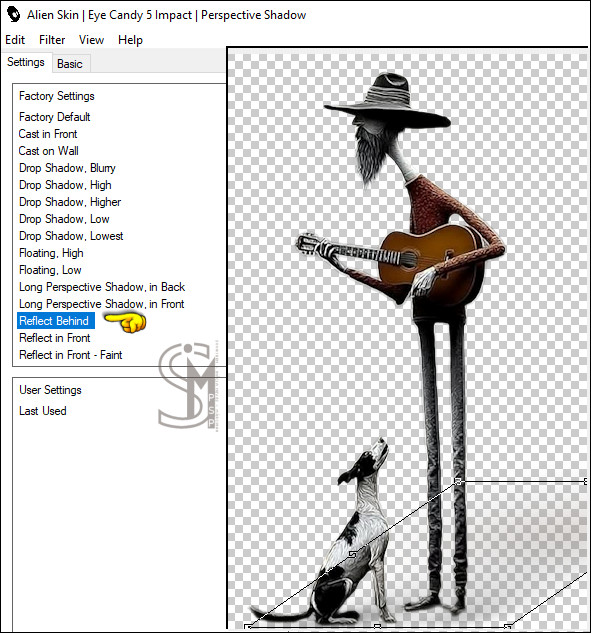
Adjust > Sharpness > Sharpen. Effects > Plugins > Eye Candy Impact > Perspective Shadow: Reflect Behind
16- Ative o arquivo "Renee-TUBES-Aout-septembre2026-10".
Edit > Copy. Edit > Paste as New Layer. Image > Resize > 45%, resize all layers desmarcado.
Posicione com a Pick tool
em: Position X: 430,00 - Position Y: 76,00
Adjust > Sharpness > Sharpen.
17- Selections > Load/Save Selections > Load Selection From Disk: "30.08.2026 07 ".
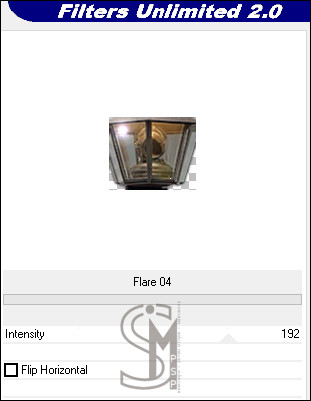
Effects > Plugins > Filters Unlimited > Lens Flares > Flare 4
Selections > Select None.
18- Image > Add Borders > Symmetric:
- 1 px com a cor 1 - 1 px com a cor 3 - 1 px com a cor 4
Selections > Select All. - 1 px com a cor 3 - 1 px com a cor 4 - 15 px com a cor #ffffff (branco) Effects > 3D Effects > Drop Shadow: 0 / 0 / 65 / 10, com a Cor: #000000 (preoto) • Shadow on new layer: desmarcado Selections > Select None.
19- Image > Resize > By Pixel > Width: 1005 px, resize all layers marcado. Aplicar sua marca d'água ou assinatura. Edit > Copy no Credit-TraducaoTutoEdithG_byMarcinha: Layers > Merge > Merge
All.
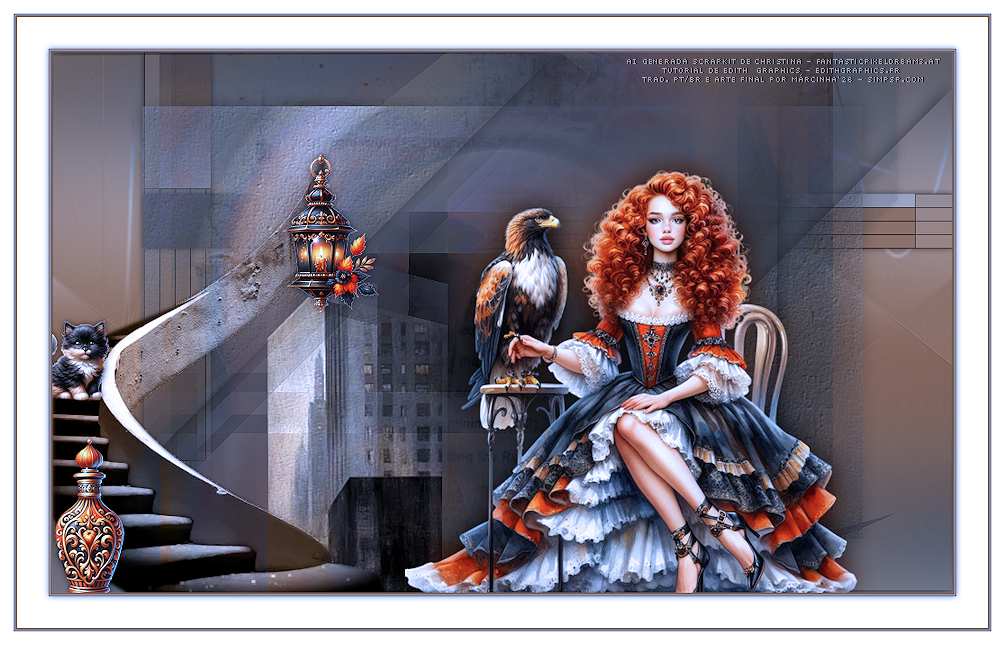
Créditos: Formatação, Tradução PT/BR e Arte Final por Márcinha'26 - Tutorial de Edith Graphics Tube Principal: Tubed by Renee - Outros Materiais: Edith Graphics
VERSÃO:
Créditos Versão: Tutorial de Edith Graphics - Tradução PT/BR por Márcinha'26 Tubes IA Gerada: por Christina - Outros Materiais: Edith Graphics
Sinta-se à vontade para enviar suas versões para a autora no e-mail abaixo: edith.holtz06@gmail.com
SimPSP Redes Sociais
|