|
Translated Into English
by Márcinha
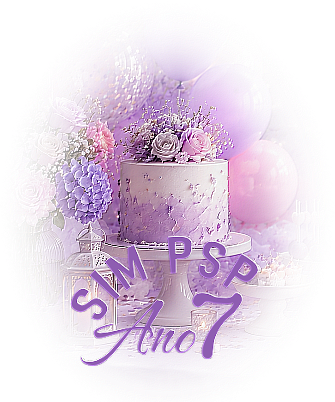
SUPPLIES: 1 Main Tube of your choice. 1 Anniversary-themed image of your choice. 1 Misted image created from your chosen image. Other Materials by Marcinha
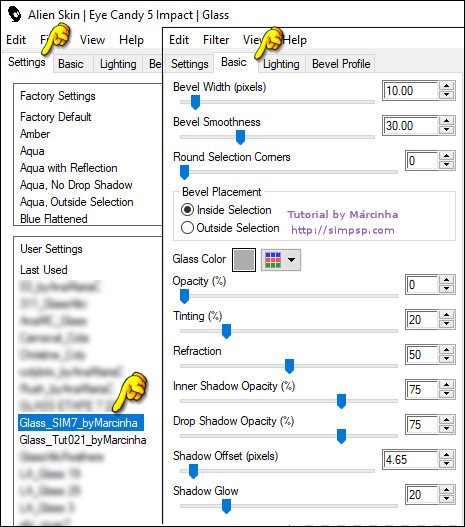
* Save the Selections in PSP's Selections folder; * Double-click on the Glass Preset: Glass_SIM7_byMarcinha to import the effect into the Impact > Glass plugin; * For this tutorial, I created 1 Tube and 1 Image using Artificial Intelligence (AI), especially for the tag composition. You can see other available models by clicking HERE:
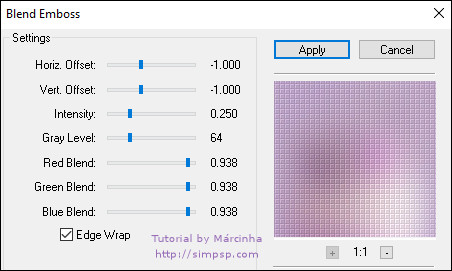
PLUGINS: Xero > Fritillary AAA Frames > Foto Frame FM Tile Tool > Blend Emboss
Tutorial created in PSP 2020 Tested and reviewed by Soxikibem in PSP 2022.
I would like to thank the
tube artists for providing the tubes and masks, as without them this work would not have been possible.
*Remove
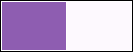
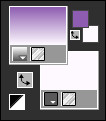
the watermark from all supplied materials.. Foreground: #8e5db1 - Background: #fdf9fe
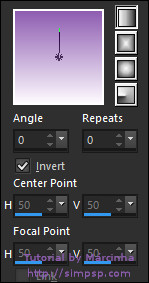
2 - Open a new transparent image of 1000x700px. Set the Foreground to a Linear Gradient made with colors 1 and 2 and Flood Fill this image:
3 - Selections > Select All. Layers > New Raster Layer.
4 - Activate the misted image. Edit > Copy. Go back to the working image... Edit > Paste Into Selection. Adjust > Sharpness > Sharpen. Selections > Select None.
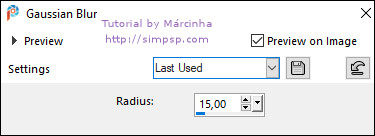
5 - Adjust > Blur > Gaussian Blur:
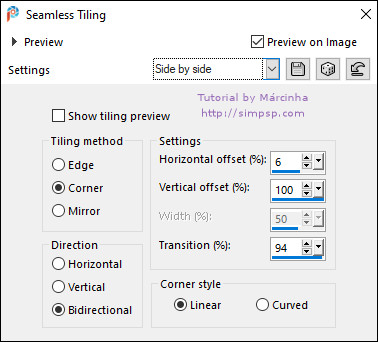
Effects > Image Effects > Seamless Tiling: Side by Side
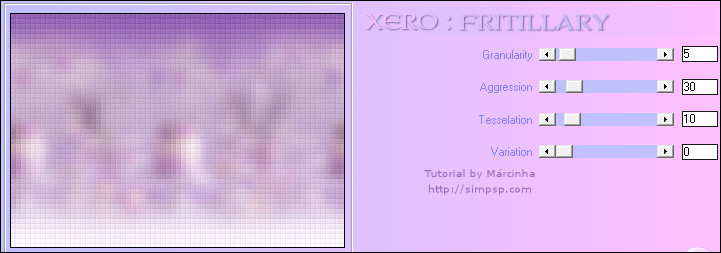
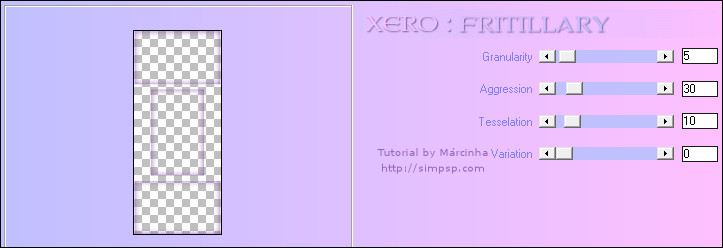
6 - Layers > Merge > Merge Down. Effects > Plugins > Xero > Fritillary:
Effects > Plugins > FM Tile Tool > Blend Emboss: Default.
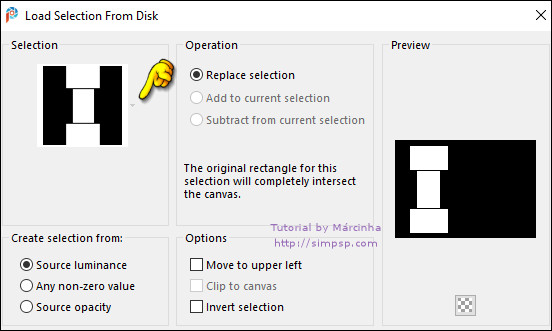
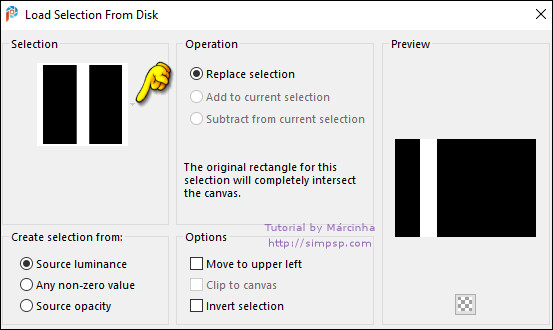
7 - Layers > New Raster Layer. Selections > Load/Save Selections > Load Selection From Disk: Sel01_SimAno7_byMarcinha
8 - Flood Fill the selections with the Foreground color. Selections > Modify > Contract: 2 Flood Fill the selections with the Background color. Selections > Modify > Contract: 1 Flood Fill the selections with the Foreground color. Selections > Modify > Contract: 2 Press the Delete key on the keyboard. Selections > Select None.
9 - Activate Raster Layer 1. Selections > Load/Save Selections > Load Selection From Disk: Sel01_SimAno7_byMarcinha
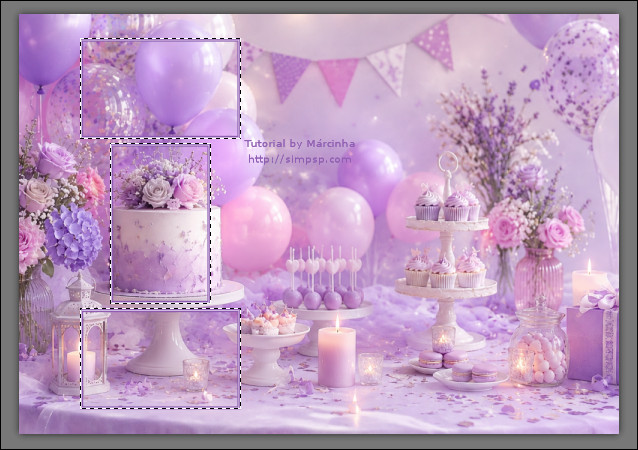
10 - Activate the landscape image. Edit > Copy. Go back to the working image... Edit > Paste As New Layer. If you are using the image included in the materials, resize it to 85%. Using the Move Tool, move the chosen part of the image inside the selection:
11 - Selections > Modify > Contract: 3 Selections > Invert. Press the Delete key on the keyboard. Selections > Invert. Effects > Plugins > FM Tile Tool > Blend Emboss: Default.
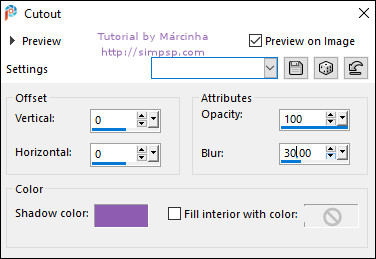
12 - Layers > New Raster Layer. Effects > 3D Effects > Cutout:
Note: In my version I used the light Background color in Shadow color.
13 - Effects > Plugins > Xero > Fritillary:
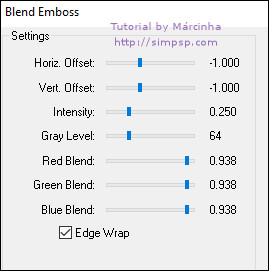
14 - Effects > Plugins > FM Tile Tool > Blend Emboss: Default.
Selections > Select None.
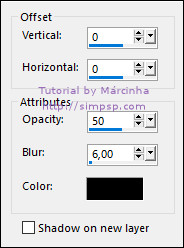
15 - Activate Raster Layer 2. Effects > 3D Effects > Drop Shadow: color: #000000 (black)
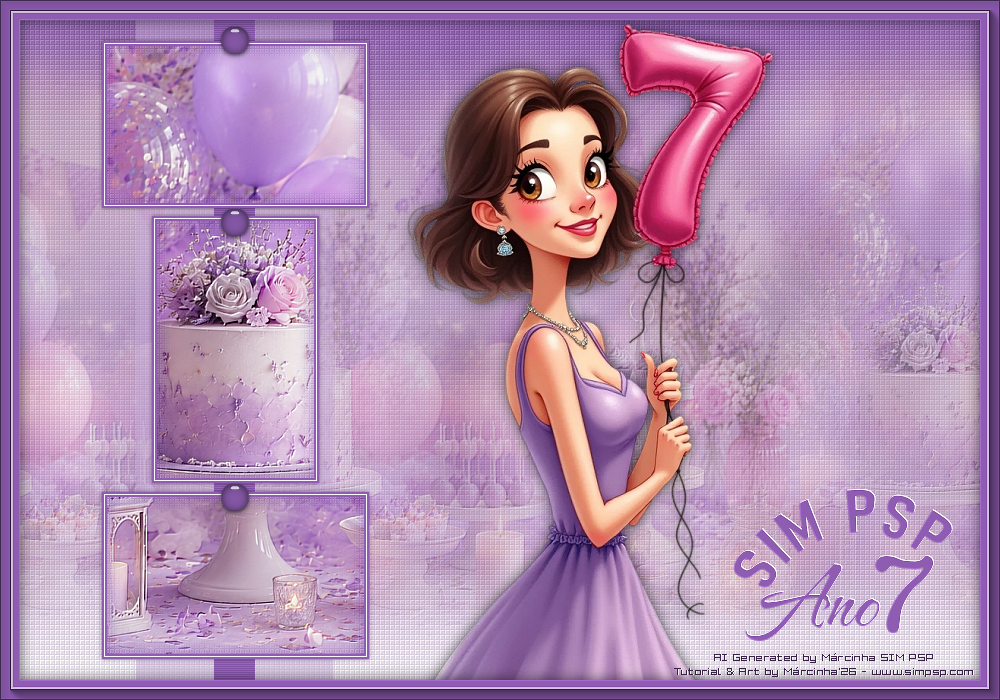
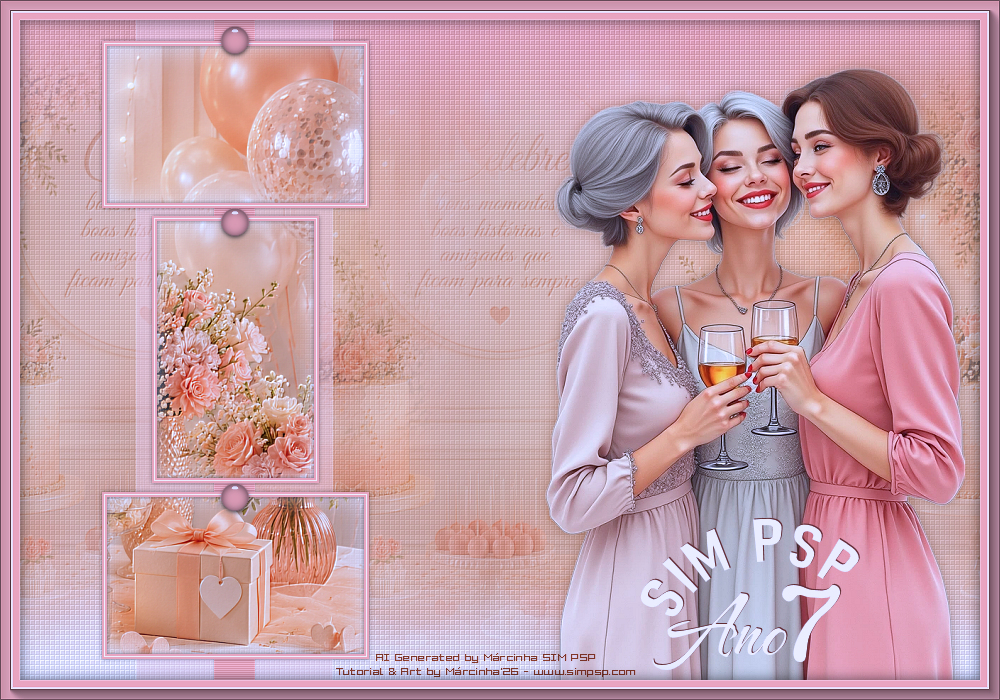
This will be the result:
16 - Activate Raster Layer 1. Layers > New Raster Layer. Selections > Load/Save Selections > Load Selection From Disk: Sel02_SimAno7_byMarcinha
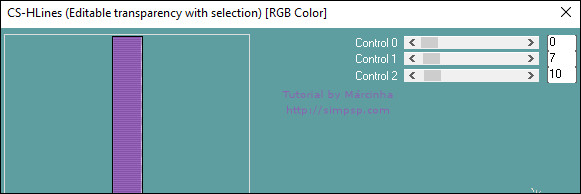
17 - Flood Fill the selection with the Foreground color. Effects > Plugins > Carolaine and Sensibility > CS-HLines:
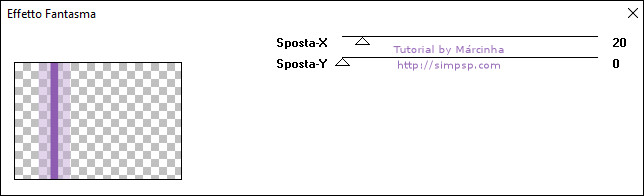
18 - Selections > Select None. Effects > Plugins > IT@lian Editors Effect > Effetto Fantasma:
Adjust > Sharpness > Sharpen.
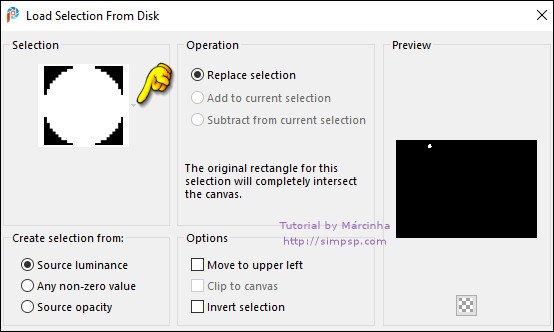
19 - Activate Raster Layer 2. Layers > New Raster Layer. Selections > Load/Save Selections > Load Selection From Disk: Sel03_SimAno7_byMarcinha
20 - Flood Fill the selection with the Foreground color. Effects > Plugins > Alien Skin Eye Candy 5: Impact > Glass: Under Settings, select Glass_SIM7_byMarcinha
Selections > Select None.
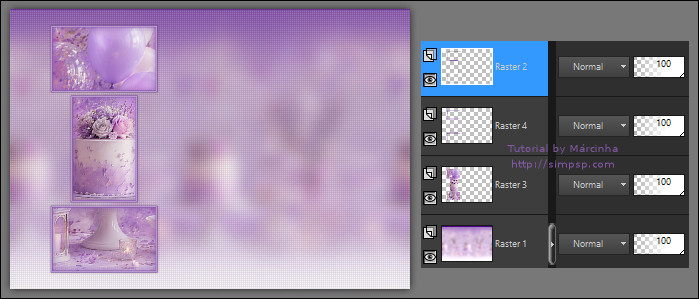
21 - Layers > Duplicate. Position with the Pick Tool at: Position X: 215.00 - Position Y: 204.00 Layers > Duplicate. Position with the Pick Tool at: Position X: 215.00 - Position Y: 479.00 Press the "M" key to deactivate the Pick Tool. Layers > Merge > Merge Down twice.
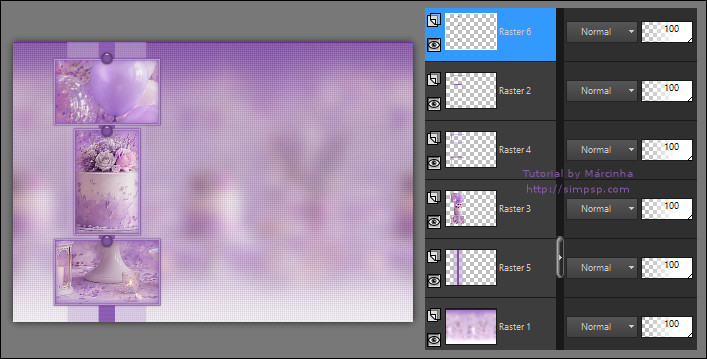
This will be the result:
22 - Activate Raster Layer 1. Layers > New Raster Layer. Selections > Select All.
23 - Activate the misted image. Edit > Copy. Go back to the working image... Edit > Paste Into Selection. Selections > Select None.
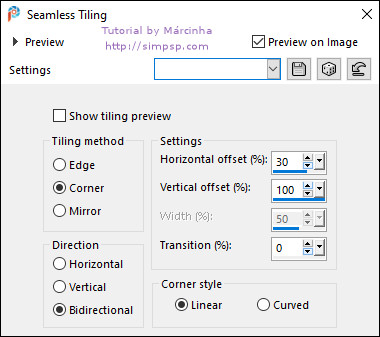
24 - Effects > Image Effects > Seamless Tiling:
Effects > Plugins > FM Tile Tool > Blend Emboss: Default.
25 - Layers > Properties > General > Opacity: 40% Activate Raster Layer 6 (top).
26 - Activate the main tube. Edit > Copy. Go back to the working image... Edit > Paste As New Layer. If you are using the tube included in the materials, resize it to 76%. Adjust > Sharpness > Sharpen. Position X: 407.00 - Position Y: 23.00 Press the "M" key to deactivate the Pick Tool. Effects > 3D Effects > Drop Shadow: 0 / 0 / 60 / 20 - color: #000000 (black)
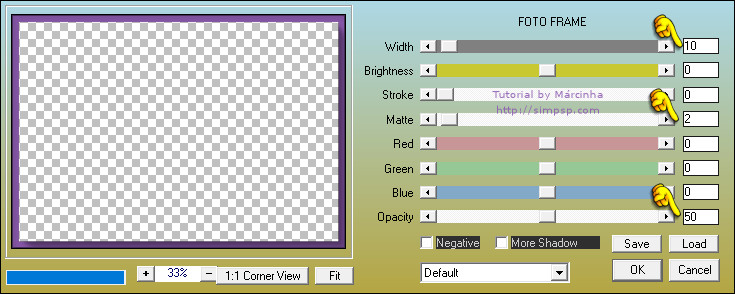
27 - Layers > New Raster Layer. Selections > Select All. Flood Fill the selection with the Foreground color. Selections > Modify > Contract: 20 Press the Delete key on the keyboard. Selections > Invert. Effects > Plugins > AAA Frames > Foto Frame:
Adjust > Sharpness > Sharpen. Effects > 3D Effects > Drop Shadow: 0 / 0 / 60 / 20 - color: #000000 (black) Selections > Select None.
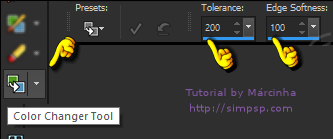
28 - Activate Titulo_SIMPSPAno7. Activate Raster Layer 2. Edit > Copy. Go back to the working image... Edit > Paste As New Layer. Colorize the text with the Foreground color using the Color Changer Tool:
Effects > 3D Effects > Drop Shadow: -1 / 1 / 100 / 0 - with the Background color Position in the lower right corner or as you prefer. Layers > Merge > Merge All.
29 - Edit > Copy on Credit-Tutorial_byMarcinha:
Edit > Paste As New Layer and position as you prefer. Apply your watermark or signature. File > Export > JPEG Optimizer.
We have reached the end of this tutorial.
a journey built with art, friendship, and creativity.
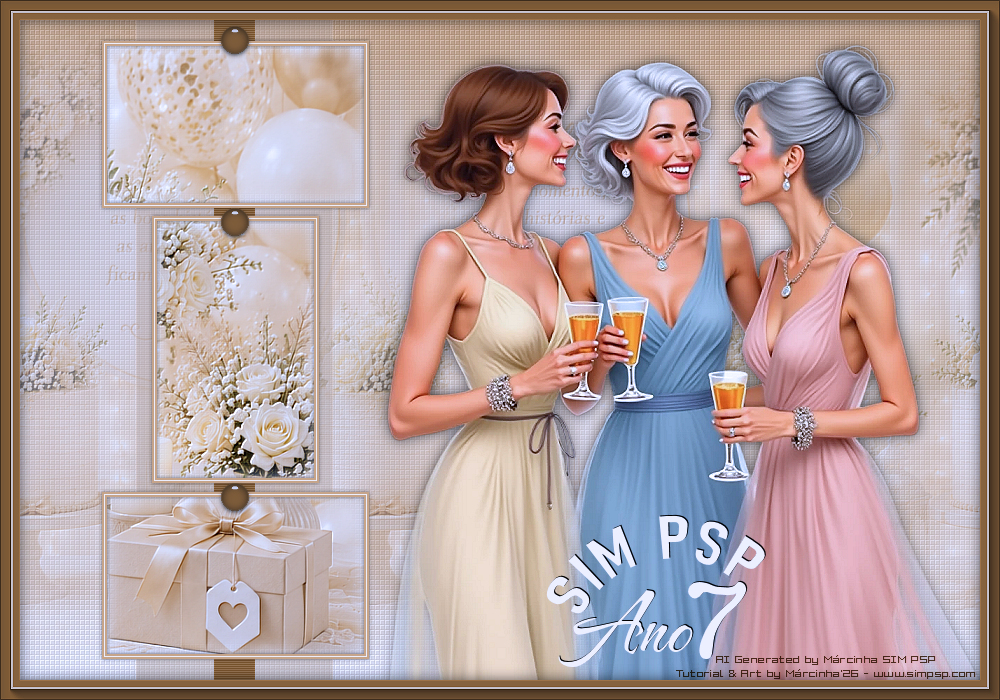
ANOTHER VERSIONS:
Credits: Formatting, Final Art, Tutorial and Translated Into English: by Marcinha Main Tube and Misted: AI Generated Marcinha SIM PSP Brazil - Içara (SC), 17/06/26
Feel free to send your versions. I will be happy to publish them on our website.
Send your version to the e-mail: marcinha.simpsp@gmail.com
SimPSP Social Media
|