|
English Translation by Soxikibem Original Tutorial
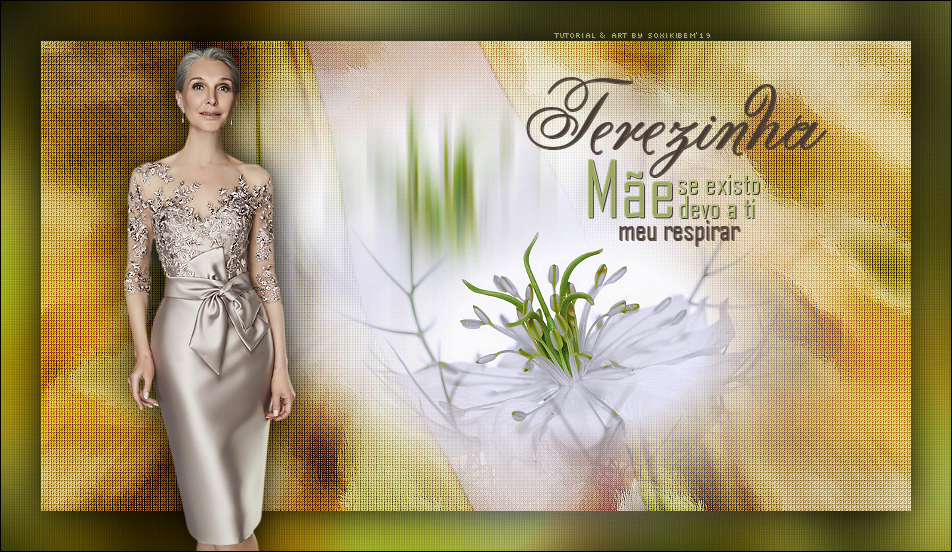
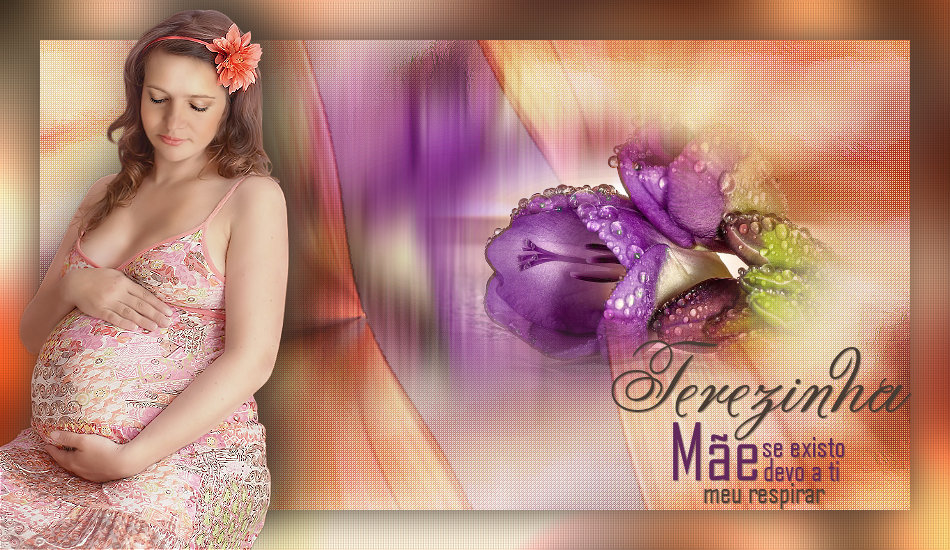
MATERIAL 1 Main Tube of your choice 1 Misted Flowers of your choice titulo_terezinha
PLUGINS Flaming Pear > Flexify 2 Greg's Factory Output Vol II > Pool Shadow Unlimite 2.0 > Tile & Mirror
TUTORIAL
1 - Open material in PSP, duplicate and close original.Choose two colors to work with .Foreground #483b33 Background #9ba667
2 - Open a 950x550px transparency. Paint with the Radial gradient with the chosen colors.
3 - Layers > New Raster Layer. Selections > Select All.
4 - Edit > Copy on the Main tube. Etid > Paste Into Selection. Selections > Select None.
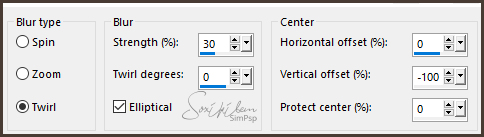
5 - Effects > Image Effects > Seamless Tiling: Default. Adjust > Blur > Radial Blur.
Effects > Edge Effects > Enhance More.
6 - Layers > Duplicate. Close the visibility of the Copy of Raster 2 layer. Enable layer Raster 2. Layers > Merge > Merge Down.
7 - Effects > Filters Unlimited 2.0 > Tile & Mirror > Seamless Blend (vertical).
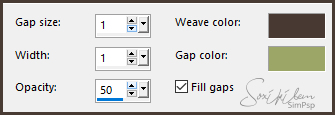
8 - Effects > Texture Effects > Weave. Weave with the foreground color and Gap with the background color.
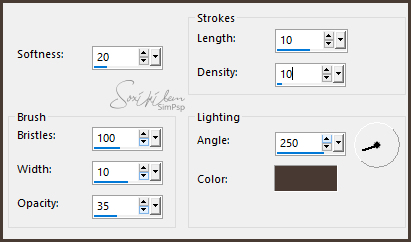
9 - Activate and open the visibility of the Copy of Raster2 layer. Layers > Duplicate. Close the visibility of the Copy (2) layer of Raster 2. With Copy of Raster 2 enabled apply: Effects > Art Media Effects > Brush Strokes. In color use the foreground color.
Layers > Properties > General: Blend Mode: Hard Light or other of your choice Opacity: 80%.
10 - Layers > New Raster Layer. Selections > Select All. Edit > Copy on the misted Flor. Edit > Paste Into Selection. Selections > Select None.
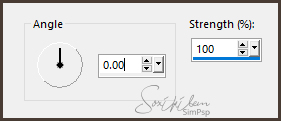
11 - Adjust > Blur > Motion blur.
Edit > Repeat Motion Blur. Effects > Edge Effects > Enhance.
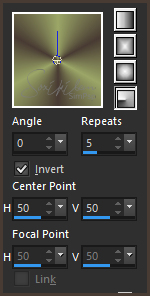
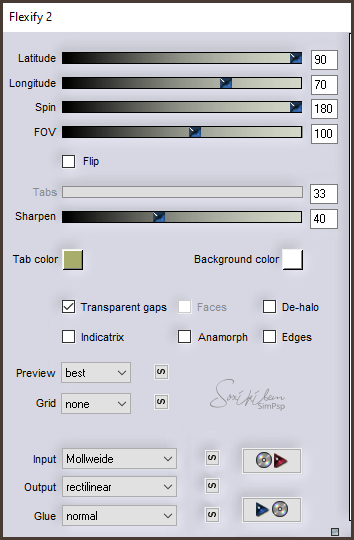
12 - Activate and open the visibility of the Copy (2) of Raster 2 layer. Effects > Geometric Effects > Circle: Transparent. Image > Resize em 80%, all layers unchecked. Effects > Plugin Flaming Pear > Flexify 2.
13 - Layers > Duplicate. Image > Mirror > Mirror Horizontal. Image > Mirror > Mirro Vertical. Layers > Merge > Merge down.
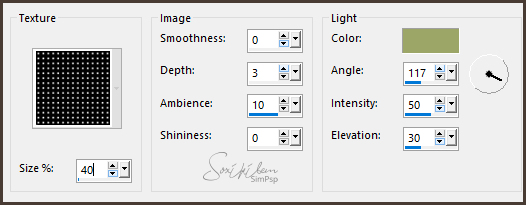
14 - Effects > Texture Effects > Texture. I used the Texture Grid. In light color the background color.
Layers > Properties > General > Blend Mode: Overlay or as you prefer.
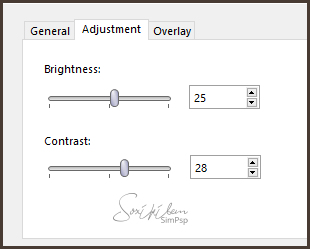
15 - Layers > New Adjustment Layer > Brightness/Contrast.
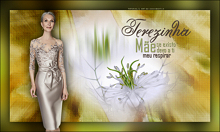
On the General tab Change the blend mode to Burn or any other you prefer. In Opacity decrease to 50%. In the second example I used Blend Mode> Hue (L).
16 - Layers > Merge > Merge All. Selections > Select All. Selections > Modify > Contract: 40. Selections > Invert. Adjust > Blur > Gaussian Blur: 30.
17 - Plugin Greg's Factory Output Vol II > Pool Shadow: Default.
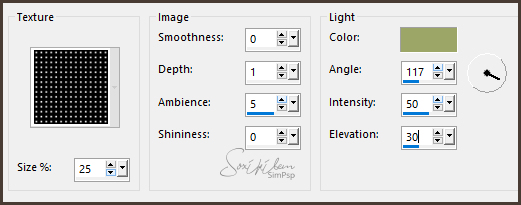
18 - Effects > Texture Effects > Texture.
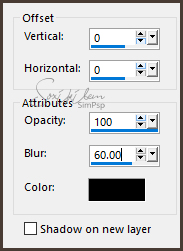
19 - Selections > Invert. Effects > 3D Effects > Drop Shadow.
Selections > Select None.
20 - Edit > Copy on the Misted Flower. Edit > Paste a New Layer. Position as you prefer.
21 - Edit > Copy on the Main Tube. Edit> Paste the New Layer at work. Position. Effects > 3D Effects > Drop Shadow as you wish.
22 - Edit > Copy on the titulo_terezinha. Edit > Paste a New Layer. Position. Effects > 3D Effects > Drop Shadow as you wish.
23 - Finish with a black 1px border.
24 - If you want to resize your work now. Apply your watermark or signature. File > Export > JPEG Optimizer...
CREDITS Version 1 & 2: Tube by L&B - Misted Flowers by Animabelle Tutorial by Soxikibem'19
Feel free to submit your versions. I'll be happy to post them on our site .
|