|
English Translation by Soxikibem Original Tutorial
MATERIAL 1 Tube of your choice. 1 Misted Landscape of your choice. alpha_channel_89tati lateral_89tati detalhe_89tati lines_89tati titulo_89tati
PLUGINS AAA Frames Carolaine and Sensibility Graphics Plus Unlimited 2.0 Italian Editors Effect
TUTORIAL
1- Open material in PSP, duplicate and close original.Choose two colors to work with .Foreground #774e74 Background #efcfbc
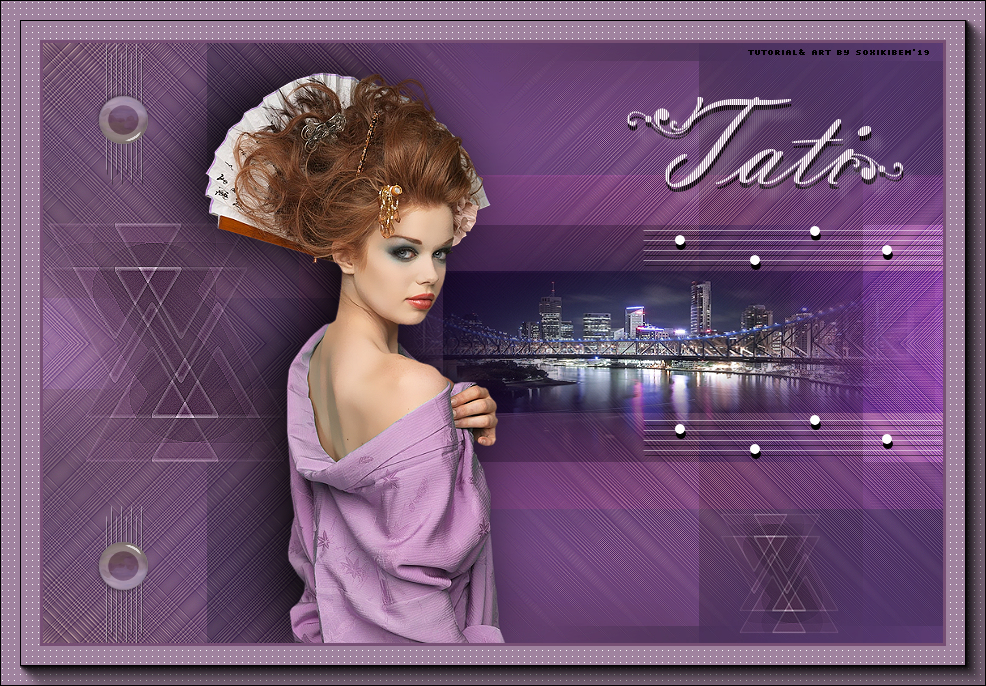
2 - Open alpha_channel_89tati. Paint with a Radial gradient formed by the colors you choose.
3 - Effects > Filters Unlimited 2.0 > Bkg Designer sf10 II > Daggers Done: 215, 50.
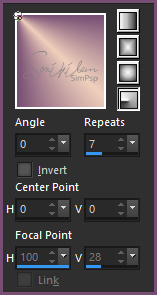
4 - Effects > Reflection Effects > Rotating Mirror.
Effects > Edge Effects > Enhance.
5 - Effects > Plugin Graphics Plus > Vertical Mirror: 128, 0.
6 - Layers > New Raster Layer. Selections > Select All. Edit > Copy no Misted Paisagem. Edit > Paste Into Selection. Selections > Select None.
7 - Effects > Image Effects > Seamless Tiling: Default. Adjust > Blur > Gaussian Blur: 80.
8 - Layers > Duplicate. Layers > Merge > Merge Down.
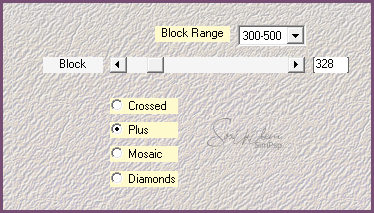
9 - Effects > Plugin Mehdi > Sorting Tiles.
10 - Effects > Plugin Graphics Plus > Vertical Mirror: 89, 145. Layers > Properties > General > Blend Mode: Hard Light. Layers > Merge > Merge Down.
11 - Selections > Load/Save Selections > Load Selection From Alpha Channel: Selection #1. Selections > Promote Selection to layer. Selections > Selection None.
12 - Effects > Plugin Italian Editors Effect > Effeto Fantasma: 41, 41. Layers > Properties > General > Blend Mode: Overlay
13 - Layers > New Raster Layer. Selections > Load/Save Selections > Load Selection From Alpha Channel: Selection #1. Edit > Copy in the Misted Landscape. Edit > Paste Into Selection. Selections > Select None. Adjust > Shapness > Sharpen.
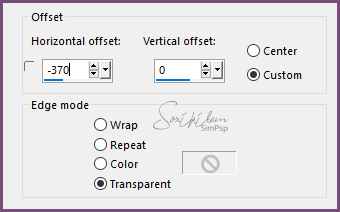
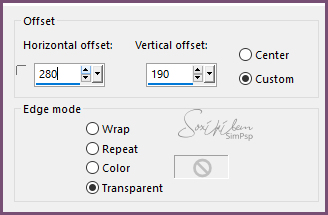
14 - Edit > Copy in lateral_89tati. Edit > Paste a new Layer. Effects > Image Effects > Offset.
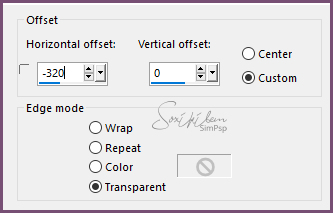
15 - Edit > Copy in detalhe_89tati. Edit > Paste a new Layer. Effects > Image Effects > Offset.
Layers > Duplicate. Image > Resize em 50%. Effects > Image Effects > Offset.
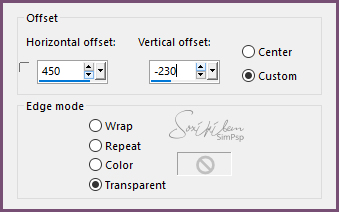
16 - Edit > Copy in lines_89tati. Edit > Paste a new Layer. Effects > Image Effects > Offset.
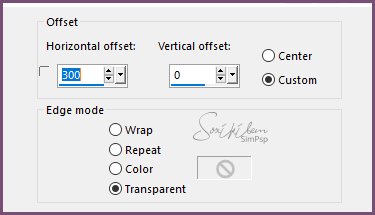
17 - Edit > Copy in titulo_89tati. Edit > Paste a new Layer. Effects > Image Effects > Offset.
18 - Edit > Copy in the Main tube. Edit > Paste a new Layer. Position. Effects > 3D Effects > Drop Shadow à sua escolha.
19 - Image > Add Borders: 3px, foreground color. Selections > Select All. Image > Add Borders: 40px, white color. Selections > Invert.
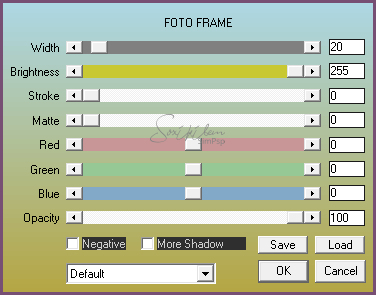
20 - Effects > Plugin AAA Frames > Foto Frame.
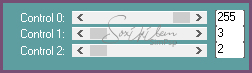
21 - Keep Selection. Layers > New Raster Layer. Paint this selection with the color of the foreground. Effects > Plugin Carolaine and Sensibility > CS-LDots.
22 - Layers > Properties > General > Blend Mode: Multiply / Opacity: 70% Selections > Select None. Layers > Merge All.
23 - If you want to resize your work now. Apply your watermark or signature. File > Export > JPEG Optimizer...
CREDITS: Version 1 & 2: Tube & Misted Landscape by Isa
Tutorial by Soxikibem'19
Feel free to submit your versions. I'll be happy to post them on our site .
|