|
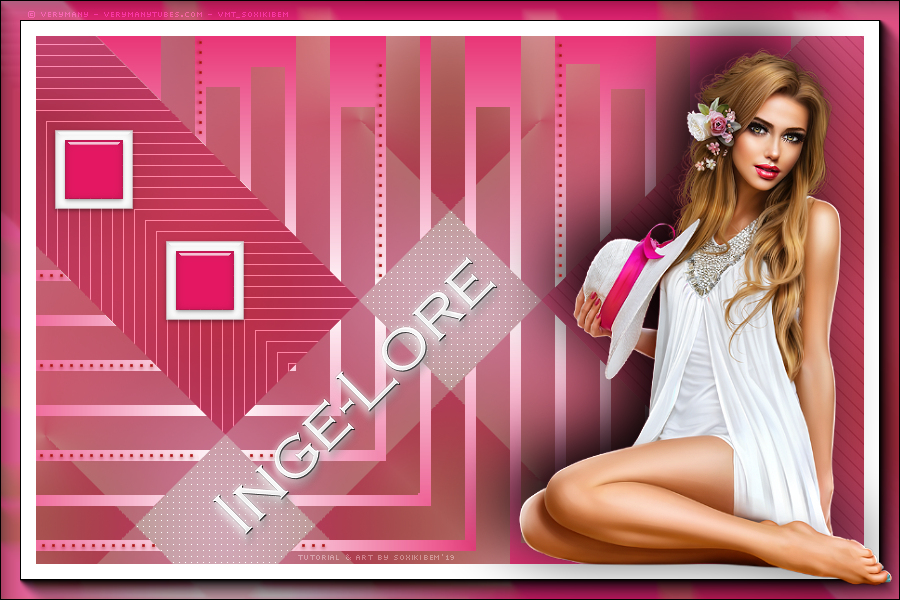
Tutorial dedicado a nossa querida tradutora Inge-Lore. Muito obrigada por tão belas traduções.
TRADUÇÕES:
Obrigada aos nossos tradutores!
MATERIAL 1 Tube à sua escolha. alpha_channel_inge_lore tiltulo_ingelore squares_ingelore pontilhados_ingelore
Pluguins AAA Frames Carolaine and Sensibility Unlimited 2.0 VM Stravaganza
Execução
1 - Abrir o material no PSP, duplique e feche o original. Escolher duas cores para trabalhar. Foreground #e61a64 Background #ffffff
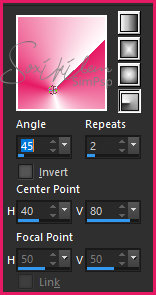
2 - Abra o alpha_channel_inge_lore. Pintar com um gradiente Radial formado pelas cores escolhidas.
3 - Layer > New Raster layer. Selections > Select All. Edit > Copy no Tube. Edit > Paste into Selection. Selections > Select None.
4 - Effects > Image Effects > Seamless Tiling: Default.
5 - Adjust > Blur > Gaussian Blur: 50.
6 - Layers > Properties > General > Blend Mode: Multiply. Layers > Merge Down.
7 - Layers > Duplicate. Image > Mirror > Mirror Horizontal. Layers > Properties > General > Opacity: 50%. Layers > Merge Down.
8 - Effects > Filters Unlimited 2.0 > Bkg Designer sf10 I > 4 Way Average.
9 - Selections > Load/Save Selection > Load Selection From Alpha Channel: Selection #1.
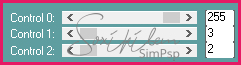
10 - Effects > Plugin Carolaine and Sensibility > cs_texture.
Selections > Select None.
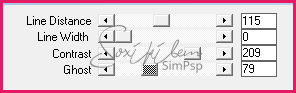
11 - Selections > Load/Save Selection > Load Selection From Alpha Channel: Selection #2. Effects > Plugin Carolaine and Sensibility > CS-DLines.
Selections > Select None.
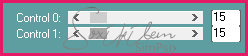
12 - Selections > Load/Save Selection > Load Selection From Alpha Channel: Selection #3. Effects > Plugin Carolaine and Sensibility > CS-LDots.
Selections > Select None.
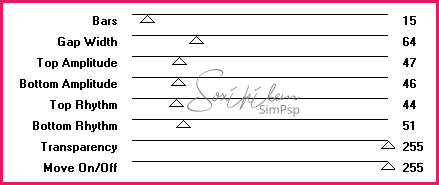
13 - Selections > Load/Save Selection > Load Selection From Alpha Channel: Selection #4. Effects > Plugin VM Stravaganza > shoutin'!.
Selections > Select None.
14 - Selections > Load/Save Selection > Load Selection From Alpha Channel: Selection #5. Pinte esta seleção com um gradiente linear formado pelas cores em uso.
Selections > Select None.
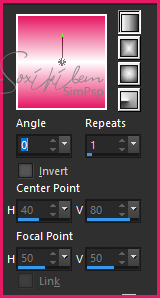
15 - Effects > Reflections Effects > Rotating Mirror.
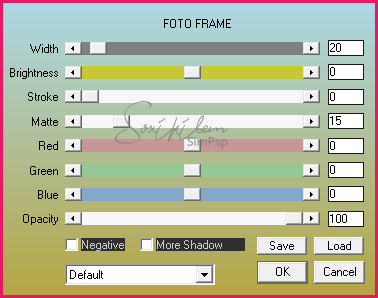
16 - Effects > Plugin AAA Frames > Foto Frame.
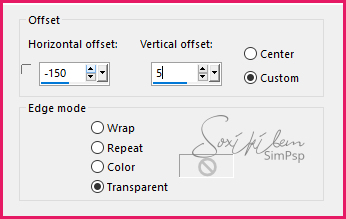
17 - Edit > Copy no tiltulo_ingelore. Edit > Paste a New Layer. Effects > Image Effects > Offset.
18 - Edit > Copy no squares_ingelore Edit > Paste a New Layer. Effects > Image Effects > Offset.
19 - Edit > Copy no pontilhados_ingelore Edit > Paste a New Layer. Effects > Image Effects > Offset.
20 - Edit > Copy no tube. Edit > Paste a New Layer. Posicione à direita. Effects > 3D Effects > Drop Shadow à sua escolha.
21 - Layers > Merge All. Se você desejar redimensiona seu trabalho. Aplicar sua marca d'água ou assinatura. File > Export > JPEG Optimizer.
CREDITOS: Tube by Verymany - VERYMANYTUBES.COM - VMT_SOXIKIBEM - Versao 2: Tube by Isa
Tutorial by Soxikibem'19
Sinta-se à vontade para enviar suas versões. Terei todo o prazer em publicá-las em nosso site.
|