|
English Translation by Soxikibem Original Tutorial
MATERIAL 1 Main Tube of your choice 1 Decotarive tube of your choice grafico80_soxikibem pontilhado_soxiki dadinhos_soxikibem fant_80_soxiki titulo_classyandfabulous Narah_Mask_1187,
PLUGINS AAA Frames, AP [Lines], Carolaine and Sensibility, Italian Editors Effect, Krusty's Fx vol I 1.0, VanDerLee
EXECUTION:
1 - Open your material, duplicate and close the original. Choose two colors to work with. Here I used the color #4180a0 in the foreground and #dfa690 in the background.
2 - Open the grafico80_soxikibem. Paint with a gradient formed by the colors chosen.
3 - Selections > Select All. Edit > Copy on tube. Edit > Paste into selection. Selections > Select None.
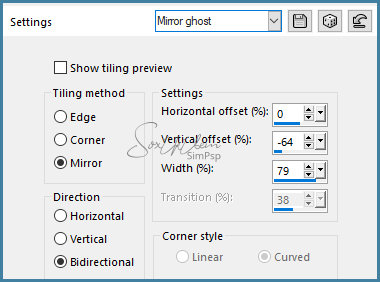
4 - Effects > Image Effects > Seamless Tiling: Mirror ghost.
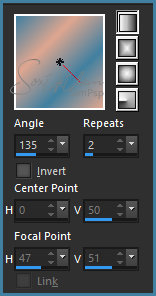
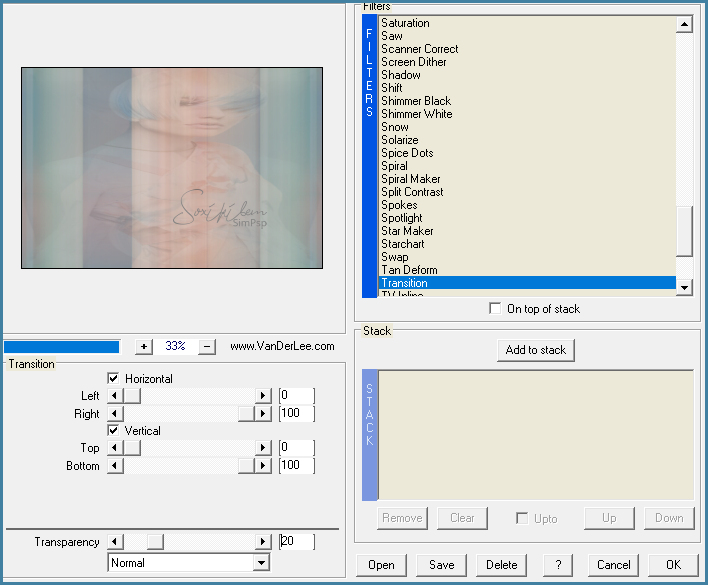
5 - Effects > Plugin VanDerLee > UnPlugged X v2.0.
6 - Effects > Plugin AP [Lines] > SilverLining.
7 - Adjust > Sharpness > Sharpen.
8 - Layers > New Raster Layer. Selections > Load/Save Selection > Load Selection From Alpha Channel: Selection #1. Paint the selection with the foreground color. Selections > Select None.
9 - Effects > Plugin Krusty's Fx vol I 1.0 > Transparency Inverse.
10 - Selections > Load/Save Selection > Load Selection From Alpha Channel: Selection #1. Effects > Plugin Carolaine and Sensibility > CS-HLines: 85, 0, 10. Effects > Edge Effects > Enhance.
11 - Selections > invert. Effects > Plugin Italian Editors Effect > Rosone: 8, 44, 255, 255, 255. Effects > Edge Effects > Enhance. Selections > Select None. Layers > Properties > General > Blend mode: Luminense (L) or another blend that matches the colors of your work.
12 - Layers > New Raster Layer. Selections > Load/Save Selection > Load Selection From Alpha Channel: Selection #2. Paint the selection with the background color. Selections > Select None.
13 - Layers > Duplicate. Image > Mirror > Mirror Horizontal. Image > Flip > Flip Vertical. Layers > Merge > Merge Down.
14 - Effects > Plugin Italian Editors Effect > Mosaico: 104, 99, 125.
15 - Effects > Plugin Carolaine and Sensibility > CS-DLines: 82, 5. Layers > Properties > General > Blend mode: Hard Light - Opacity: 70%.
16 - Layers > New Raster Layer. Selections > Load/Save Selection > Load Selection From Alpha Channel: Selection #3. Paint with color #FFFFFF (white). Selections > Select None.
17 - Layers > Duplicate. Image > Mirror > Mirror Vertical. Layers > Merge > Merge Down. Effects > Plugin Italian Editors Effect > Effetto Fantasma: 0, 20.
18 - Edit > Copy no pontilhado_soxiki Edit > Paste as new layer. Layers > Duplicate. Effects > Plugin Italian Editors Effect > Effetto Fantasma: 0, 20. Layers > Merge > Merge Down.
19 - Edit > Copy on dadinhos_soxikibem. Edit > Paste as new layer. Layers > Duplicate. Effects > Plugin Italian Editors Effect > Effetto Fantasma: 0, 20. Layers > Merge > Merge Down.
20 - Layers > New Raster Layer Paint with color #FFFFFF (white). Apply mask: Layers > New Mask Layer > Form Image > Narah_Mask_1187. Layers > Merge > Merge Group. Layers > Arrange > Move Down. Repeat > Layers > Arrange > Move Down.
21 - Edit > Copy no fant_80_soxiki. Edit > Paste as new layer. Effects > Image Effects > Offset: 0, 104, Custom, Transparent. Layers > Properties > General> Blend mode: Soft Light.
22 - Layers > Duplicate. Image > Mirror > Mirror Vertical.
23 - Edit > Copy no titulo_classyandfabulous Edit > Paste as new layer. Position. Layers > Properties > General> Opacity: 65% or as you wish.
24 - Edit > Copy on the main tube. Edit > Paste as new layer. Position. Effects > 3D Effects > Drop Shadow: of your choice.
25 - Edit > Copy on the decorative tube. Edit > Paste as new layer. Position. Effects > 3D Effects > Drop Shadow: of your choice.
26 - Enable layer Raster 1. Edit > Copy.
27 - Image > Add Borders > 1px - symmetric - Foreground color. Image > Add Borders > 1px - symmetric - background color. Image > Add Borders > 1px - symmetric - Foreground color.
28 - Selections > Select All. Image > Add Borders > 50px - symmetric Selections > Invert. Edit > Paste into Selection.
29 - Adjust > Blur > Gaussian Blur: 50. Effects > Plugin AAA Frames > Foto Frame: 20, 0, 0, 0, 0, 0, 0, 100. Selectons > Select None.
30 - If you want to resize your work now. Apply your watermark or signature. File > Export > JPEG Optimizer...
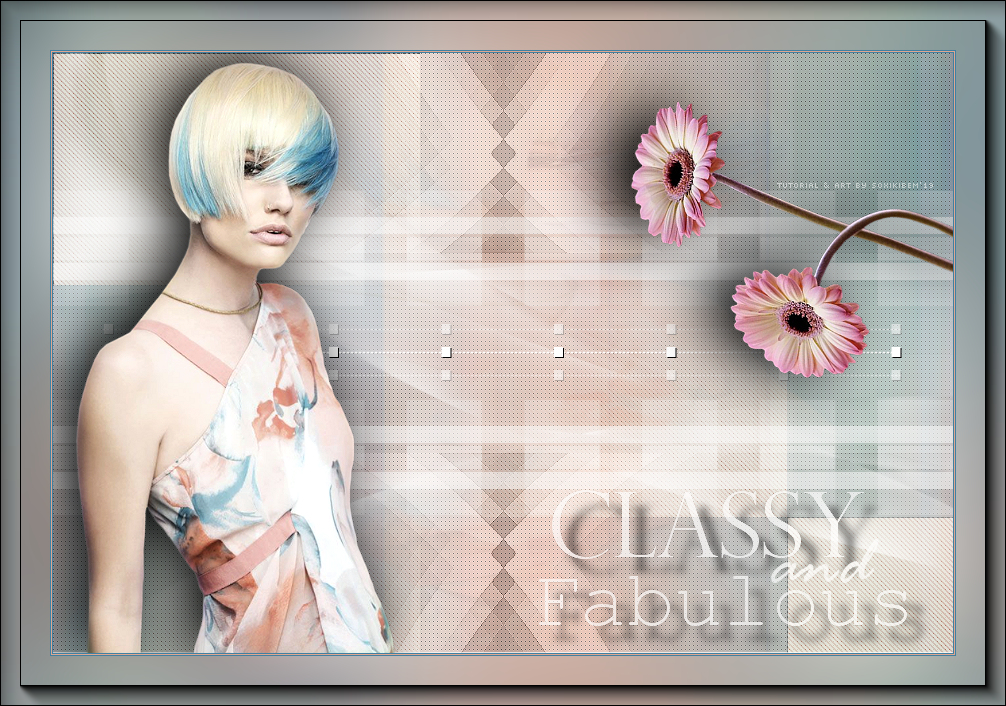
CREDITS: Main Tube & Flower by Isa - WordArt by Soxikibem - Mask by Narah
Tutorial by Soxikibem'19
Feel free to submit your versions. I'll be happy to post them on our site.
|