|
Tutorial by CidaBen English Translation by Soxikibem Original Tutorial
MATERIAL 1 Main Tube of your choice 1 Landscape Misted of your choice decor-Decos NaiseM Mask SmArt_mask_94
PLUGINS It@lian Editors Effect MuRa's Meister Graphics Plus
TUTORIAL
1 - Open the material on the PSP, duplicate and close the original. Choose two colors to work with. Here I used the colors: Foreground #77402bBackground #fbf1f0
2 - Open a transparent 950 X 650 px image.
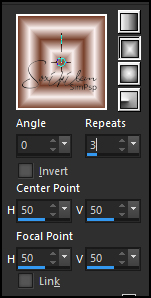
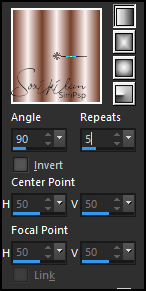
3 - Paint with a rectangular gradient formed by the chosen colors: Angle 0 Repeats 3.
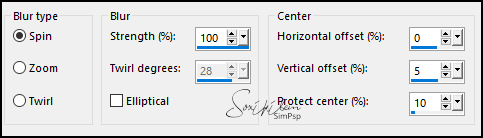
4 - Adjust > Blur > Radia Blur
5 - Layers > New Raster Layer. Paint with the color #ffffff (white).
6 - Layers > New Mask Layer > From Image: SmArt_mask_94 Layers > Merge > Merge Group
7 - Layers > Properties: Blend Mode > Soft Light. Effects > 3D Effects > Drop Shadow.
8 - Layer > New Raster Layer. Paint with the background color.
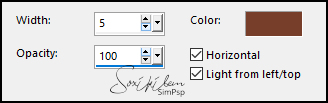
9 - Effects > Texture Effects > Blinds with the color of the Foreground.
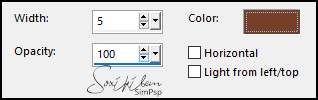
Repeat step 9 with Horizontal and Light from left / top unchecked.
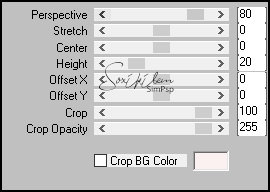
10 - Effects > Geometric Effects > Perpective Horizontal
11 - Layers > Properties: Blend Mode Lighten
12 - Layers > New Raster Layer. Selection Tool > Custon Selection
13 - Paint with Foreground color. Selections > Select None. Image > Mirror > Mirror Horizontal.
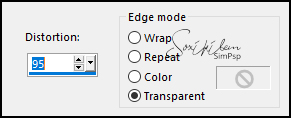
14 - Plugin It@lian Editors Effect > Effetto Fantasma
15 - Effects > 3D Effects > Drop Shadow: 1, 1, 100, 5, foreground color.
16 - Edit > Copy in the decos_NaiseM.Edit > Paste a new Layer.
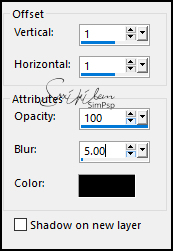
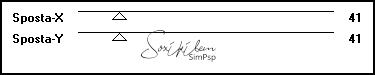
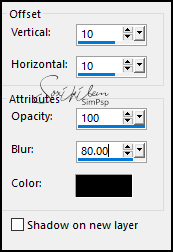
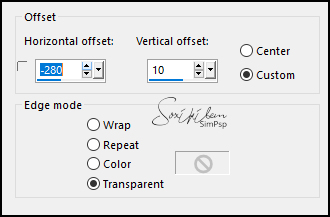
17 - Effects > Image Effects > Offset.
18 - Effects > 3D Effects > Drop Shadow.
19 - Close the visibility of the Raster 1 layer. Layers > Merge > Merge Visible
20 - Open visibility and activate Raster 1. Layers > Duplicate.
21 - Plugin MuRa's Meister > Perspective Tiling
22 - Layers > Arrange > Bring to top
23 - Activate Layer Merged. Layers Properties: Opacity 80%.
24 - Activate the Layer Copy of Raster 1.Effects > 3D Effects > Drop Shadow
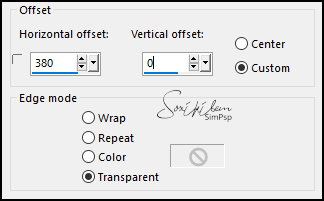
25 - Activate the layer Merged. Edit > Copy in Misted Landscape .Edit > Paste as New Layer. Effects > Image Effects > Offeset.
26 - Adjust > Sharpness > Sharpen
27 - Activate the Copy of Raster1 layer. Edit > Copy in the Main Tube. Edit > Paste as New Layer. Position Right .Adjust > Sharpness > Sharpen. Drop Shadow as you prefer.
28 - Image > Add Borders. 01px - Background color 01px - Foreground color 01px - Background color
29 - Selections > Select All.
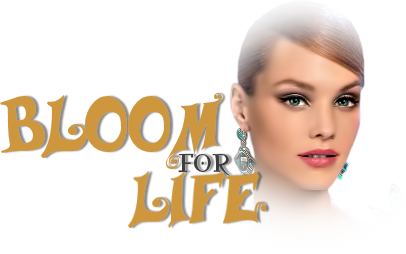
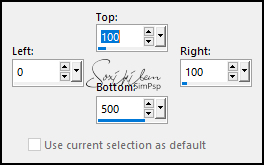
30 - Image > Add Borders: 40 pixels - with any color.
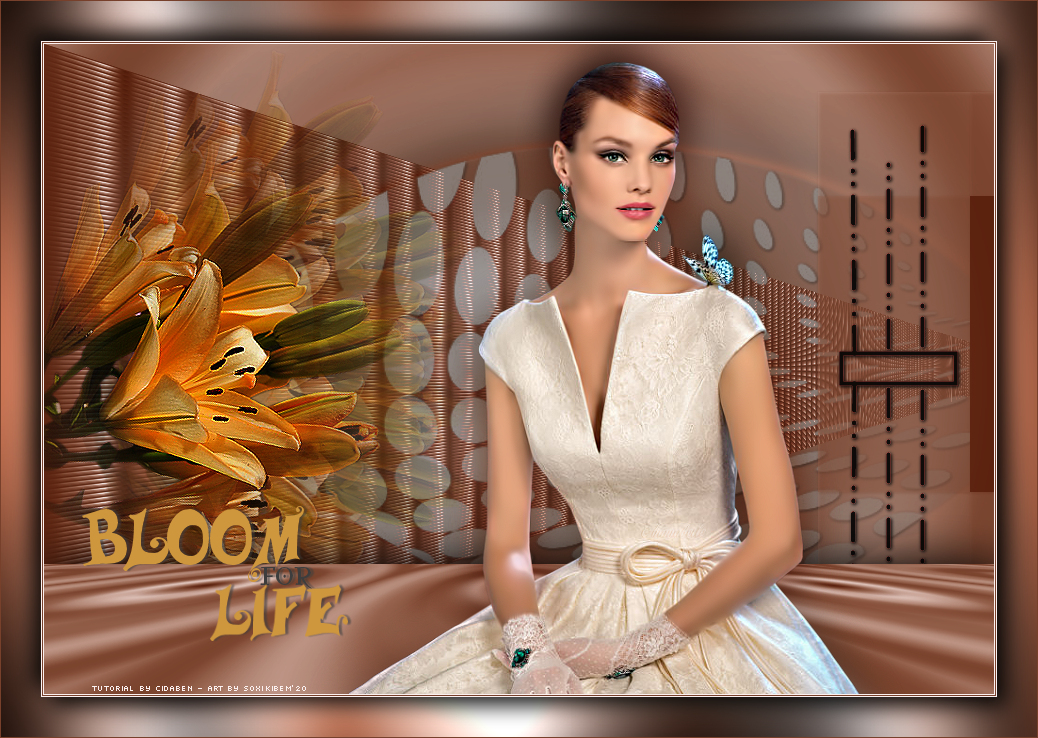
31 - Selections > Invert. Paint with the Gradient configured as in the print below.
32 - Plugin Graphics Plus > Cros Shadow: Default
33 - Selections > Invert Effects > 3D Effects > Drop Shadow: 10, 10, 80, 30, black colorEffects > 3D Effects > Drop Shadow: -10, -10, - 80 - 30, black colorSelections > Select None
34 - Image > Add Borders: 1px Foreground color
35 - Edit> Copy in the Title, position the left as my version..
36 - Layers > Merge > Merge All
36 - Apply your watermark or signature. File > Export > JPEG Optimizer.
Credits
Tutorial by CidaBen'20
Feel free to send your versions. I will be happy to publish them on our website.
|