|
TRADUÇÕES: Obrigada aos nossos tradutores!
MATERIAL 1 Tube principal a sua escolha 1 Misted Paisagem a sua escolha Mask SmArt_mask_94
PLUGINS It@lian Editors Effect MuRa's Meister Graphics Plus
TUTORIAL
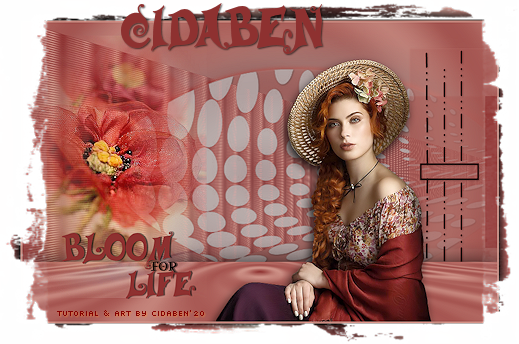
1 - Abrir o material no PSP, duplique e feche o original. Escolher duas cores para trabalhar. Foreground #8e3130 Background#d90397
2 - Abra uma imagem transparente de 950 X 650 px
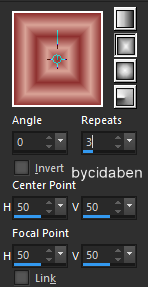
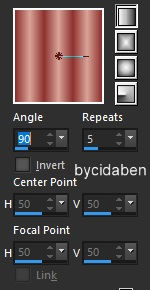
3 - Pintar com um gradiente Retangular formado pelas cores escolhidas: Angle 0 Repeats 3
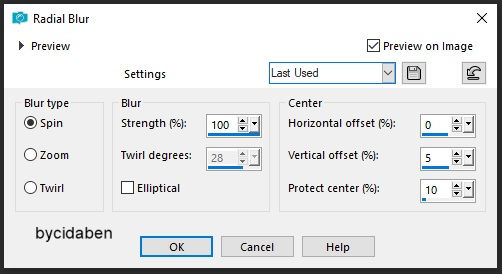
4 - Adjust > Blur > Radia Blur
5 - Layers > New Raster Layer Pintar com a cor #ffffff (branca)
6 - Layers > New Mask Layer > From Image: SmArt_mask_94 Layers > Merge > Merge Group
7 - Layers > Properties > Blend Mode > Soft Light Effects > 3D Effects > Drop Shadow
8 - Layer > New Raster Layer Pintar com a cor do Background - #d9a397
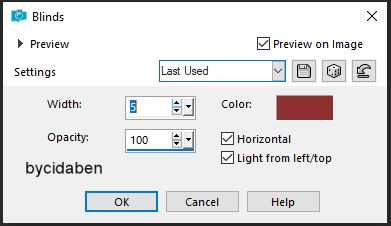
9 - Effects > Texture Effects > Blinds com a cor do Foreground - #8e3130
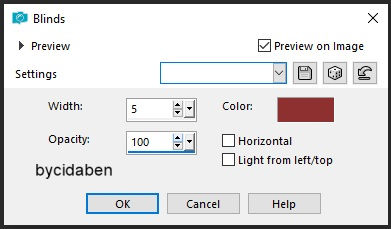
Repita o passo 9 com o Horizontal e Light from left/top desmarcado
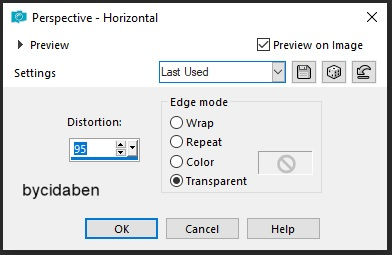
10 - Effects > Geometric Effects > Perpective Horizontal
11 - Layers > Properties: Blend Mode Lighten
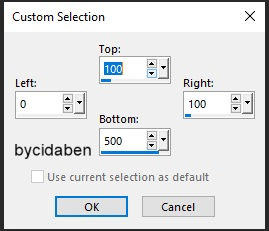
12 - Layers > New Raster Layer. Ferramenta Selection Tool > Custon Selection
13 - Pintar com a cor do Foreground #8e3130 Selections > Select None Image > Mirror > Mirror Horizontal
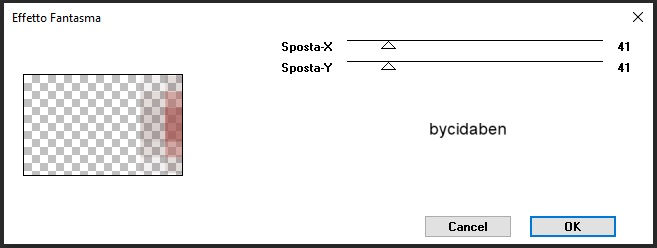
14 - Plugin It@lian Editors Effect > Effetto Fantasma
15 - Effects > 3D Effects > Drop Shadow: 1, 1, 100, 5, cor do Foreground # 8e3130
16 - Edit > Copy no Decor > decos_NaiseM. Edit > Paste a new Layer.
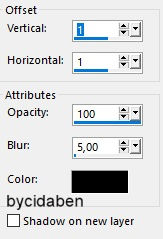
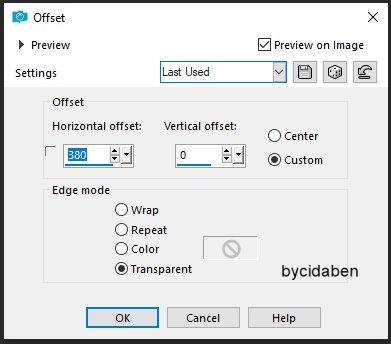
17 - Effects > Image Effects > Offset
18 - Effects > 3D Effects > Drop Shadow
19 - Fechar a visibilidade da layer Raster 1. Layers > Merge > Merge Visible
20 - Abrir a visibilidade e ativar a Raster 1. Layers > Duplique
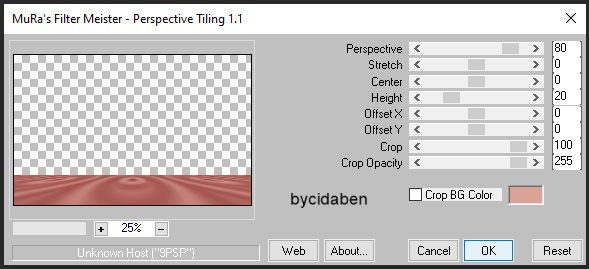
21 - Plugin MuRa's Meister > Perspective Tiling
22 - Layers > Arrange > Bring to top
23 - Ativar a Layer Merged. Layers Properties: Opacity 80%
24 - Ativar a Layer Copy of Raster 1 Effects > 3D Effects > Drop Shadow
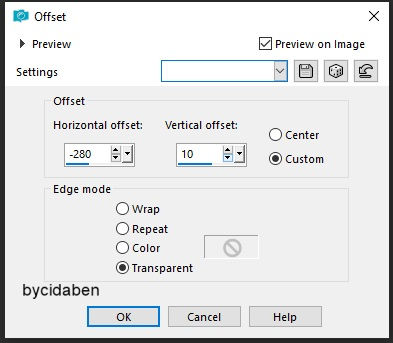
25 - Ativar a layer Merged. Edit > Copy no Misted Paisagem. Edit > Paste as New Layer. Effects > Image Effects > Offeset > -280 - 10 > Custom > Transparent
26 - Adjust > Sharpness > Sharpen
27 - Ativar a layer Copy of Raster1. Edit > Copy no Tube Principal. Edit > Paste as New Layer. Posicione a Direita. Adjust > Sharpness > Sharpen Drop Shadow como preferir
28 - Image Add Borders 01px - na cor do Background 01px - na cor do Foreground 01px - na cor do Background
29 - Selections > Select All
30 - Image > Add Borders: 40 pixels - qualquer cor
31 - Selections > Invert Pintar com o Gradiente configurado como no print abaixo
32 - Plugin Graphics Plus > Cros Shadow: Default
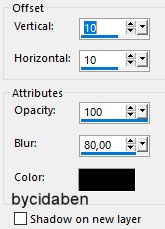
33 - Selections > Invert Effects > 3D Effects > Drop Shadow: 10, 10, 80, 30, cor preta novamente > negativo Vertical e Horizontal -10, -10, - 80 - 30, cor preta Selections > Select None
34 - Imagem > Add Borders: 1px na cor do Foreground # 8e3130
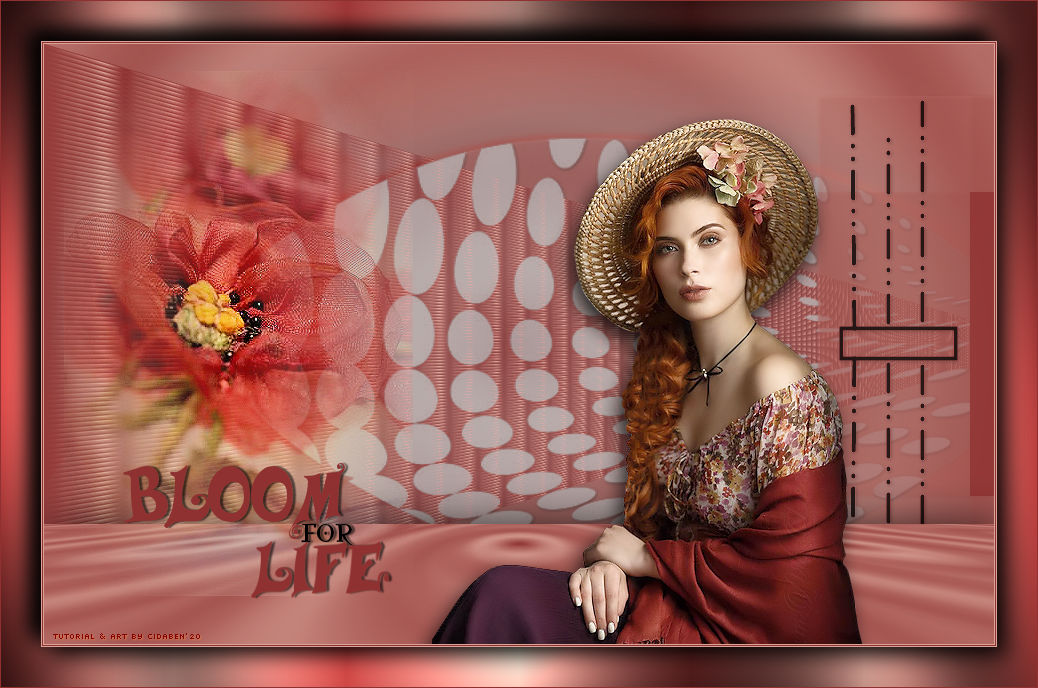
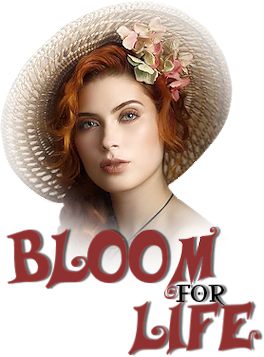
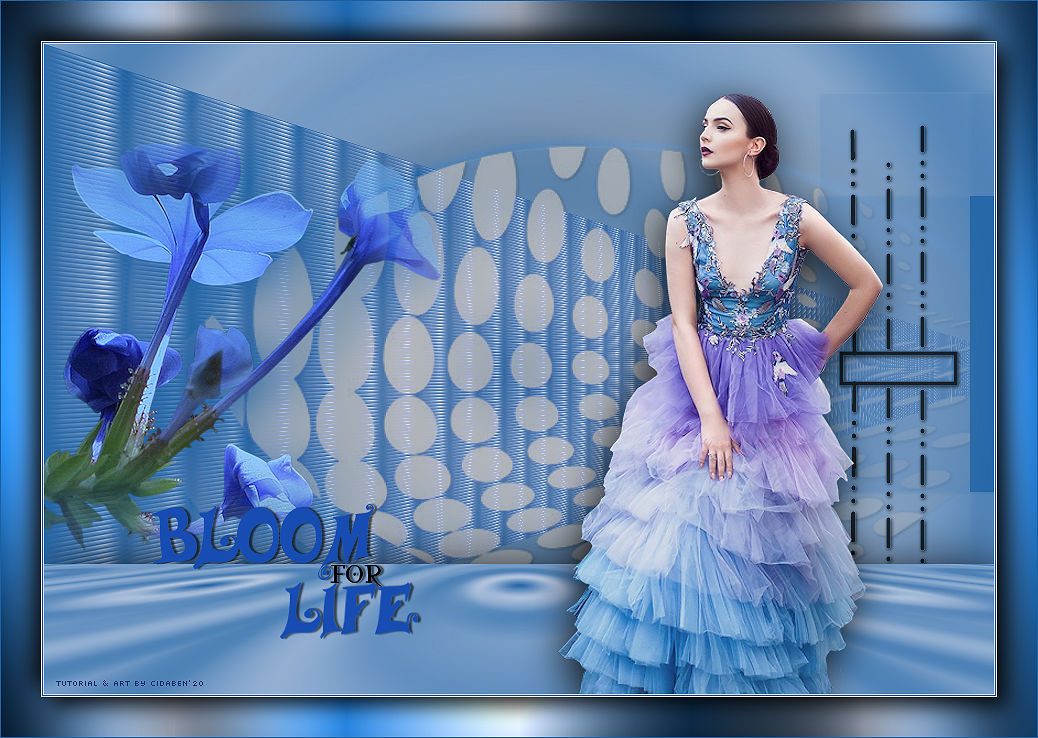
35 - Edit > Copy no Título, posicionar como no Modelo.
36 - Layers > Merge > Merge All
36 - Aplicar a sua marca d'agua ou assinatura. File > Export > JPEG Optimizer.
Créditos Versao
1
Créditos Versao
2 Tutorial by CidaBen'20
Sinta-se à vontade para enviar suas versões. Terei todo o prazer em publicá-las em nosso site.
|