|
Tutorial by Roberta Maver English Translation by Moderation SIM-PSP Original Tutorial
MATERIAL Alpha_Wonderful_Feelings_byRoberta Deco_Wonderful_Feelings Deco1_Wonderful_Feelings
Titulo_WonderfulFeelings
Carolaine and Sensibility
3 - Selections > Select All.
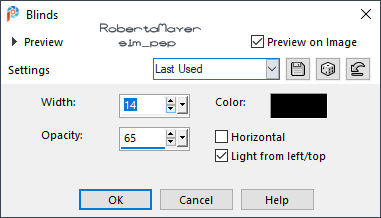
Color: #000000
Effects > Texture Effects > Blinds: Horizontal checked Color: #000000
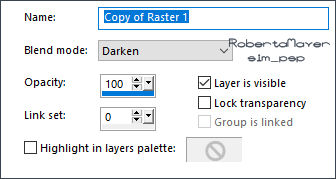
Layers > Duplicate. Layers > Properties > General > Blend Mode: Darken
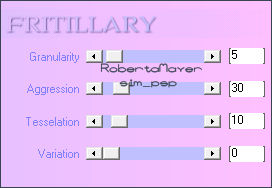
Selections > Load/Save Selection > Load Selection From Alpha Channel: Selection #1 Paint selection with Background color #a2adc3 Effects > Plugins > Xero > Frittillary: Default
Repeat > Effects > Plugins > Xero > Frittillary: Default Still selected...
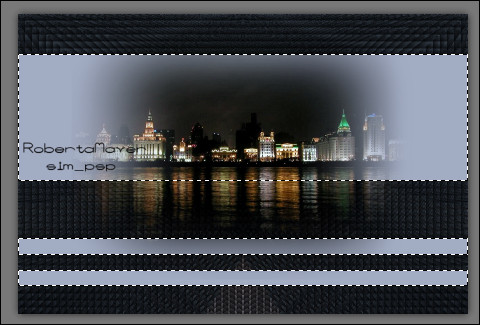
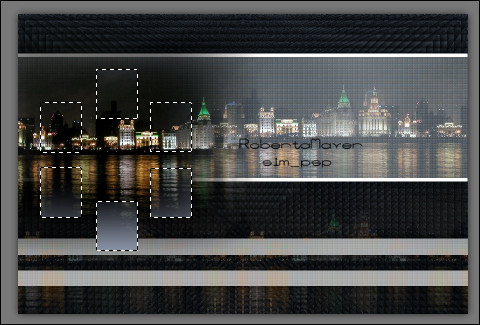
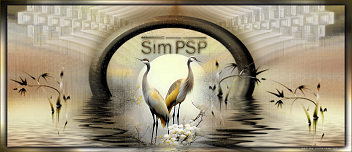
8 - Edit > Copy the Misted Landscape. Position as in the example:
Selections > Invert. Press the Delete key on the Keyboard. Selections > Select None.
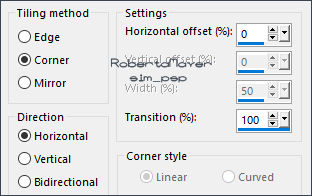
9 - Effects > Image Effects > Seamless Tiling:
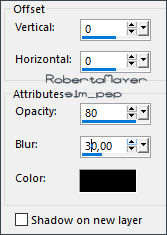
Activate the Layer Raster 2 (Selection #1) Effects > 3D Effects > Drop Shadow: Color: #000000
Layers > Properties > General > Blend Mode: Luminance (Legacy) Activate the Layer Raster 1.
10 - Edit > Copy the Misted Landscape.
Effects > Image Effects > Seamless Tiling:
Layers > Properties > General > Blend Mode: Normal - Opacity: 40%
Activate the Layer Raster 3 (top layer)
11 - Edit > Copy the Deco_Wonderful_Feelings. Selections > Load/Save Selection > Load Selection From Alpha Channel: Selection #4 Paint selection with Background color #a2adc3
Edit > Copy the Misted Landscape.
Press the Delete key on the Keyboard. Selections > Select None. Layers > Merge > Merge Down.
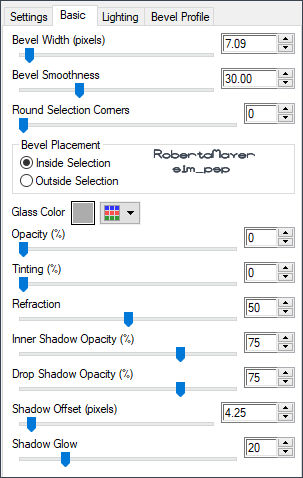
13 - Layers > New Raster Layer. Selections > Load/Save Selection > Load Selection From Alpha Channel: Selection #3 Paint selection with Foreground color #3a4450 Effects > Plugins > Eyes Candy 5 Impact > Glass:
Selections > Select None. Layers > Merge > Merge Down.
14 - Layers > New Raster Layer. Selections > Load/Save Selection > Load Selection From Alpha Channel: Selection #2 Paint selection with Foreground color #3a4450 Still selected...
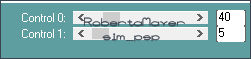
15 - Effects > Plugins > Carolaine and Sensibility > CS_DLines:
Effects > Plugins > Eyes Candy 5 Impact > Glass - same configuration as before. Selections > Select None. Layers > Arrange > Move Down. Activate the Top Layer Layers > Merge > Merge Down.
16- Effects > 3D Effects > Drop Shadow: Color: #000000
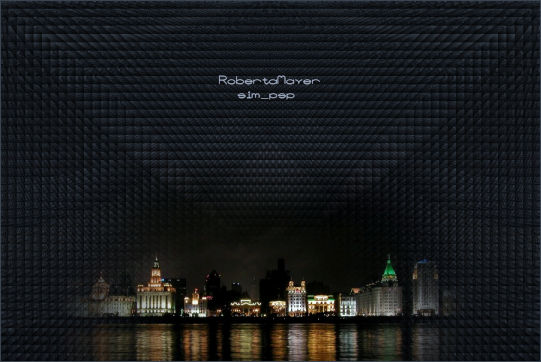
17 - Image > Add Borders > Symmetric:
Repeat > Effects > Plugins > Xero > Frittillary: Default Selections > Invert. Effects > 3D Effects > Drop Shadow: Color: #000000
Edit > Repeat Drop Shadow. Selections > Select None.
19- Edit > Copy the Deco1_Wonderful_Feelings.
Effects > 3D Effects > Drop Shadow: your choice.
Effects > 3D Effects > Drop Shadow: your choice.
22- Image > Add Borders: 1px - Color: Foreground #3a4450 .
CREDITS: Misted Landscape: Tubed by LB Tubes e Mists
Feel free to send your versions. I will be happy to publish them on our website.
|