|
TRADUÇÕES:
Obrigada aos nossos
tradutores!
MATERIAL Deco_Wonderful_Feelings Deco1_Wonderful_Feelings
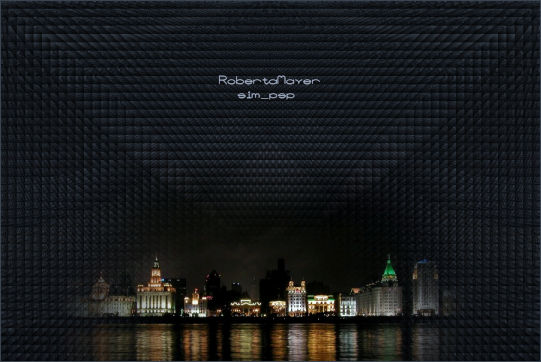
Titulo_WonderfulFeelings
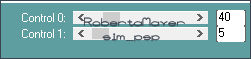
Carolaine and Sensibility Pintar com a cor do Foreground #3a4450
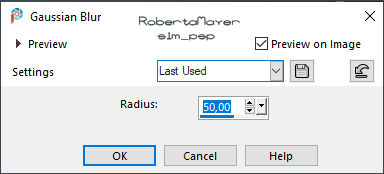
3 - Selections > Select All.
Color: #000000
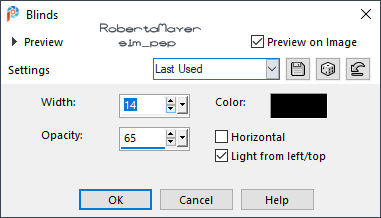
Effects > Texture Effects > Blinds: Horizontal marcado Color: #000000
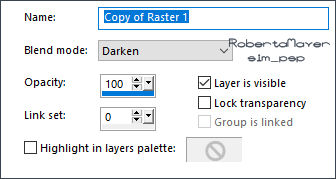
Layers > Duplicate. Layers > Properties > General > Blend Mode: Darken
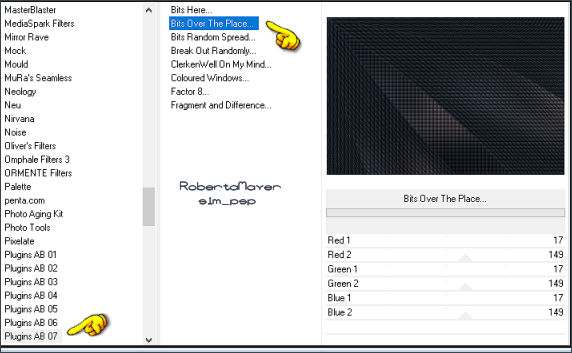
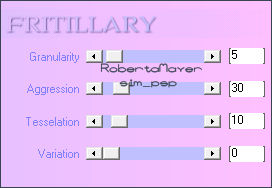
Selections > Load/Save Selection > Load Selection From Alpha Channel: Selection #1 Pintar a seleção com a cor do Background #a2adc3 Effects > Plugins > Xero > Frittillary: Default
Repetir > Effects > Plugins > Xero > Frittillary: Default Ainda selecionada
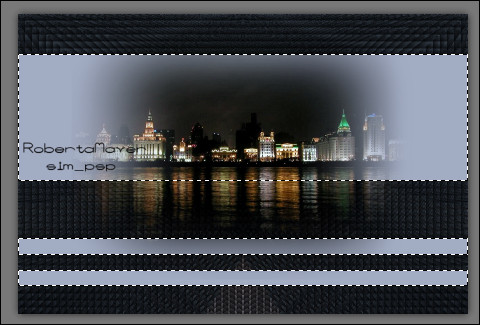
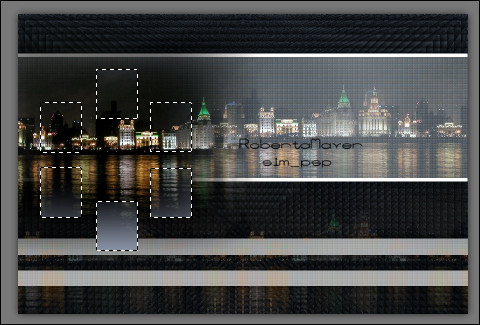
8 - Edit > Copy no Misted Paisagem Posicionar como no exemplo:
Selections > Invert. Pressionar a tecla Delete no Teclado. Selections > Select None.
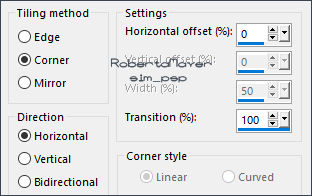
9 - Effects > Image Effects > Seamless Tiling:
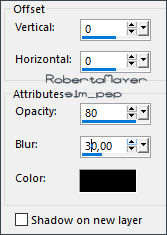
Ativar a Layer Raster 2 (Seleção #1) Effects > 3D Effects > Drop Shadow: Color: #000000
Layers > Properties > General > Blend Mode: Luminance (Legacy) Ativar a Layer Raster 1
10 - Edit > Copy no Misted Paisagem
Effects > Image Effects > Seamless Tiling:
Layers > Properties > General > Blend Mode: Normal > Opacidade 40%
Ativar Layer Raster 3 (Topo)
11 - Edit > Copy no Deco_Wonderful_Feelings. Selections > Load/Save Selection > Load Selection From Alpha Channel: Selection #4 Pintar cor a cor do Background #a2adc3
Edit > Copy no Misted Paisagem
Pressionar a tecla Delete no Teclado. Selections > Select None. Layers > Merge > Merge Down.
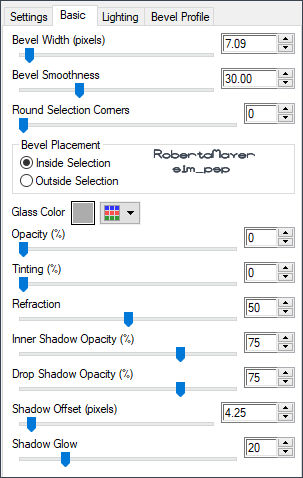
13 - Layers > New Raster Layer. Selections > Load/Save Selection > Load Selection From Alpha Channel: Selection #3 Pintar a seleção com a cor do Foreground #3a4450 Effects > Plugins > Eyes Candy 5 Impact > Glass:
Selections > Select None. Layers > Merge > Merge Down.
14 - Layers > New Raster Layer. Selections > Load/Save Selection > Load Selection From Alpha Channel: Selection #2 Pintar a seleção com a cor do Foreground #3a4450 Ainda selecionada
15 - Effects > Plugins > Carolaine and Sensibility > CS_DLines:
Effects > Plugins > Eyes Candy 5 Impact > Glass na mesma configuração aplicada anteriormente. Selections > Select None. Layers > Arrange > Move Down. Ativar Layer do Topo Layers > Merge > Merge Down.
16- Effects > 3D Effects > Drop Shadow: Color: #000000
17 - Image > Add Borders > Symmetric:
Repetir > Effects > Plugins > Xero > Frittillary: Default Selections > Invert. Effects > 3D Effects > Drop Shadow: Color: #000000
Edit > Repeat Drop Shadow. Selections > Select None.
19- Edit > Copy no Deco1_Wonderful_Feelings.
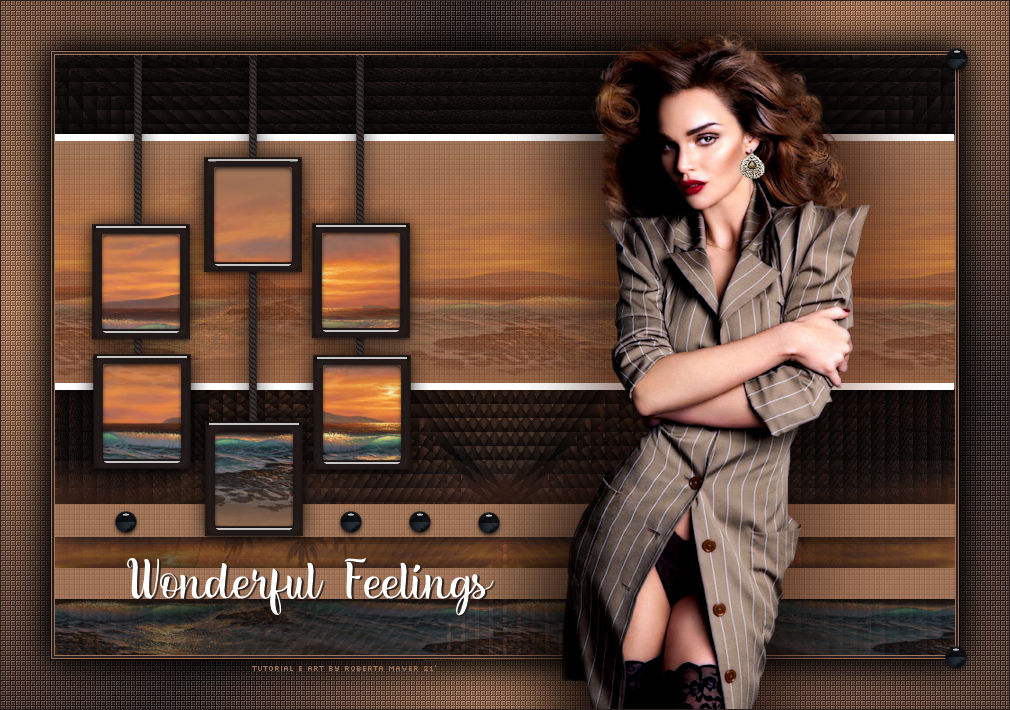
Créditos: Tube: tubed by Gabry - Miste Paisagem: walfrido_maui_memories_TbS
Créditos
Sinta-se à vontade para enviar suas versões. Terei todo o prazer em publicá-las em nosso site.
|