|
TRADUÇÕES: Obrigada aos nossos tradutores!
MATERIAL 1 Tube Principal à sua escolha 1 Misted Paisagem à sua escolha 1 Tube Decorativo à sua escolha Decor_1_thalyssa_by Roberta Decor_2_thalyssa_by Roberta Titulo_Thalyssa_by Roberta Narah_mask_Abstract129
PLUGINS AAA Frames Distortions Filter Todies MuRa's Meister
Roteiro: 1 - Abrir o material no PSP, duplique e feche o original. Escolher duas cores para trabalhar. Foreground #1c1b48 Background #a49ccc
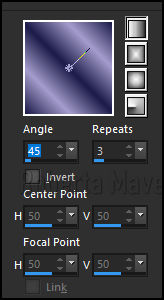
2 - Abra uma imagem transparente de 900 x 600 px. Pinte com o gradiente formado pelas cores escolhidas: Linear - Angle: 45 - Repeats: 3 - Invert: Desmarcado
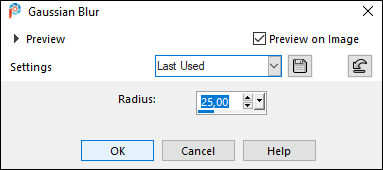
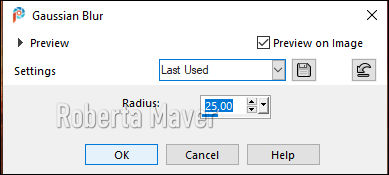
3 - Adjust > Blur > Gaussian Blur > 25.
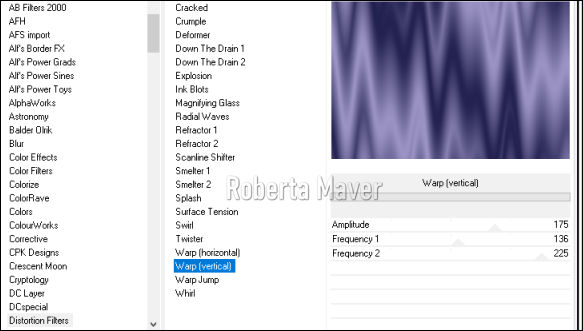
4- Effects > Plugin > Filter Unlimetd 2.0 > Distortions Filter > Warp vertical.
5 - Effects > Edge Effects > Enhance.
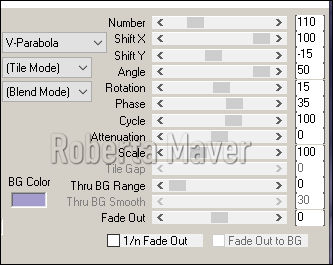
6 - Effects > Plugin > Murra's Meister > Copies.
Com a ferramenta pick puxe um pouco para os 4 lados para cobrir os espaços transparentes que ficaram.
7- Effects > Reflections Effects > Feedback 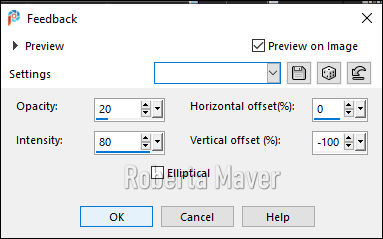
8 - Effects > Edge Effects > Enhance.
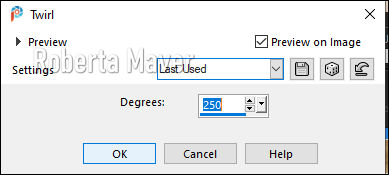
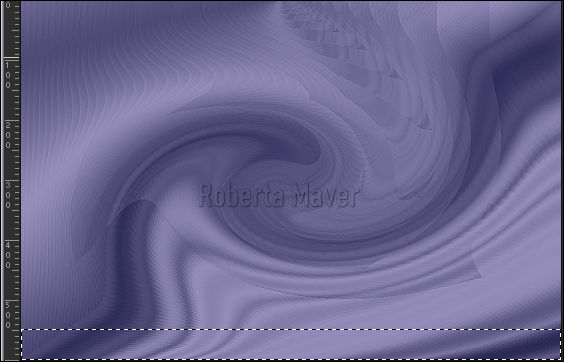
9 - Effects > Distortion Effects > Twirl
10 -
Edit > Copy no misted paisagem.
Edit > Paste
As New Layer,
Posicione ao centro. Dê
rezise se for necessário.
Adjust > Sharpness >
Sharpen
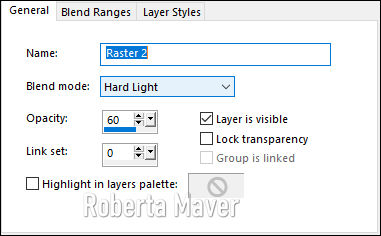
11- Layers > Properties > General > Blend Mode: Hard Ligth, Opacity 60%.
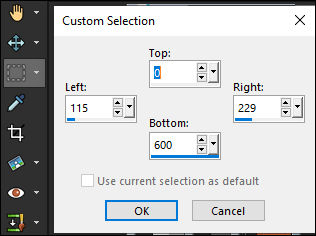
12- Layers > New Raster Layer Selection Tool > Custom Selection:
Pintar com
com o gradiente em uso.
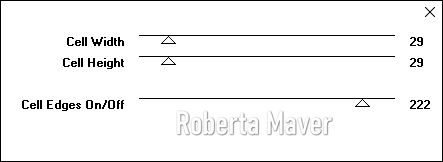
13 - Effects > Plugin >Toadies >
Weaver.
 Selections > Select None.
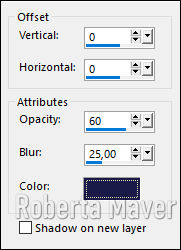
14- Effects > 3D Effects > Drop Shadow: 0 /0/60/25 Color: #1c1b48
15- Effects >
Plugin >Toadies > What Are You?
16- Effects > Edge
Effects > Enhance.
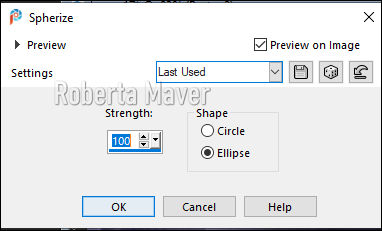
Layers > Duplicate. Image > Mirror > Mirror Horizontal. Layer > Merge > Merge Down. 17- Effects > Geometric
Effects > Spherize.
 Layers >
Duplicate.
Ativar a Layer > Raster 3. 18-
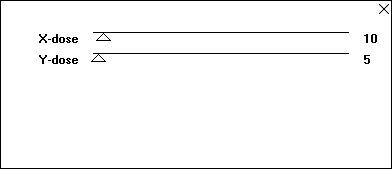
Effects > Distortion Effects >
Wind
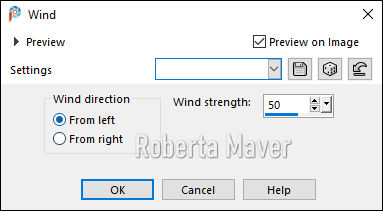
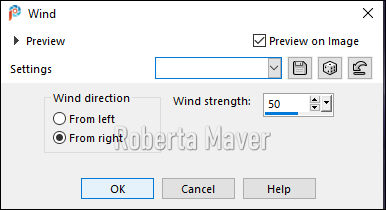
Effects > Distortion Effects >
Wind, mudando
para from right
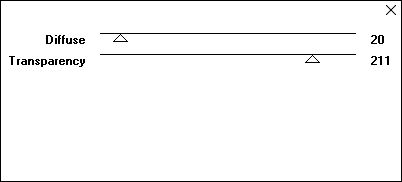
 19- Effects
> Plugin >Toadies > Blast' eml.
 Layers > Duplicate. Layer > Merge > Merge Down. Ativar a Layer > Copy of Raster 3.
20 - Effects > 3D Effects > Drop Shadow: 0 /0/100/25 Color: #1c1b48
21- Ativar a Layer > Raster 1. Com a Ferramenta Selection configure como mostro no print.
Selections > Promote Selection to Layer. Layers > Arrange > Bring to Top
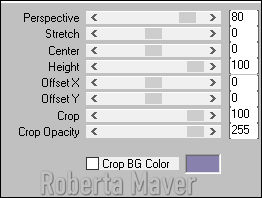
22- Effects > Plugins > Mura's Meister > Perspective Tiling > Default
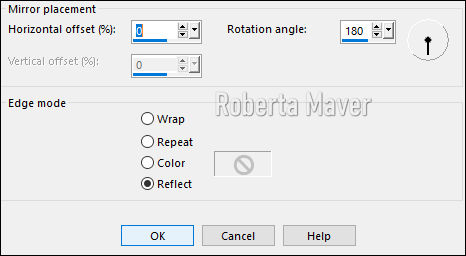
23 - Effects > Reflections Effects > Rotatin Mirror.
Selections > Select None. Com a Varinha Mágica dê um clique na parte transparente com o Feather configurado em 15 Aperte no teclado 3 vezes Selections > Select None.
24- Effects > 3D Effects > Drop Shadow: 0 /0/100/40 Color: #1c1b48
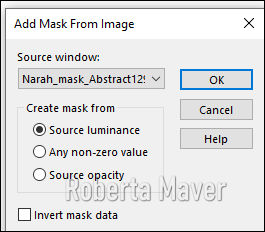
25- Layers > New Raster Layer Pinte a layer com a cor #ffffff (branco) Layers > New mask layer > From image >Narah_mask_Abstract129
Layers > Merge > Merge Group. Adjust > Sharpness > Sharpen.
26 - Layers > Properties > General > Blend Mode: Overlay
27- Image > Add Borders: 2px na cor do foreground 2 px na cor do background 2px na cor do foreground. Edit > Copy...
28- Selections > Select All. Image > Add Borders: 50 px com qualquer cor. Selections > Invert. Edit > Paste Into Selection.
28- Adjust > Blur > Gaussian Blur > 25.
30- Effects > Plugin > Toadies > Blast' eml.
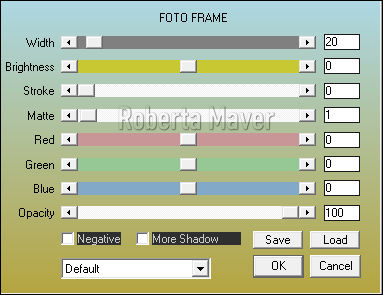
31- Effects > Plugin AAA Frames > Foto Frame.
Selections > Invert. 32- Effects > 3D Effects > Drop Shadow: 0 /0/100/40 Color: #000000 (Preto) Selections > Select None.
33- Edit > Copy no decor_thalyssa_byRoberta. Edit > Paste a New Layer.
34 - Edit > Copy no decor_2_thalyssa_byRoberta. Edit > Paste a New Layer. Com a ferramenta Pick Tooll posicione: Position X 80, Position Y 225
35- Edit > Copy no Tube decoração. Edit > Paste a New Layer. Posicione à esquerda do trabalho. Adjust > Sharpness > Sharpen. Effects > 3D Effect > Drop Shadow à sua escolha.
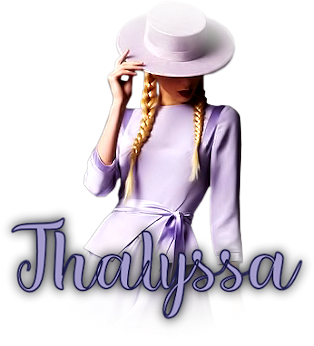
36- Edit > Copy no titulo_thalyssa_byRoberta. Edit > Paste a New Layer. Posicione à direita como preferir.
37- Edit > Copy no Tube Principal. Edit > Paste a New Layer. Redimensionar o tube à gosto. Adjust > Sharpness > Sharpen. Posicionar à sua escolha. Effects > 3D Effect > Drop Shadow à sua escolha.
38- Image > Add Borders: 2px na cor do foreground
Se desejar, redimensione seu trabalho. Aplicar sua marca d'água ou assinatura. File > Export > JPEG Optimizer.
Tube: Gabry
Paisagem:
Alenza_tube_850
Tube decorativo: Claudia_viza
Créditos
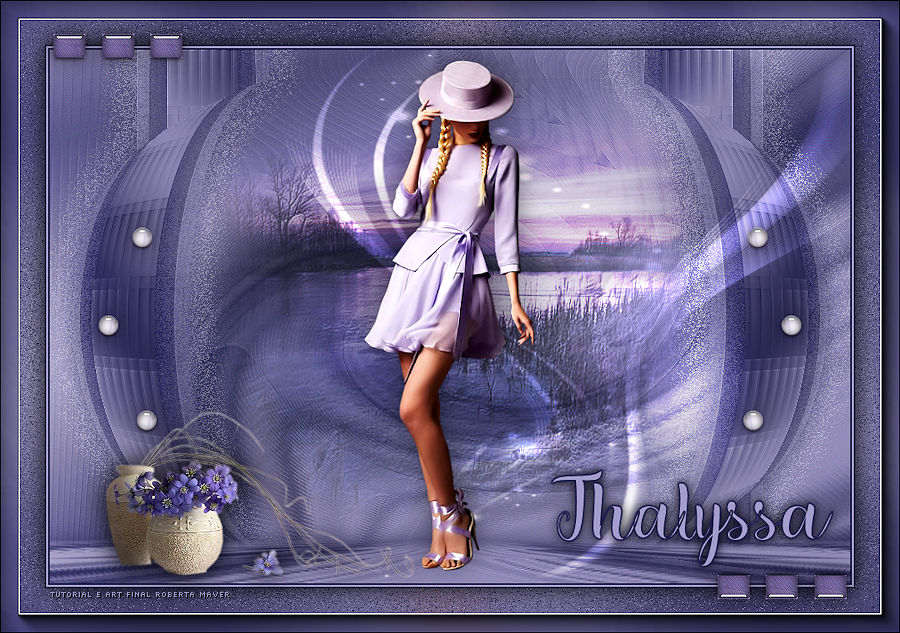
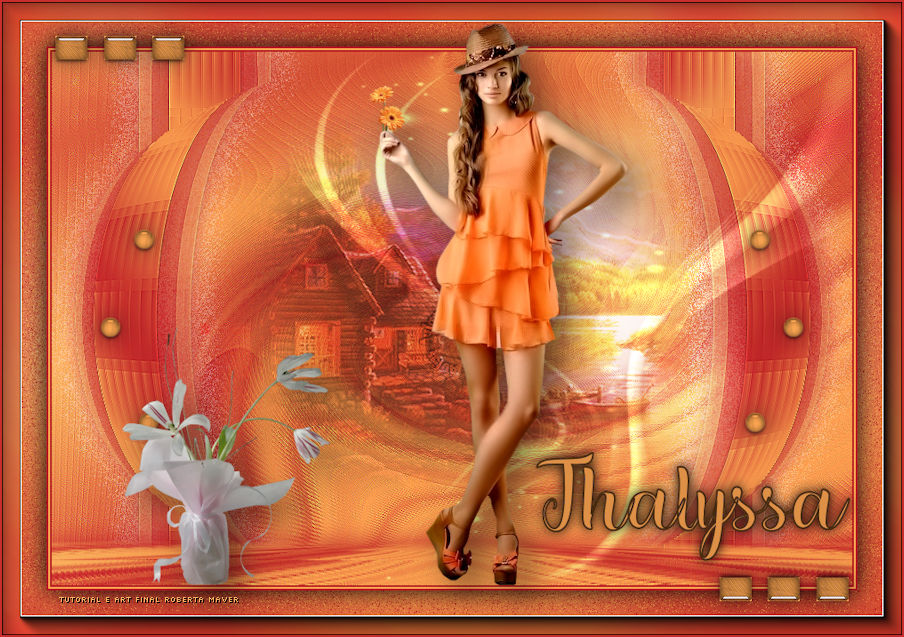
Tutorial Thalyssa criado por Roberta
Maver
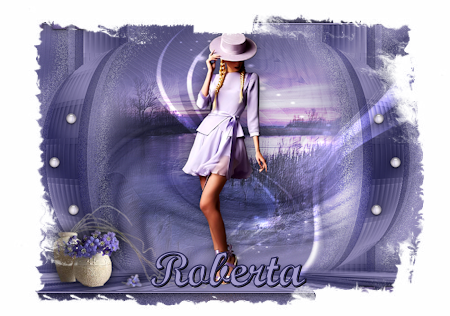
Tube:Gabry-woman
605
Paisagem: Luz Cristina
1 Tube Decorativo: fleurs bleues_tubed_by_thafs
Decor_1_thalyssa_by Roberta Decor_2_thalyssa_by Roberta Titulo_Thalyssa_by Roberta Narah_mask_Abstract129
23/10/2020
Sinta-se à vontade para enviar suas versões. Terei todo o prazer em publicá-las em nosso site.
|