|
TRADUÇÕES: Obrigada aos nossos tradutores!
MATERIAL 1 Tube principal à sua escolha 1 Misted Paisagem à sua escolha 1 Tube Decorativo à sua escolha tituloMaeBySoxikibem PLUGINS Flaming Pear L en K's Mehdi Mura's Seamless Nick Software
TUTORIAL 01- Abra o material no psp, duplique e feche os originais. Escolha 2 cores. Foreground: #480407 Background: #a95f5f
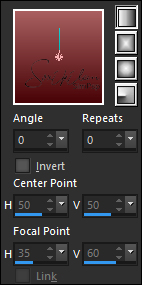
Preparar um gradiente Linear com as cores do Foreground e Background.
02 - Abrir uma nova transparência de 900x500px. Pintar com o gradiente.
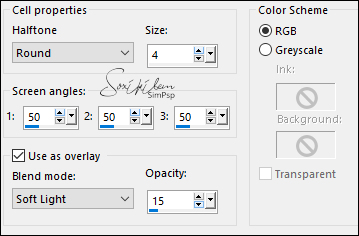
03 - Effects > Artistic Effects > Halftone.
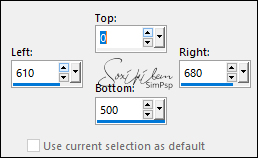
04 - Selections Tool > Custom Selection.
Selections > Promote Selection To Layer. Selections > Select None.
05 - Effects > Plugin Mehdi > Vibrations. Sequência das Cores: Background, Foreground, Foreground.
06 - Effects > Distortion Effects > Wave.
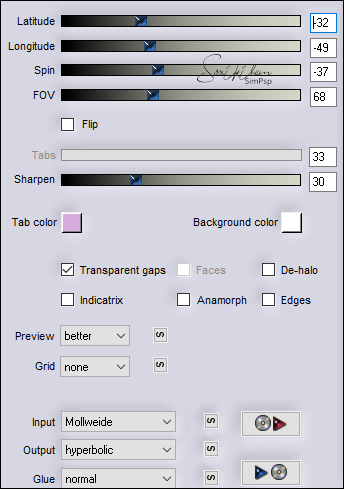
07 - Effects > Plugin Flaming Pear > Flexify 2.
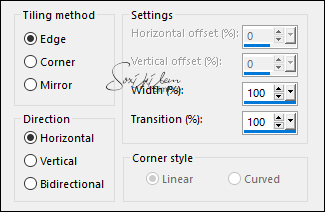
8 - Effects > Image Effects > Seamless Tiling.
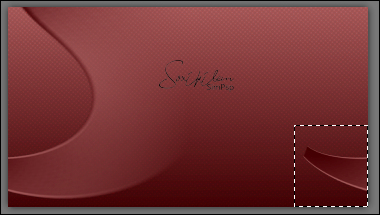
Com a Selection Tool, selecione a parte que sobrou do lado direito do trabalho e aperte a tecla Delete do teclado. Selections > Select None.
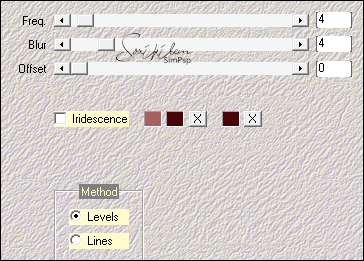
9 - Effects > Texture Effects > Fine Leather. Com a cor clara do Background.
Pick Tool: Position X: 0, Position Y: (-1).
10 - Layers > Duplicate. Image > Mirror > Mirror Horizontal. Image > Mirror > Mirror Vertical. Layers > Merge > Merge Down.
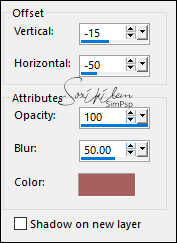
11 - Effects > 3D Effects > Drop Shadow. Com a cor do Background.
Repetir o Drop Shadow mudando o valor em Horizontal para 50.
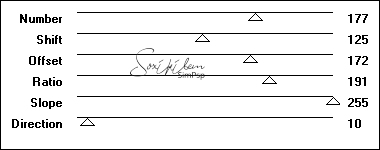
12 - Layers > Duplicate. Ative a layer Promoted Selection. Effects > Plugin Mura's Seamless > Shift at Zigzag.
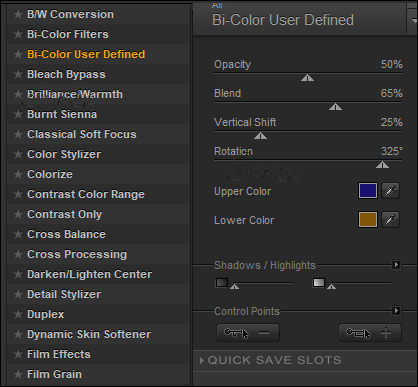
13 - Plugin Nick Software > Color Efex Pro 3.0 Complete. Mudar a cor Lower Color se desejar.
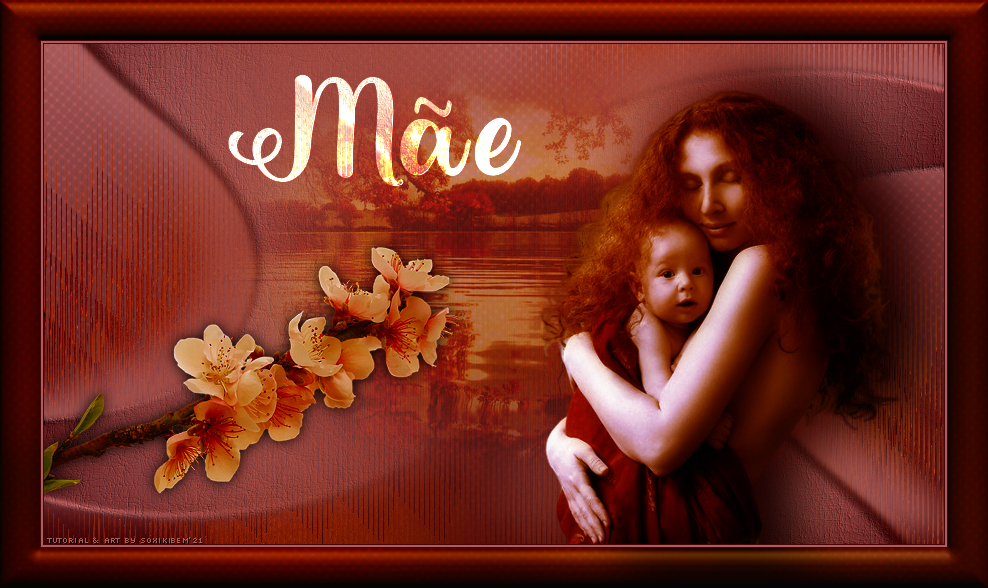
14 - Ativar a Layer Copy of Promoted Selection. Edit > Copy no Misted Paisagem. Edit > Paste a New Layer. Layers > Properties > General > Blend Mode: Soft Light (Opcional).
15 - Edit > Copy no tituloMaeBySoxikibem. Edit > Paste a New Layer. Pick Tool: Position X: 184, Position Y: 30. Mude o Blend Mode da Layer se desejar.
16 - Edit > Copy no Tube Principal. Edit > Paste a New Layer. Posicionar a seu gosto. Effects > 3D Effects > Drop Shadow como preferir.
17 - Edit > Copy no Tube decorativo. Edit > Paste a New Layer. Effects > Plugin Nick Software > Color Efex Pro 3.0 Complete.
Effects > 3D Effects > Drop Shadow como preferir.
18 - Image > Add Borders: 1px color: Foreground 2px color: Background 1px color: Foreground
19 - Edit > Copy. Selections > Select All. Image > Add Borders: 40px com qualquer cor. Selections > Invert. Edit > Paste Into Selection. Adjust > Blur > Gaussian Blur: 30.
20 - Effects > Artistic Effects > Halftone.
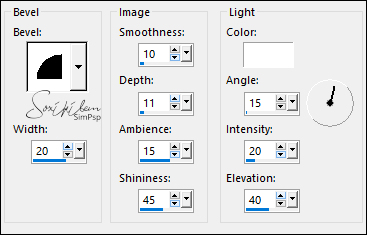
21 - Effects > 3D Effects > Inner Bevel.
22 - Effects > Plugin Nick Software > Color Efex Pro 3.0 Complete. (Opcional)
Selections > Select None.
23 - Se preferir redimensione seu trabalho.
Aplicar sua marca d'água ou assinatura.
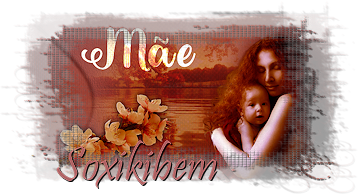
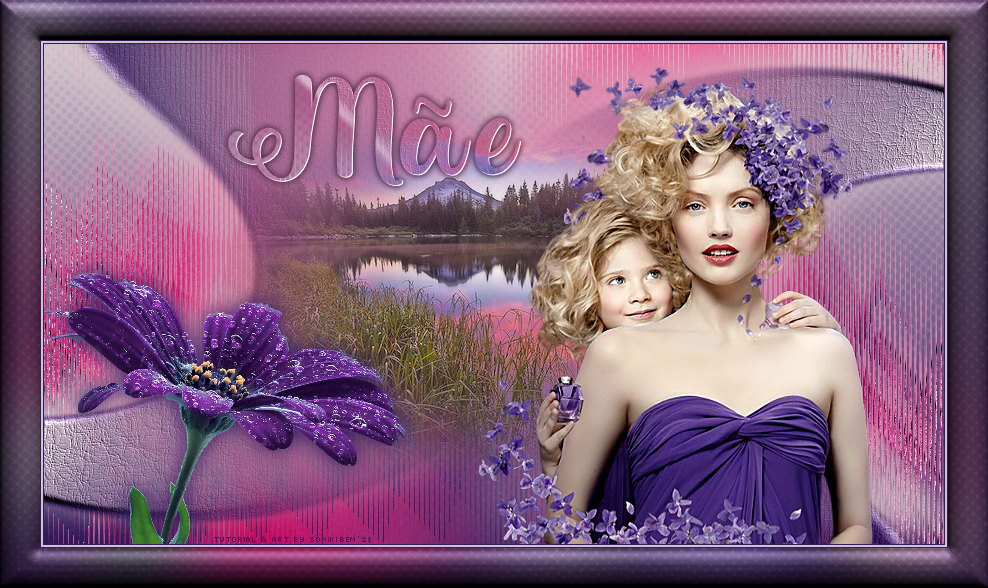
CREDITOS Primeira Versao: Tube by Sylvie - Tube Paisagem e Flor by Grisi Segunda Versao: Tube by Maryse - Flor by Kad - Misted Paisagem by Grisi
Sinta-se à vontade para enviar suas versões. Terei todo o prazer em publicá-las em nosso site.
|
