|
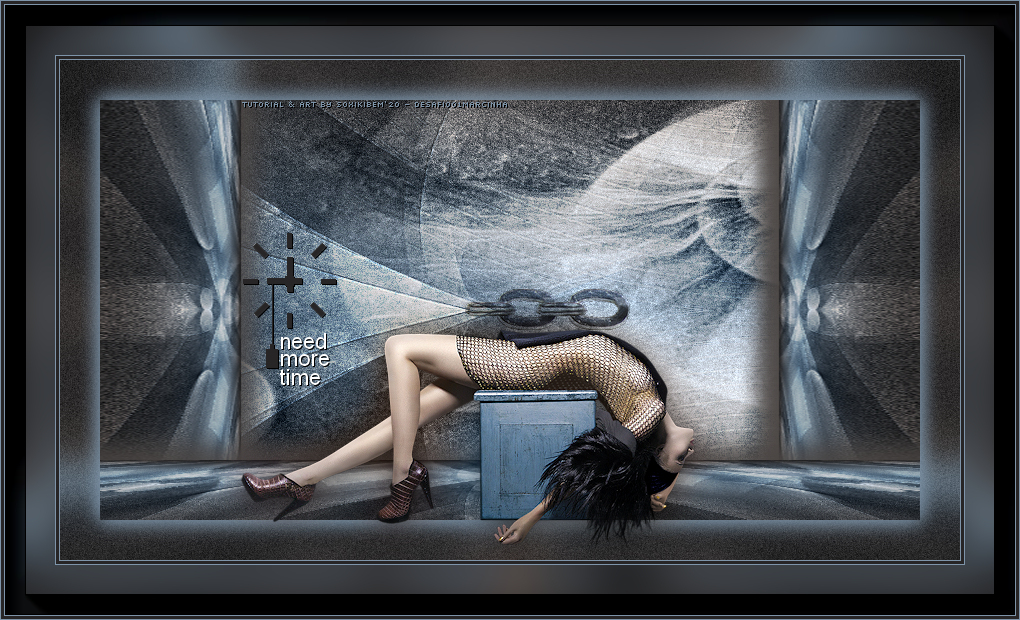
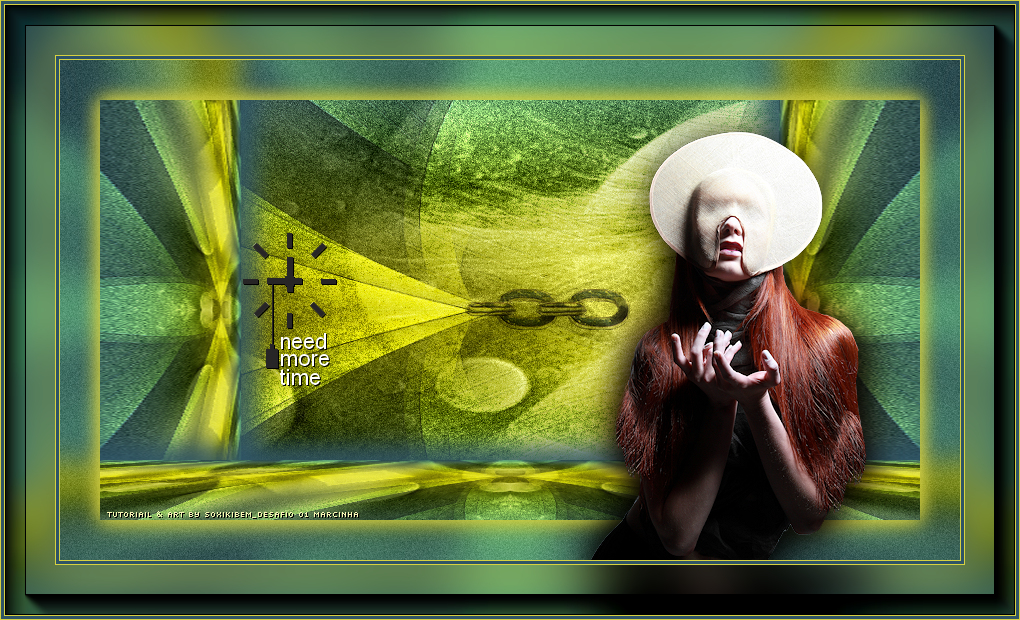
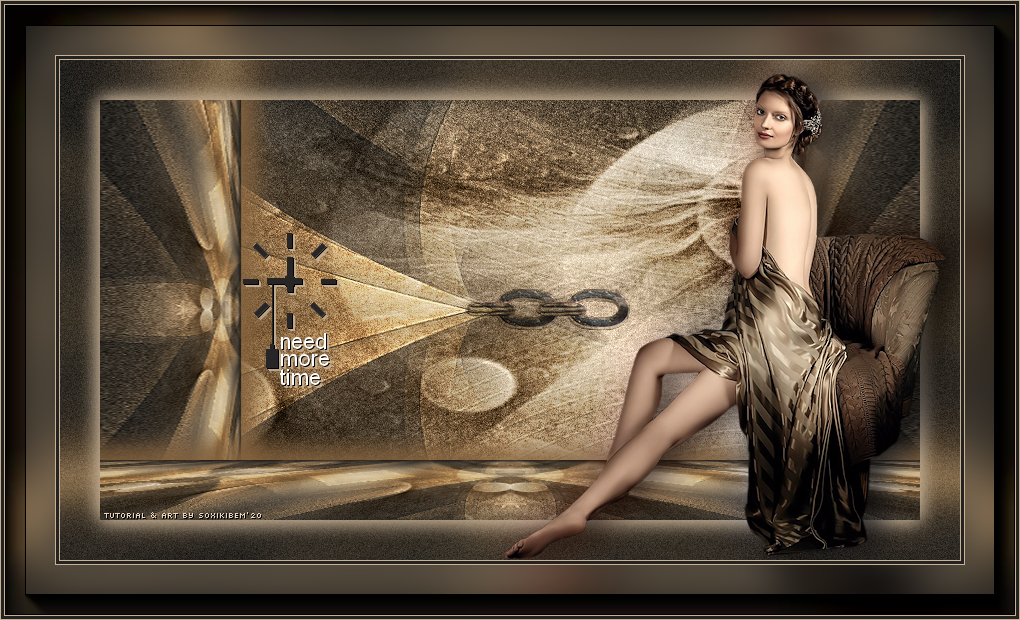
Tutorial criado para o Desafio 01 SimPsp Este desafio foi proposto por Marcinha, que me enviou o tube principal by Annelies e uma mask by Narah.
TRADUÇÕES: Obrigada aos nossos tradutores!
MATERIAL 1 Tube a sua escolha Abstract jewel 001 elosSoxikibem titulo_needmoretime Narah_mask_0805
Pluguins AAA Frames Alien Skin Eye Candy 5: Impact Mura's Meister
Execução
1 - Abrir o material no PSP, duplique e feche os originais. Escolher quatro cores para trabalhar, aqui usei as cores:
Cor 1- Foreground: #272525 Cor 2 - Background: #7D94A9 Cor 3 - #4B4644 Cor 4 - #E3D7CD
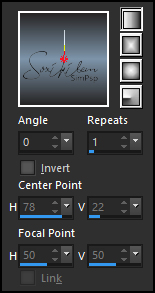
2 - Abra uma imagem transparente de 900x500px. Pintar com um gradiente Linear formado pelas cores 1 e 2.
3 - Adjust > Blur > Gaussian Blur: 30.
4 - Layers > New Raster Layer. Selections > Select All. Edit > Copy no Abstract jewel 001. Edit > Paste Into Selection. Selections > Select None. Layers > Properties: Blend Mode Luminence (L). Layers > Merge > Merge Down.
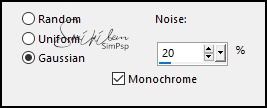
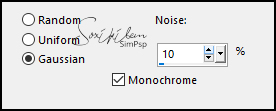
5 - Adjust > Add/Remove Noise > Add Noise.
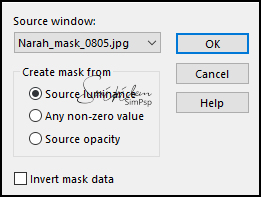
6 - Layers > New Raster Layer. Pintar esta layer com a cor 4. Layers > New Mask Layer > From Image: Narah_mask_0805.
Layers > Merge > Merge Group.
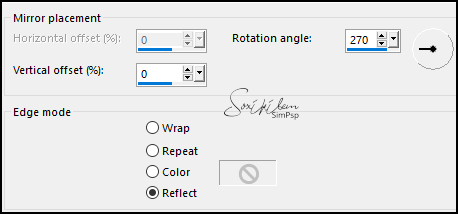
7 - Effects > Edge Effects > Enhance. Image > Mirror > Mirror Vertical. Effects > Reflection Effects > Rotating Mirror.
Layers > Properties: Blend Mode Overlay.
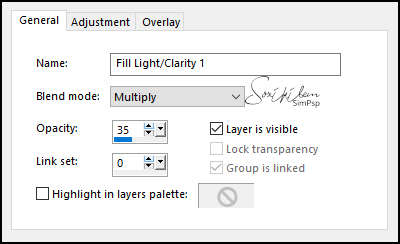
8 - Layers > New Adjustment Layer > Fill Light/Clarity. Mudar apenas na aba General como no print abaixo.
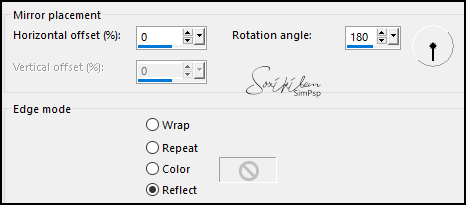
9 - Layers > Merge > Merge Visible. Layers > Duplicate. Effects > Reflections Effects > Rotating Mirror.
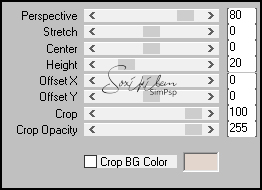
10 - Plugin Mura's Meister > Perspective Tiling.
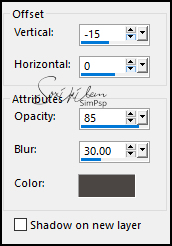
11 - Effects > 3D Effects > Drop Shadow: -15, 0, 85, 30, com a cor 3.
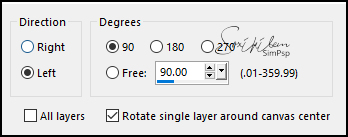
12 - Layers > Duplicate. Image > Free Rotate.
Objects > Align > Right. Layers > Duplicate. Image > Mirror > Mirror Horizontal. Layers > Merge > Merge Down.
13 - Effects > Distortion Effects > Pinch: Strength 100. Layers > Arrange > Move Down. Layers > Merge > Merge Visibile.
14 - Selections > Select All. Selections > Modify > Contract: 40. Selections > Invert. Adjust > Blur > Gaussian Blur: 15. Adjust > Add/Remove Noise > Add Noise.
15 - Selections > Invert. Effects > 3D Effects > Drop Shadow: 0, 0, 100, 30, com a cor 2. ( Duas vezes). Selections > Select None.
16 - Edit > Copy no elosSoxikibem. Edit > Paste a New Layer. Com a ferramenta Pick posicione: Position X 393, Position Y 229. Layers > Properties: Blend Mode Multiply.
17 - Edit > Copy no tube principal. Edit > Paste a new layer. Layers > Duplicate. Na layer original do tube aplique: Adjust > Blur > Gaussian Blur: 20. Layers > Properties: Blend Mode Color (L).
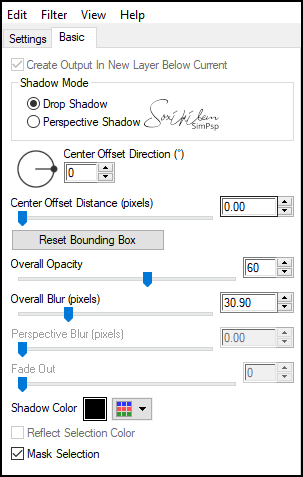
18 - Ative a layer Copy do tube. Plugin Alien Skin Eye Candy 5: Impact > Perspective Shadow.
19 - Layers > Merge > Merge Visibile. Edit > Copy. Image > Add Borders: 1px cor 2 3px cor 1 1px cor 2
20 - Selections > Select All. Image > Add Borders: 50 px com qualquer cor. Selections > Invert. Edit > Paste Into Selection. Adjust > Blur > Gaussian Blur: 20.
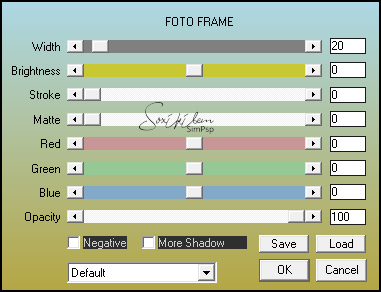
21 - Pluguin AAA Frames > Foto Frame. (Duas vezes)
Selections > Select None.
22 - Image > Add Borders: 1px cor 2 3px cor 1 1px cor 2
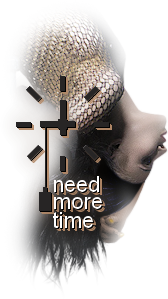
23 - Edit > Copy no titulo_needmoretime. Edit > Paste a New Layer. Com a ferramenta Pick posicione: Postion X 227, Position Y 217.
24 - Aplicar sua marca d'água ou assinatura. File > Export > JPEG Optimizer.
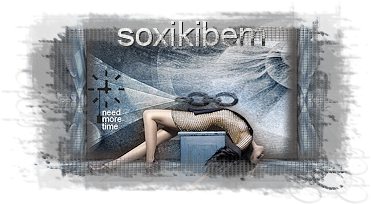
CREDITOS Tube principal by Annelies - Misted Abstract by Jewel - Elos & Titulo by soxikibem - Mask by Narah Versão 2: Tube by Josy - Versão 3 - Tube by Ana Ridzi
Tutorial by Soxikibem'20
Sinta-se à vontade para enviar suas versões. Terei todo o prazer em publicá-las em nosso site.
|
