|
MATERIAL 1 Tube of your choice Abstract jewel 001 elosSoxikibem titulo_needmoretime Narah_mask_0805
Pluguins AAA Frames Alien Skin Eye Candy 5: Impact Mura's Meister
Tutorial
1 - Open the material on the PSP, duplicate and close the originals. Choose four colors to work with, here I used the colors:
Color 1- Foreground: #272525 Color 2 - Background: #7D94A9 Color 3 - #4B4644 Color 4 - #E3D7CD
2 - Open a transparent 900x500px image. Paint with a Linear gradient formed by colors 1 and 2.
3 - Adjust > Blur > Gaussian Blur: 30.
4 - Layers > New Raster Layer. Selections > Select All. Edit > Copy in Abstract jewel 001. Edit > Paste Into Selection. Selections > Select None. Layers > Properties: Blend Mode Luminence (L). Layers > Merge > Merge Down.
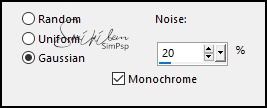
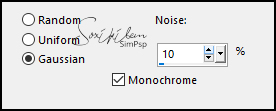
5 - Adjust > Add/Remove Noise > Add Noise.
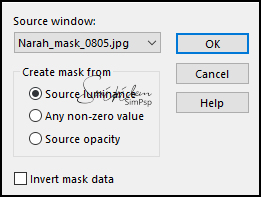
6 - Layers > New Raster Layer. Paint this layer with color 4. Layers > New Mask Layer > From Image: Narah_mask_0805.
Layers > Merge > Merge Group.
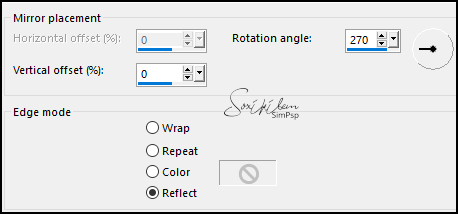
7 - Effects > Edge Effects > Enhance. Image > Mirror > Mirror Vertical. Effects > Reflection Effects > Rotating Mirror.
Layers > Properties: Blend Mode Overlay.
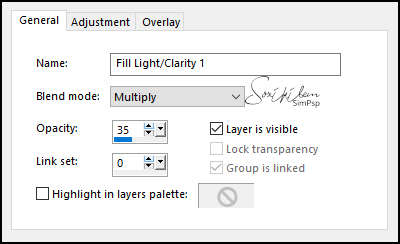
8 - Layers > New Adjustment Layer > Fill Light/Clarity. Change only in the General tab as in the print below.
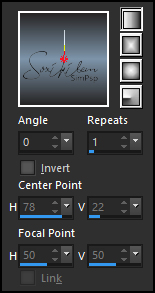
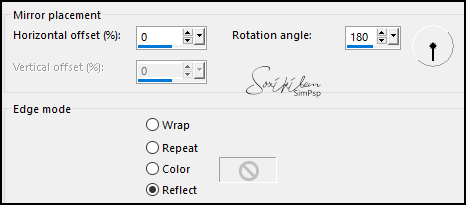
9 - Layers > Merge > Merge Visible. Layers > Duplicate. Effects > Reflections Effects > Rotating Mirror.
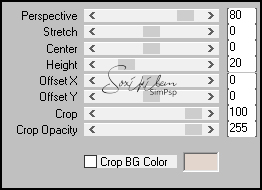
10 - Plugin Mura's Meister > Perspective Tiling.
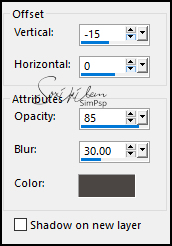
11 - Effects > 3D Effects > Drop Shadow: -15, 0, 85, 30, with color 3.
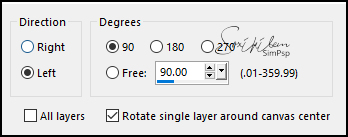
12 - Layers > Duplicate. Image > Free Rotate.
Objects > Align > Right. Layers > Duplicate. Image > Mirror > Mirror Horizontal. Layers > Merge > Merge Down.
13 - Effects > Distortion Effects > Pinch: Strength 100. Layers > Arrange > Move Down. Layers > Merge > Merge Visibile.
14 - Selections > Select All. Selections > Modify > Contract: 40. Selections > Invert. Adjust > Blur > Gaussian Blur: 15. Adjust > Add/Remove Noise > Add Noise.
15 - Selections > Invert. Effects > 3D Effects > Drop Shadow: 0, 0, 100, 30, with color 2. (Twice). Selections > Select None.
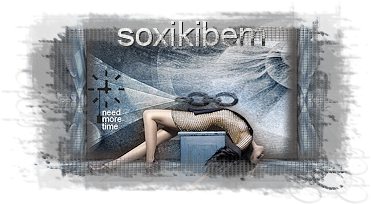
16 - Edit > Copy in elosSoxikibem. Edit > Paste a New Layer. With the Pick tool, position: Position X 393, Position Y 229. Layers > Properties: Blend Mode Multiply.
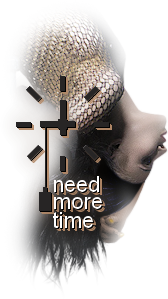
17 - Edit > Copy in the Main tube. Edit > Paste a new layer. Layers > Duplicate. In the original layer of the tube apply: Adjust > Blur > Gaussian Blur: 20. Layers > Properties: Blend Mode Color (L).
18 - Activate the Copy layer of the tube. Plugin Alien Skin Eye Candy 5: Impact > Perspective Shadow.
19 - Layers > Merge > Merge Visibile. Edit > Copy. Image > Add Borders: 1px color 2 3px color 1 1px color 2
20 - Selections > Select All. Image > Add Borders: 50 px with any color. Selections > Invert. Edit > Paste Into Selection. Adjust > Blur > Gaussian Blur: 20.
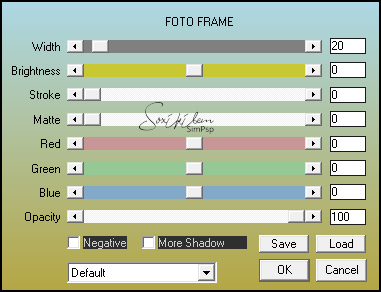
21 - Pluguin AAA Frames > Foto Frame. (Twice)
Selections > Select None.
22 - Image > Add Borders: 1px color 2 3px color 1 1px color 2
23 - Edit > Copy no titulo_needmoretime. Edit > Paste a New Layer. With the Pick tool: Postion X 227, Position Y 217.
24 - Apply your watermark or signature. File> Export> JPEG Optimizer.
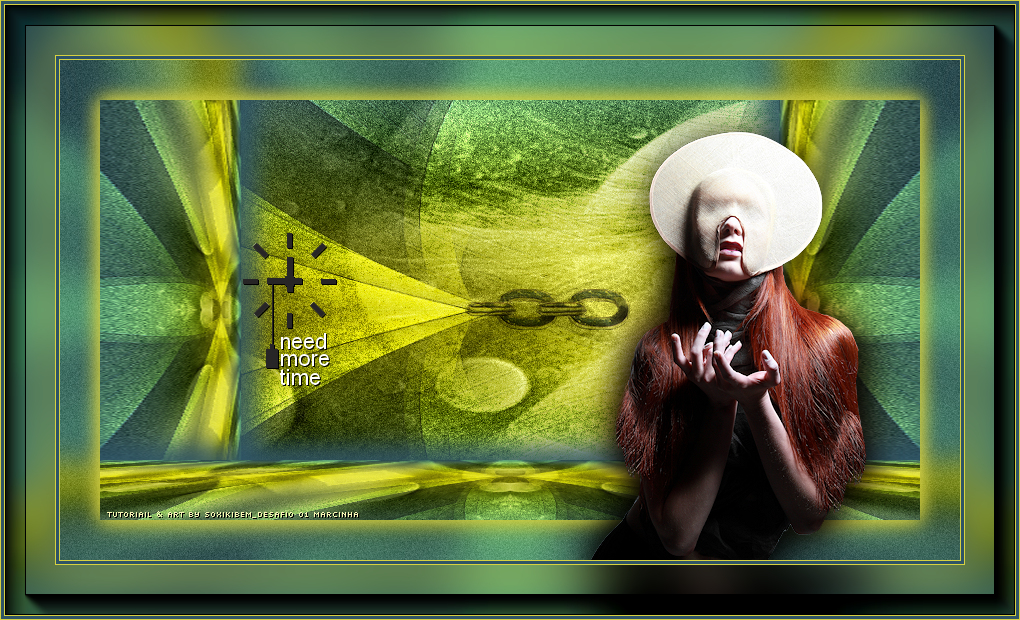
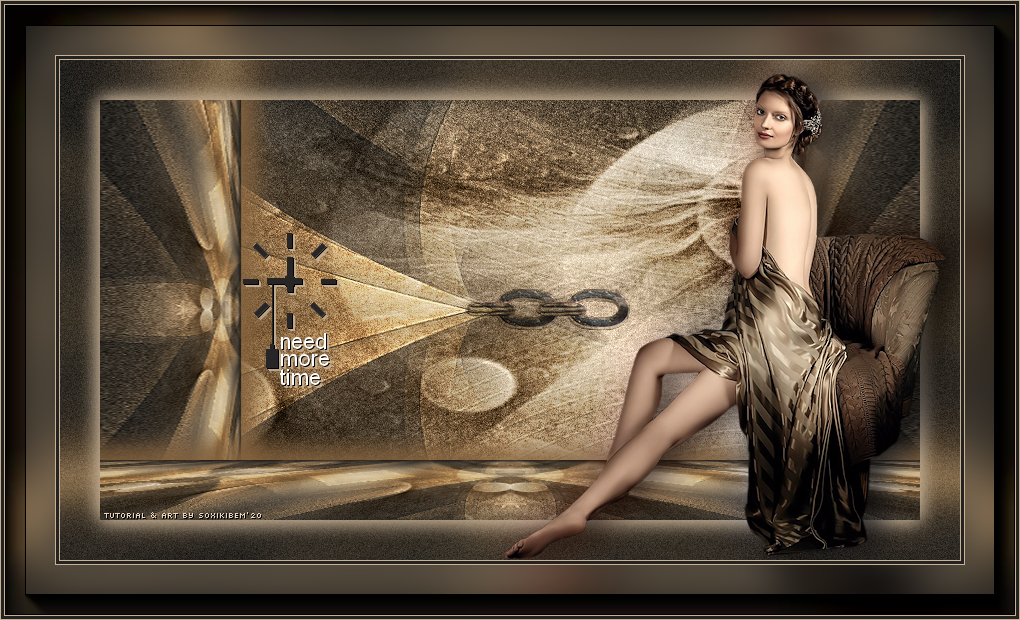
CREDITS Main Tube by Annelies - Misted Abstract by Jewel - Elos & Titulo by soxikibem - Mask by Narah Version 2: Tube by Josy - Version 3: Tube by Ana Ridzi
Tutorial by Soxikibem'20
Feel free to send your version I will be happy to publish them on our website.
|