|
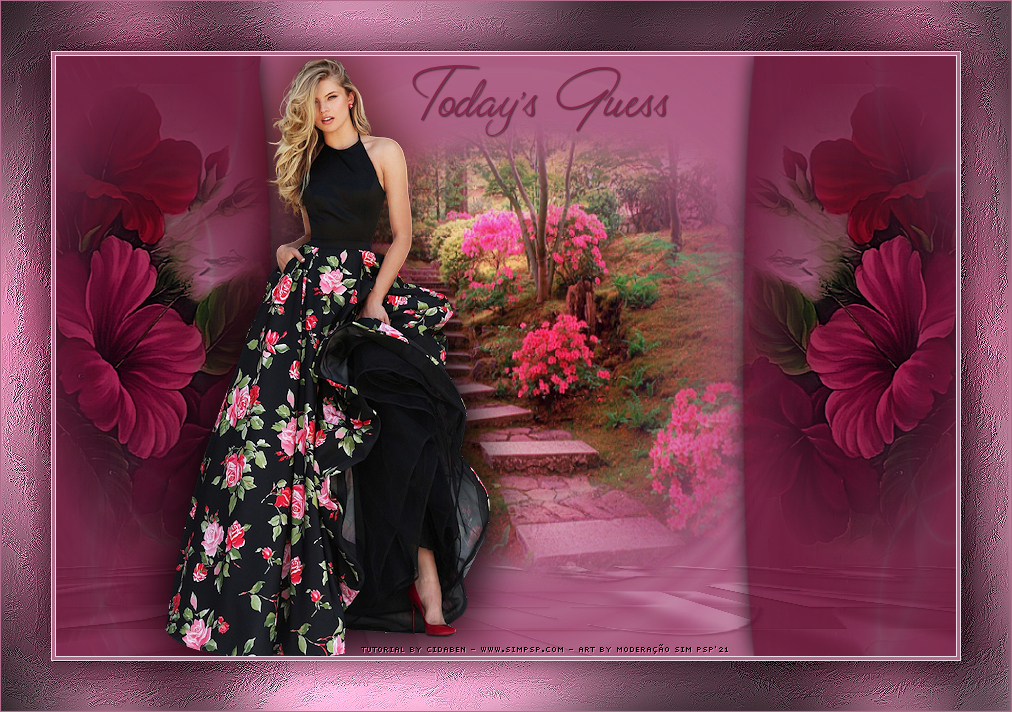
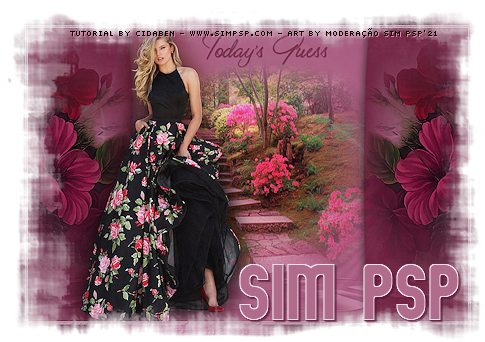
Tutorial By
CidaBen
MATERIAL: 1 Main Tube of your choice. 1 Misted Landscape of your choice. Mask: @ann_200610_mask_020_tdstudio WordArt_todays_guess_byCidaBen
PLUGINS: MuRa's Meister Filters Unlimited 2.0 Flexifly 2 Graphy Plus
Note: Feel free to change the Blends according to the material and colors chosen for your work. Tutorial elaborado no PSP 2020 Ultimate
TUTORIAL
1 - Open the material in PSP, duplicate and close the original. Choose two colors to work with; Foreground: #b16c8b
2 - Open a 900 X 600px transparent image. Paint with a Linear gradient formed by the chosen colors:
3 - Selections > Select All. Edit > Copy the Tube Misted Flower. Edit > Past into Selection. Selections > Select none.
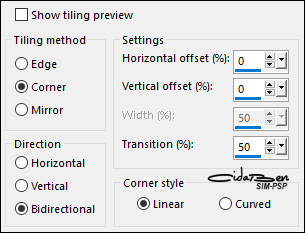
4 - Effects > Image Effects > Seamless Tiling > Default
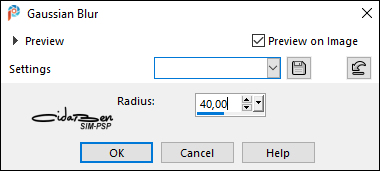
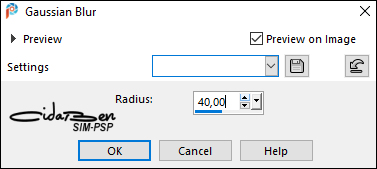
Adjust > Blur > Gaussian Blur > Radius: 40
5 - Effects > Plugins > MuRa's Meister > Pole Transform:
6 - Effects > Reflection Effects > Kaleidoscope:
7 - Effects > Plugins > MuRa's Meister > Pole Transform:
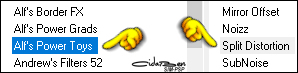
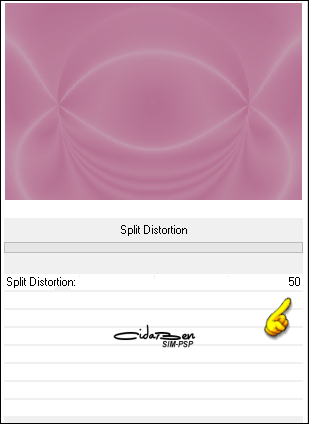
8 - Effects > Plugins > Filters Unlimited 2.0 > Alf's Power Toys > Split Distortion: 50
9 - Layers > Duplicate. Layers > Properties > General > Blend Mode: Multiply.
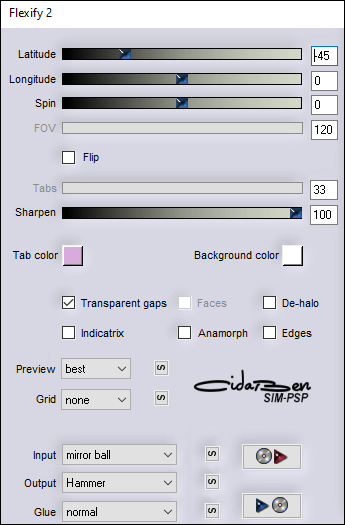
10 - Effects > Plugins > Flaming Pear > Flexifly 2:
Repeat > Effects > Plugins > Flaming Pear > Flexifly 2 in the same settings.
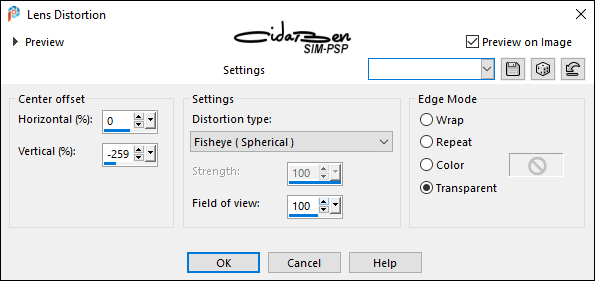
11 - Effects > Distortion Effects > Lens Distortion.
Edit > Repeat Lens Distortion 1...Edit > Repeat Lens Distortion 2.
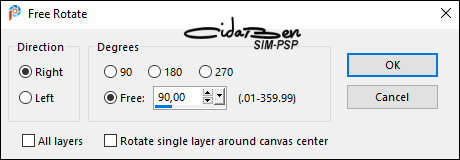
12 - Image > Free Rotate:
Image > Mirror > Mirror Horizontal. Image > Resize 90% > Resize all layers, unchecked. With the Pick Tool tool, position: Position X: 737, Position Y: 3. Layers > Duplicate. Image > Mirror > Mirror Horizontal. Layers > Merge > Merge Down.
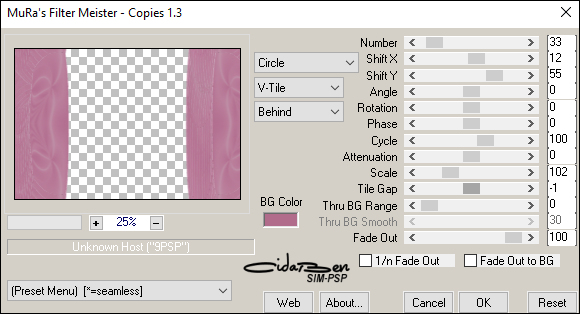
13 - Effects > Plugins > MuRa's Meister > Copies:
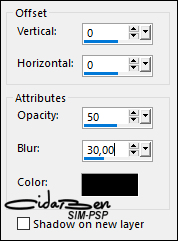
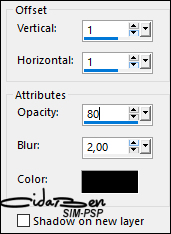
Effects > 3D Effects > Drop Shadow:
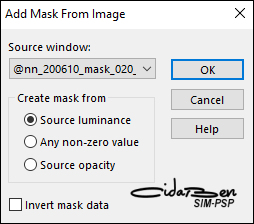
14 - Layers > New Raster Layer. Paint with the background color: #2922ea Layers > New Mask Layer > From Image: @ann_200610_mask020_tdstudio
Layers > Arrange > Move Down. Layers > Properties > General > Blend Mode: Soft Light > Opacity: 70% Effects > 3D Effects > Drop Shadow:
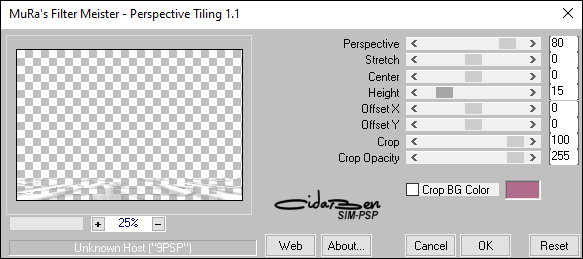
15 - Effects > Plugins > MuRa's Meister - Perspective Tiling:
Repeat Drop Shadow:
16 - Edit > Copy the Tube Misted Flower. Edit > Paste As New Layer. Image > Resize if necessary. (In Misted Flower of the material I used 50% with Resize all layers unchecked) Position to the right. Layers > Duplicate. Image > Mirror > Mirror Horizontal. Layers > Merge > Merge Down. Adjust > Sharpness > Sharpen More.
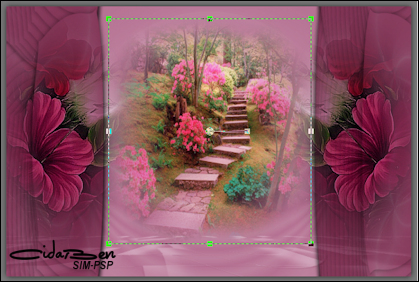
17 - Edit > Copy > the Tube Misted Landscape. Edit > Past As New Layer. Image > Resize if necessary. (In Misted Landscape material I used 56% with Resize all layers unchecked) Position as in the example:
Layers > Properties > General > Blend mode: Hard Light. Adjust > Sharpness > Sharpen. Activate the Top Layer.
18 - Edit > Copy the Main Tube. Edit > Paste As New Layer. Image > Resize if necessary.
Position of your choice. Effects > 3D Effects > Drop Shadow: your choice.
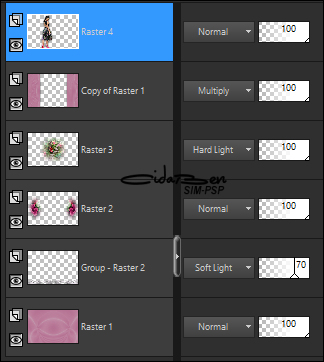
19 - Check Layers Position:
20 - Edit > Copy the WordArt_todays_guess_byCidaBen. Position and apply effects of your choice.
21- Image > Add Borders > Symmetric: 1px - Color: Background. 3px - Color: Foreground.1px - Color: Background. Edit > Copy. Selections > Select All.
22 - Image > Add Borders > Symmetric: 50px with any color. Selection > Invert. Edit > Paste Into Selection. Adjust > Blur > Gausssian Blur: 40
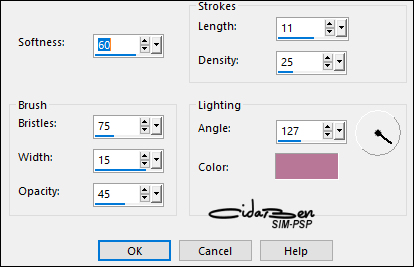
23 - Effects > Art Media Effects > Brush Strokes:
Adjust > Sharpness > Sharpen.
Selections > Invert.
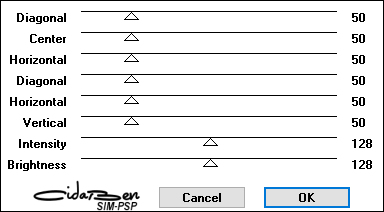
24 - Effects > Plugins > Graphics Plus > Cross Shadow: Default.
Selections > Select None.
25 - Image > Add Borders > Symmetric: 1px - Color: Foreground: #b16c8b.
26 -
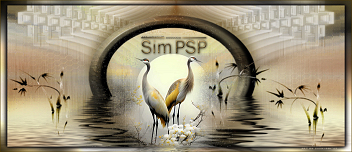
Apply your watermark or signature.
CREDITS:
English Translation by
Moderation SIM-PSP
Misted Flower; Tubed by
by SuizaBella
Misted landscape; Tubed by
LisaT
Feel free to send your versions.
|