|
TRADUÇÕES:
MATERIAL: 1 Tube Principal à sua escolha 1 Misted Flor à sua
escolha Mask: @ann_200610_mask_020_tdstudio WordArt_todays_guess_byCidaBen
PLUGINS: MuRa's Meister Filters Unlimited 2.0 Flexifly 2 Graphy Plus
Nota: Fique à vontade para alterar os Blends de acordo com
o material
Tutorial elaborado no PSP 2020 Ultimate
Execução
1 - Abrir o material no PSP, duplique e feche o original.
Foreground: #b16c8b
2 - Abra uma transparência de 900x600px. Pintar com um gradiente Linear formado pelas cores escolhidas:
3 - Selections > Select All. Edit > Copy no Tube Misted Flor. Edit > Past into Selection. Selections > Select none.
4 - Effects > Image Effects > Seamless Tiling > Default
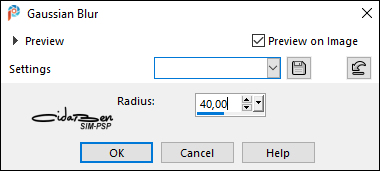
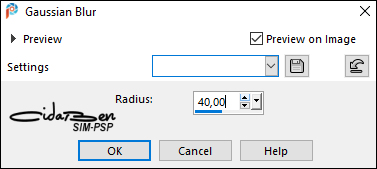
Adjust > Blur > Gaussian Blur > Radius: 40
5 - Effects > Plugins > MuRa's Meister > Pole Transform:
6 - Effects > Reflection Effects > Kaleidoscope:
7 - Effects > Plugins > MuRa's Meister > Pole Transform:
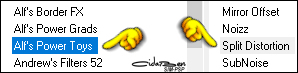
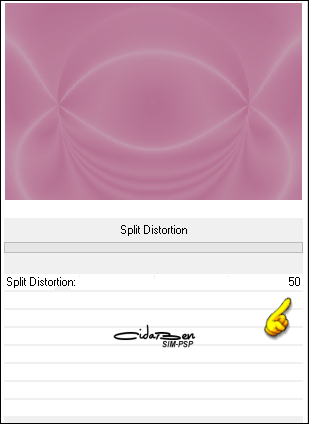
8 - Effects > Plugins > Filters Unlimited 2.0 > Alf's Power Toys > Split Distortion: 50
9 - Layers > Duplicate. Layers > Properties > General > Blend Mode: Multiply.
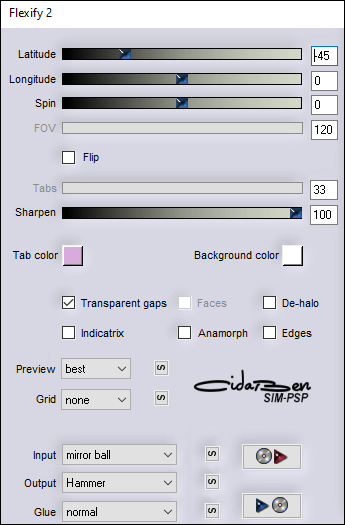
10 - Effects > Plugins > Flaming Pear > Flexifly 2:
Repetir > Effects > Plugins > Flaming Pear > Flexifly 2 nas mesma configurações.
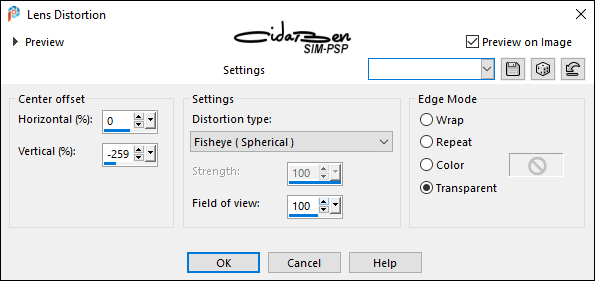
11 - Effects > Distortion Effects > Lens Distortion.
Edit > Repeat Lens Distortion... Novamente Edit > Repeat Lens Distortion...
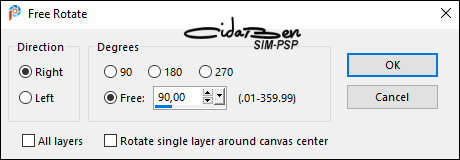
12 - Image > Free Rotate:
Image > Mirror > Mirror Horizontal. Image > Resize 90% > Resize all layers > Desmarcado. Com a ferramenta Pick Tool, posicionar: Position X: 737, Position Y: 3. Layers > Duplicate. Image > Mirror > Mirror Horizontal. Layers > Merge > Merge Down.
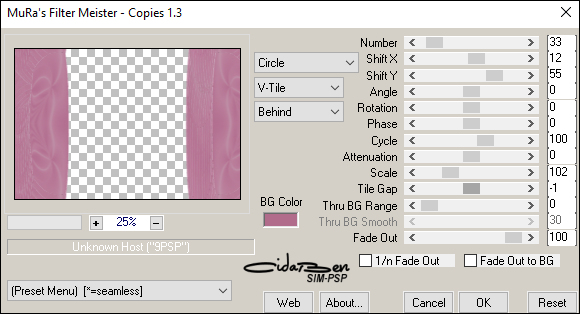
13 - Effects > Plugins > MuRa's Meister > Copies
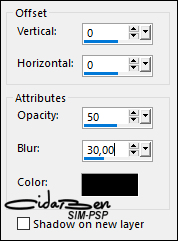
Effects > 3D Effects > Drop Shadow:
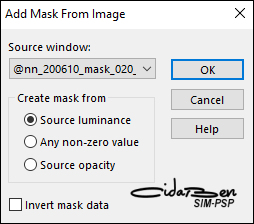
14 - Layers > New Raster Layer. Pintar com a cor do Background: #2922ea Layers > New Mask Layer > From Image: @ann_200610_mask020_tdstudio
Layers > Arrange > Move Down. Layers > Properties > General > Blend Mode: Soft Light > Opacity: 70% Effects > 3D Effects > Drop Shadow:
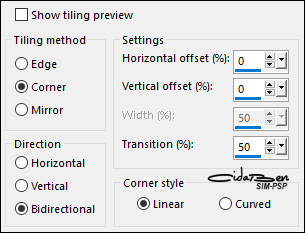
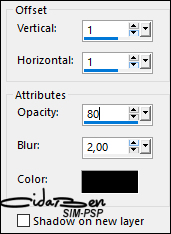
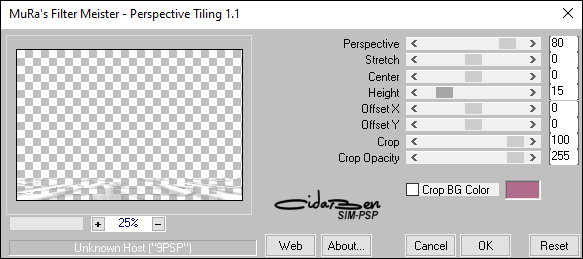
15 - Effects > Plugins > MuRa's Meister - Perspective Tiling.
Repetir o Drop Shadow anterior.
16 - Edit > Copy > no Tube Misted Flor. Edit > Paste As New Layer. Image > Resize se nescessário. (no Misted Flor do material usei 50% com o Resize all layers desmarcado). Posicionar à direita. Layers > Duplicate. Image > Mirror > Mirror Horizontal. Layers > Merge > Merge Down. Adjust > Sharpness > Sharpen More.
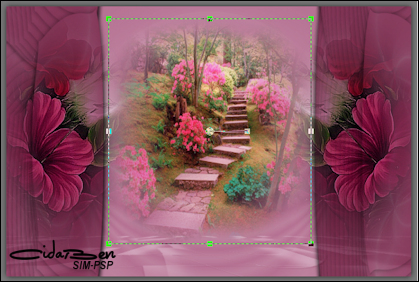
17 - Edit > Copy > no Tube Misted Paisagem. Edit > Past As New Layer. Image > Resize se necessário. (no Misted Paisagem do material usei 56% com o Resize all layers desmarcado) Centralize, usando a ferramenta Pick Tool como no exemplo:
Layers > Properties > General > Blend mode: Hard Light. Adjust > Sharpness > Sharpen. Ativar a Layer do Topo.
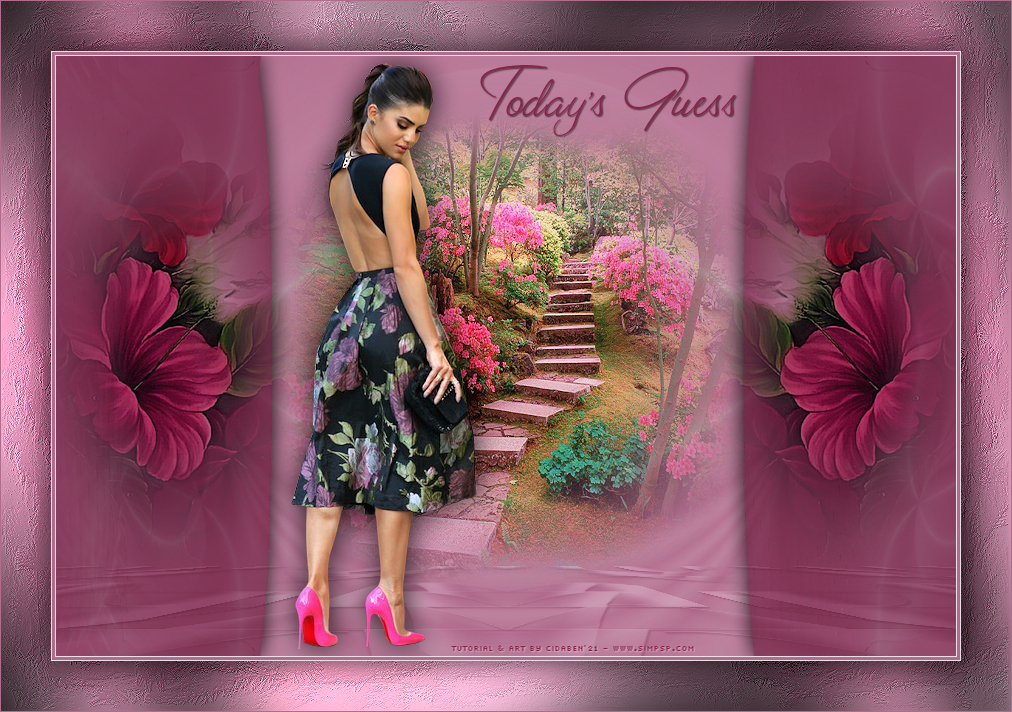
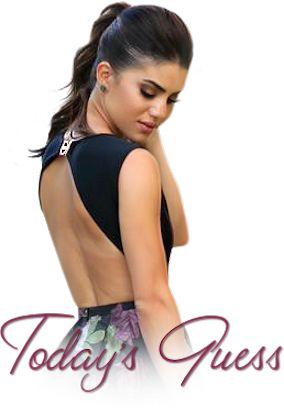
18 - Edit > Copy no Tube Principal. Edit > Paste As New Layer. Iamge > Resize se necessário. Posicione como desejar. Adjust > Sharpness > Sharpen. Effects > 3D Effects > Drop Shadow: como preferir.
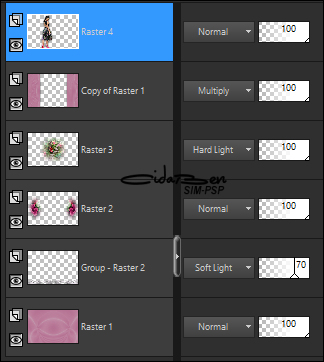
19 - Verifique as Layers:
20 - Edit > Copy no WordArt_todays_guess_byCidaBen. Posicionar e aplicar efeitos a gosto.
21- Image > Add Borders > Symmetric: 1px - Color: Background. 3px - Color: Foreground.1px - Color: Background. Edit > Copy. Selections > Select All.
22 - Image > Add Borders > Symmetric: 50px com qualquer cor. Selection > Invert. Edit > Paste Into Selection. Adjust > Blur > Gausssian Blur: 40
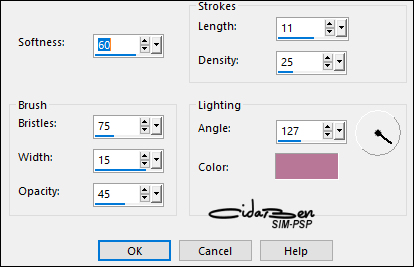
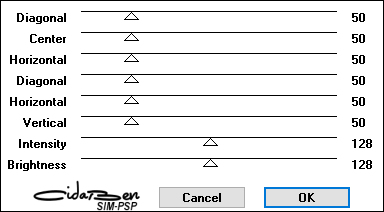
23 - Effects > Art Media Effects > Brush Strokes:
Adjust > Sharpness > Sharpen.
Selections > Invert.
24 - Effects > Plugins > Graphics Plus > Cross Shadow: Default.
Selections > Select None.
25 - Image > Add Borders > Symmetric: 1px - Color: Foreground: #b16c8b.
26 - Aplicar sua marca d'água ou assinatura.
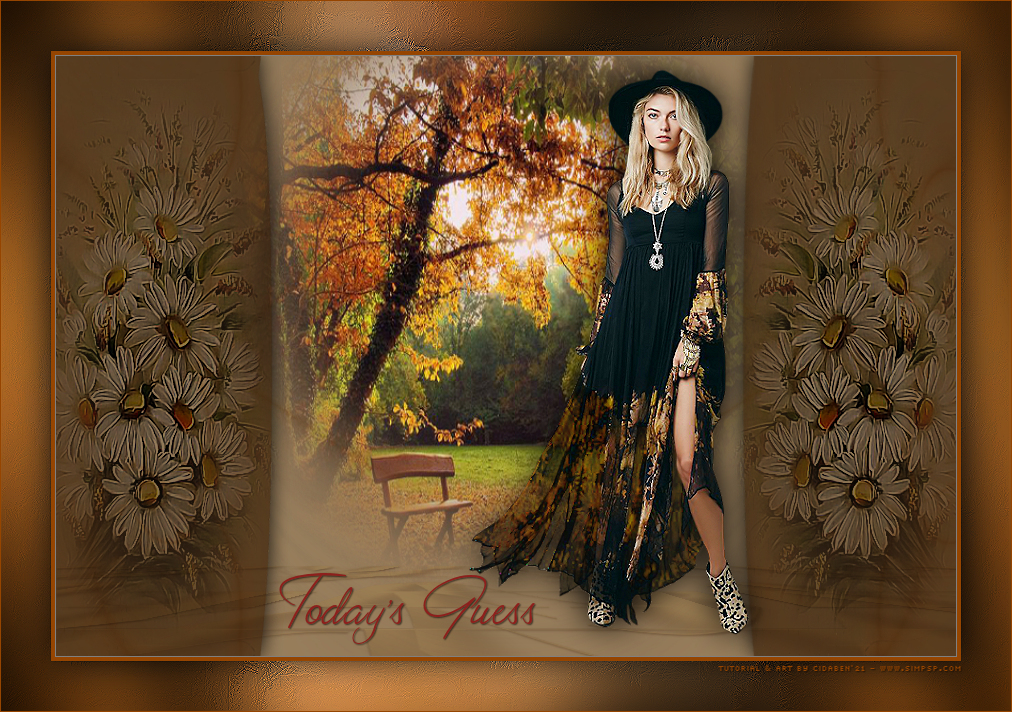
Créditos: Versão 1 Tube Principal: by Grisi - Misted For: by SuizaBella - Misted Paisagem: by LisaT
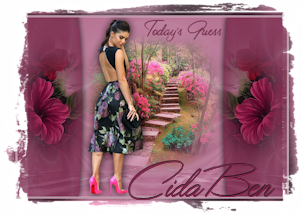
Versão 2 Tube Principal & Misted Paisagem: by Grisi - Tube Misted Flor: by SuizaBella
31/10/2021
Sinta-se à vontade para enviar suas versões. Terei todo o prazer em publicá-las em nosso site.
|