|
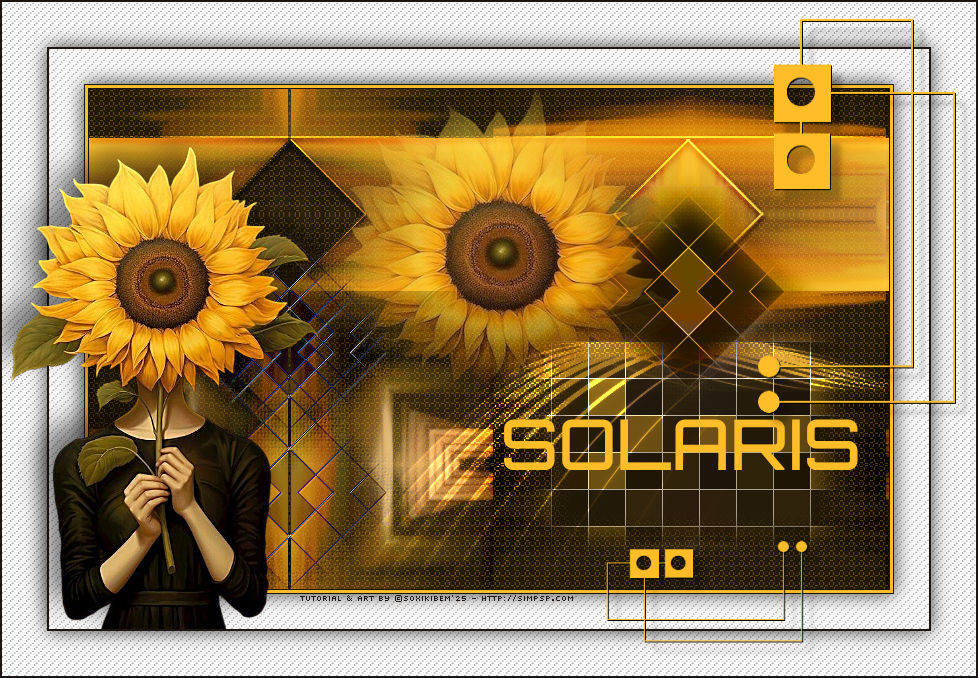
Luz que nasce, percorre e
se reflete em formas.
TRADUÇÕES:
O Sim
PSP valoriza e reconhece o trabalho das tradutoras que tornam os
tutoriais acessíveis a diferentes idiomas.
MATERIAL: 1 Tube Principal ou Personagem à sua escolha 1 Misted Floral à sua escolha Outros Materiais by Soxikibem
PLUGINS: Mehdi > Sorting Tiles Richard Rosenman > Pixelate Simple > Blintz, Centre Tile
Tutorial elaborado no PSP 2022 Testado e revisado por Márcinha no PSP 2020.
Agradeço às Tubeiras pelos Tubes e Masks, pois sem eles não seria
possível criar este trabalho.
TUTORIAL
*Deletar a Marca D'água de todos os
materiais.
2 - Abra uma imagem
transparente de 800x500px. Selections > Select All.
3 - Edit > Copy no Tube Personagem. Edit > Paste Into Selection. Selections > Select None.
4 - Effects > Image Effects > Seamless Tiling: Default. Plugin Mehdi > Sorting Tiles.
5 - Plugin Simple > Blintz.
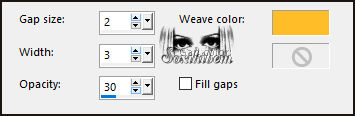
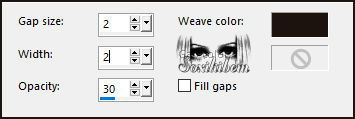
6 - Effects > Texture Effects > Weave, com a cor do Foreground.
7 - Plugin Simple > Centre Tile.
8 - Selections > Load/Save Selections > Load Selection From Disk: 312_Xiki1. Selections > Promote Selection to Layer. Plugin Richard Rosenman > Pixelate.
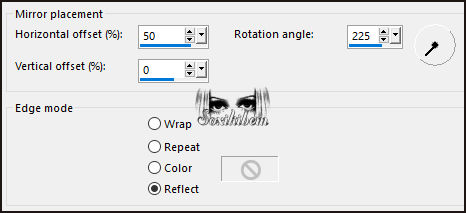
9 - Selections > Select None. Layers > Duplicate. Effects > Reflection Effects > Rotating Mirror.
10 - Image > Free Rotate.
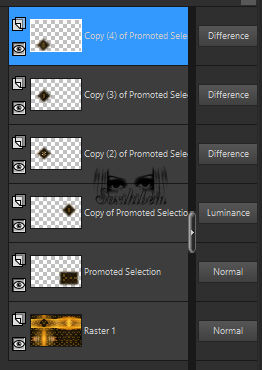
11 - Pick Tool: Position X: 450, Position Y: 71. Layers > Properties > General > Blend Mode: Luminance.
12 - Layers > Duplicate. Image > Mirror > Mirror Horizontal. Pick Tool: Position X: 51, Position Y: 112. Layers > Properties > General > Blend Mode: Difference.
13 - Layers > Duplicate. Pick Tool: Position X: 51, Position Y: 132.
Pick Tool: Position X: 51, Position Y: 272.
15 - Confira as Layers.
15 - Ativar a Layer Promoted Selection. Edit > Copy no Decor312_Xiki1. Edit > Paste As New Layer. Pick Tool: Position X: 224, Position Y: 253. Layers > Properties > General > Blend Mode: Dodge.
16 - Ativar a Layer do topo Edit > Copy no Decor312_Xiki2. Edit > Paste As New Layer. Pick Tool: Position X: 0, Position Y: 44. Layers > Properties > General > Blend Mode: Overlay.
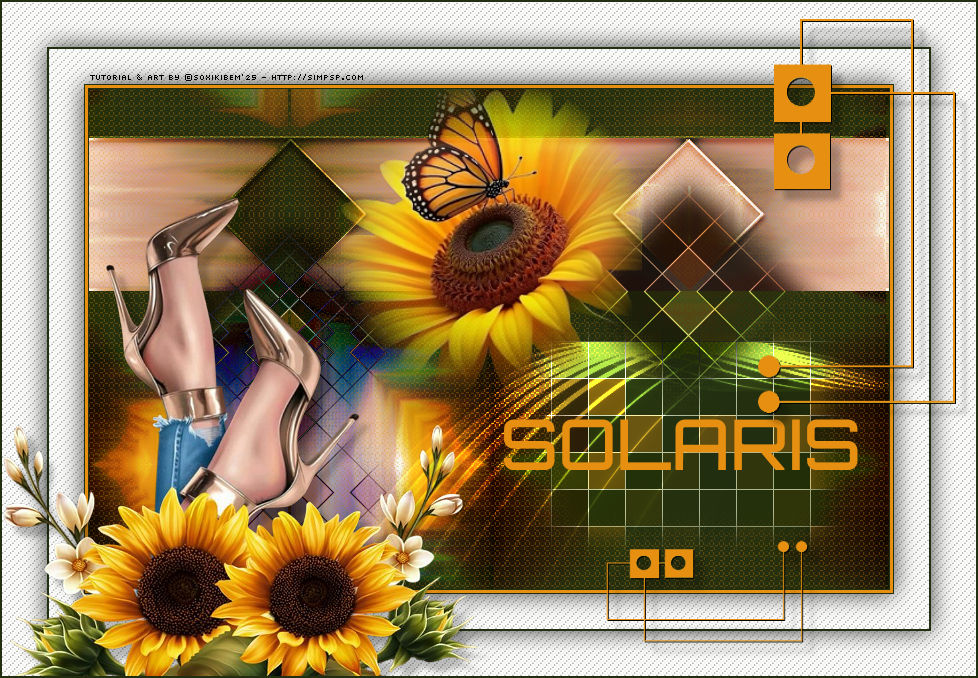
17 - Edit > Copy no Misted Floral. Edit > Paste As New Layer. Resize se for necessário, se estiver usando o do material eu dei um resize de 80%. Pick Tool: Position X: 240, Position Y: 0, ou posicione conforme o modelo.
18 - Edit > Copy no 312_titulo_Xiki. Edit > Paste As New Layer. Pick Tool: Position X: 415, Position Y: 330.
19 - Use a ferramenta Color Replace para substituir para a cor 3 ou colorize como preferir.
20 - Image > Add Borders > Symmetric: 1px cor Background 3px cor Foreground 1px cor Foreground
21 - Selections > Select All. Image > Add Borders > Symmetric: 35px cor branca. Effects > 3D Effects > Drop Shadow: 0, 0, 75, 30, cor preta.
22 - Selections > Invert. Effects > Texture Effects > Weave com a cor do Background.
Selections > Select None.
23 - Image > Add Borders > Symmetric: 2px cor Background. Selections > Select All.
24 - Image > Add Borders > Symmetric: 45px cor branca. Effects > 3D Effects > Drop Shadow: 0, 0, 75, 30, cor preta. Selections > Invert.
25 - Effects > Texture Effects > Weave com a cor do Background.
Selections > Select None.
26 - Edit > Copy no Tube Personagem. Edit > Paste As New Layer. Image > Rezsize se necessário, no tube do material foi de 66%. Posicione e aplique efeito como preferir.
27 - Edit > Copy no Decor312_Xiki3. Edit > Paste As New Layer. Pick Tool: Position X: 604, Position Y: 17.
28 - Image > Add Borders > Symmetric: 2px cor Background.
29 - Edit > Copy no Creditos-bySoxikibem. Edit > Paste As New Layer. Posicione como preferir.
30 -
Aplicar sua marca d'água ou assinatura.
Porque cada detalhe faz
diferença...
Versão:
Créditos: Formatação, Arte Final e Tutorial by Soxikibem Tube Principal: Tubed by Pqna&Alice Outros Materiais: by Soxikibem
Sinta-se à vontade para enviar suas versões. Terei todo o prazer em publicá-las em nosso site.
Envie sua versão para o e-mail:
SimPSP Redes Sociais
|