|
Charmosa, Vaidosa... Ela é o detalhe. Elle est
le détail.
TRADUÇÕES:
O Sim
PSP valoriza e reconhece o trabalho das tradutoras que tornam os
tutoriais acessíveis a diferentes idiomas.
MATERIAL: 1 Tube Principal ou Personagem à sua escolha 1 Misted Floral à sua escolha Selections: Salvar na pasta Selections do seu PSP Preset 311_GlassXiki.f1s ( De dois click para o efeito ir para o Alien Skin) Mask: Narah_Mask_1240 Outros Materiais by Soxikibem
PLUGINS: Alien Skin | Eye Candy 5 Impact > Glass Italian Editor Effects > Effetto Fantasma L en K's > Palmyre, Zitah Mura's Meister > Copies
Tutorial elaborado no PSP 2022 Testado e revisado por Márcinha no PSP 2020.
Agradeço às Tubeiras pelos Tubes e Masks, pois sem eles não seria
possível criar este trabalho.
TUTORIAL
*Deletar a Marca D'água de todos os materiais. Cor 3: #ffffff
2 - Abra uma imagem
transparente de 850x500px.
3 - Layers > New Raster Layer. Selections > Select All. Edit > Copy no Tube Personagem. Edit > Paste Into Selection. Selections > Select None.
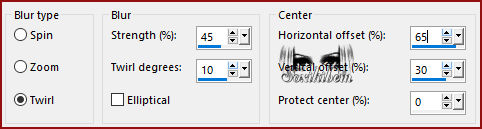
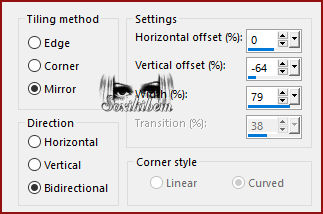
4 - Effects > Image Effects > Seamless Tiling: Default. Adjust > Blur > Radial Blur.
Effects > Edge Effects > Enhance. Layers > Merge > Merge Down.
5 - Selections > Load/Save Selections > Load Selection From Disk: 311_Xiki1. Layers > New Raster Layer. Pintar com a cor 3 (#ffffff).
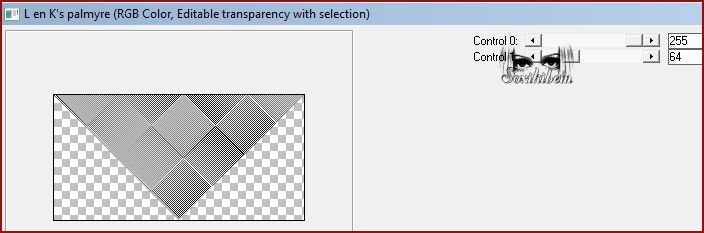
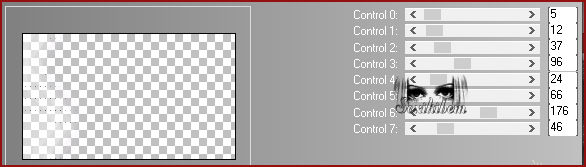
6 - Plugin L en K's > Palmyre.
Selections > Select None.
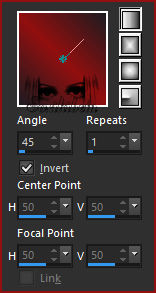
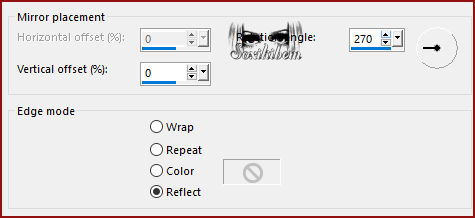
7 - Effects > Reflection Effects > Rotating Mirror.
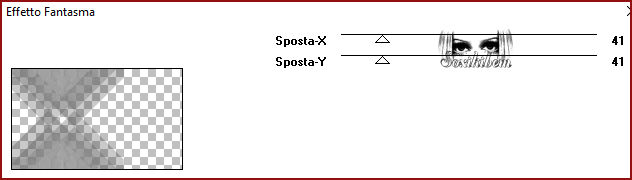
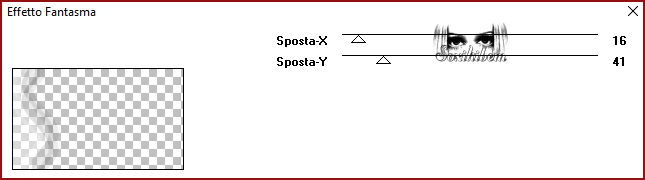
8 - Plugin Italian Editor Effects > Effetto Fantasma.
Layers > Properties > General > Blend Mode: Dodge.
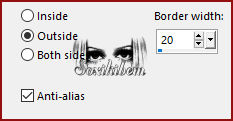
9 - Layers > New Raster Layer. Selections > Load/Save Selections > Load Selection From Disk: 311_Xiki2. Pintar com a cor do Background. Selections > Modify > Contract: 20
10 - Edit > Copy no Misted Floral. Edit > Paste Into Selection. Adjust > Sharpness > Sharpen.
11 - Selections > Modify > Select Selections Borders.
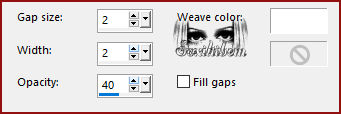
12 - Effects > Texture Effects > Weave.
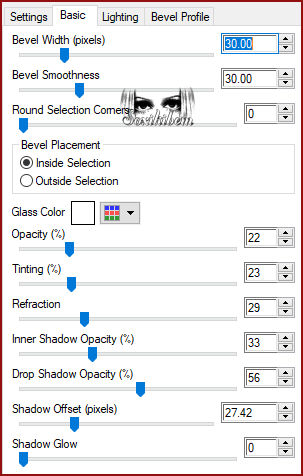
13 - Plugin Alien Skin | Eye Candy 5 Impact > Glass: 311_GlassXiki.
14 - Selections > Select None. Layers > Duplicate. Image > Resize: 60%, all layers desmarcado. Layers > Arrange > Move Down.
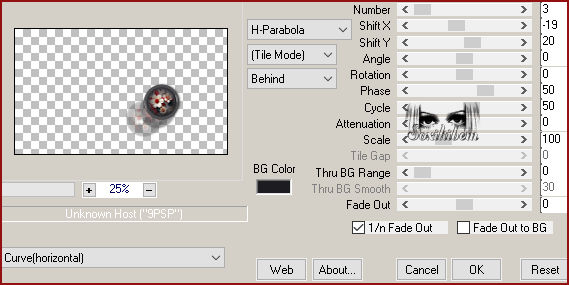
15 - Plugin Mura's Meister > Copies.
Pick Tool: Position X: 427, Position Y: 137.
16 - Ativar a Layer Raster 1. Edit > Copy no Misted Floral. Edit > Paste As New Layer. Resize se for necessário, se estiver usando o do material eu dei um resize de 60%. Objects > Align: Top. Objects > Align: Right. Adjust > Sharpness > Sharpen. Layers > Properties > General > Opacity: 70%.
17 - Layers > New Raster Layer. Pintar com a cor 3 (#ffffff). Layers > New Mask Layer > From Image: Narah_Mask_1240. Effects > Image Effects > Seamless Tiling.
Layers > merge > Merge Group.
18 - Layers > New Raster Layer. Selections > Load/Save Selections > Load Selection From Disk: 311_Xiki3. Flood Fill: Opacity: 40% Pintar esta seleção com a cor 3 (#ffffff). Selections > Select None.
19 - Selections > Load/Save Selections > Load Selection From Disk: 311_Xiki4. Flood Fill: Opacity: 80% Pintar esta seleção com a cor 3 (#ffffff). Selections > Select None.
20 - Plugin Italian Editor Effects > Effetto Fantasma.
21 - Plugin L en K's > Zitah.
22 - Ativar a Layer do topo (Raster 3). Edit > Copy no Tube Personagem. Edit > Paste As New Layer. Posicione e aplique efeito ou Drop Shadow como preferir.
23 - Edit > Copy no Decor311_Xiki. Edit > Paste As New Layer. Pick Tool: Position X: 0, Position Y: 12.
24 - Edit > Copy no Decor311_Xiki2. Edit > Paste As New Layer. Pick Tool: Position X: 569, Position Y: 0.
25 - Edit > Copy Special > Copy Merged. Image > Add Borders > Symmetric: 1px com a cor Background 5px com a cor 3 (#ffffff) Selections > Select All.
26 - Image > Add Borders > Symmetric: 20px com qualquer cor. Selections > Invert. Edit > Paste Into Selection. Adjust > Blur > Gaussian Blur: 10.
27 - Effects > Reflection Effects > Rotating Mirror.
28 - Selections > Invert. Effects > 3D Effects > Drop Shadow: 0, 0, 100, 30, cor preta.
29 - Selections > Select All. Image > Add Borders > Symmetric: 50px, com a cor 3 (#ffffff) Effects > 3D Effects > Drop Shadow: 0, 0, 100, 30, cor preta. Selections > Select None.
30 - Layers > New Raster Layer. Selections > Load/Save Selections > Load Selection From Disk: 311_Xiki5. Flood Fill: Opacity 100%. Pintar com a cor do Background. Selections > Modify > Contract: 2. Edit > Cut ou aperte Delete no teclado.
31 - Selections > Modify > Contract: 10. Pintar com a cor do Background. Selections > Modify > Contract: 2. Edit > Cut ou aperte Delete no teclado.
32 - Selections > Load/Save Selections > Load Selection From Disk: 311_Xiki6. Edit > Cut ou aperte Delete no teclado. Selections > Select None.
33 - Edit > Copy no Titulo311_Xiki. Edit > Paste As New Layer. Pick Tool: Position X: 1, Position Y: 8.
34 - Selections > Select All. Image > Add Borders > Symmetric: 20px, cor 3 (#ffffff) Effects > 3D Effects > Drop Shadow: 0, 0, 100, 30, cor preta. Selections > Select None.
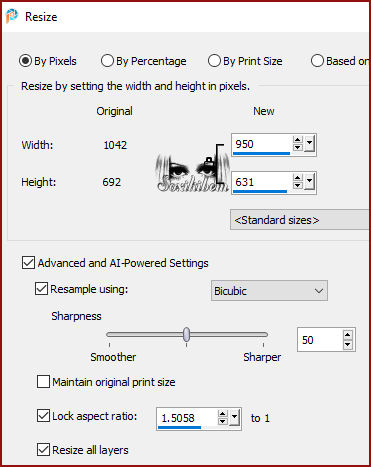
35 - Image > Resize.
Adjust > Sharpness > Sharpen.
36 - Edit > Copy no Creditos-bySoxikibem. Edit > Paste As New Layer. Posicione como preferir.
Porque cada detalhe faz
diferença...
Versão:
Créditos: Formatação, Arte Final e Tutorial by Soxikibem Tube Principal: Tubed by Pqna&Alice Mask: by Narah Outros Materiais: by Soxikibem
Sinta-se à vontade para enviar suas versões. Terei todo o prazer em publicá-las em nosso site.
Envie sua versão para o e-mail:
SimPSP Redes Sociais
|