|
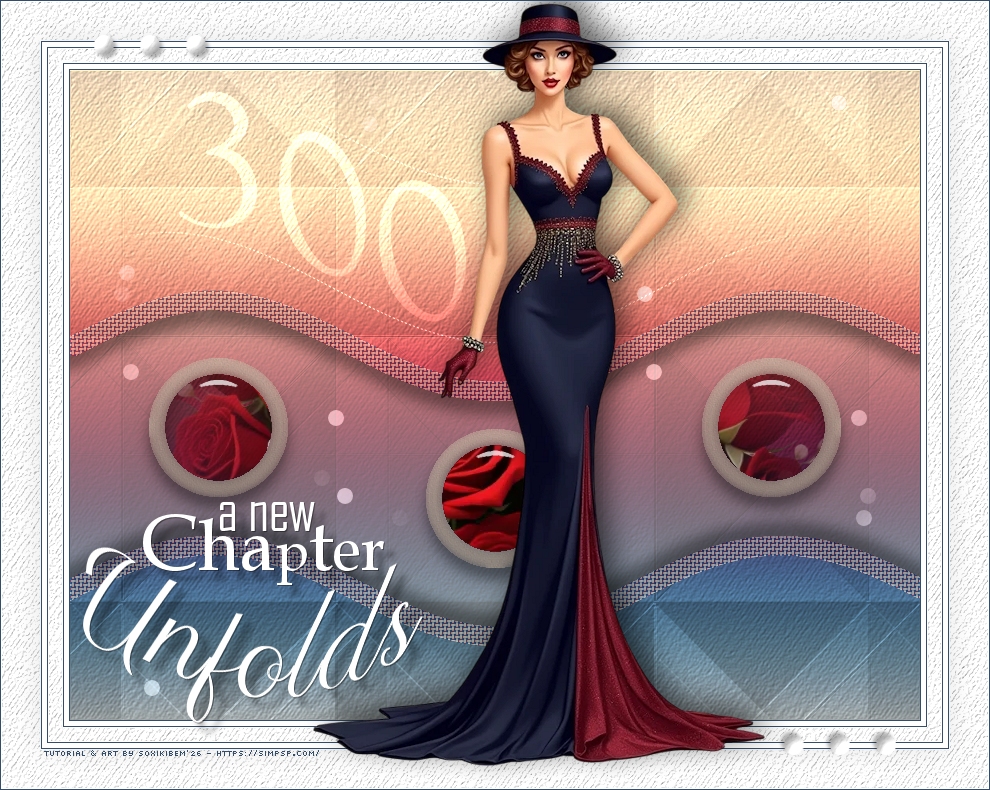
Trezentos passos, trezentos momentos de criação. Cada tutorial foi uma faísca, uma descoberta, um traço nessa jornada artística em constante evolução. Sou imensamente grata a todos que me acompanharam até aqui - o apoio e incentivo de vocês tornaram essa caminhada ainda mais especial. A caminhada segue repleta de cores, sonhos e criatividade sem fim.
TRADUÇÕES:
O Sim
PSP valoriza e reconhece o trabalho das tradutoras que tornam os
tutoriais acessíveis a diferentes idiomas.
MATERIAL: 1 Tube Personagem à sua escolha 1 Misted Floral à sua escolha Texture: Striation.bmp (Salvar na Pasta Texture do seu PSP) Outros Materiais by Soxikibem
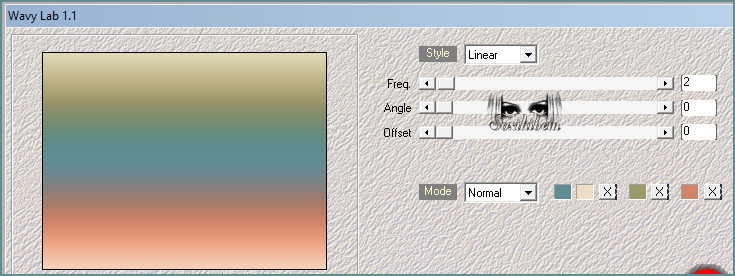
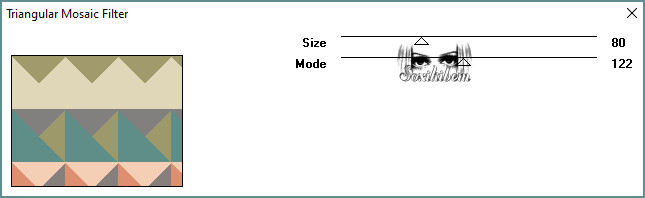
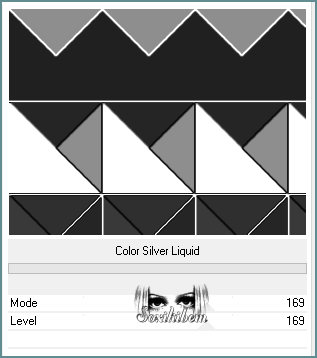
PLUGINS: Alien Skin | Eye Candy 5 | Impact > Glass Filter Factory Gallery A > Triangular Mosaic Filter FM Tile Tools > Blend Emboss Mehdi > Wavy Lab 1.1 Mura's Meister > Pole Trasnform Unlimited 2.0 > Sandflower Specials "v" > Color Silver Liquid
Tutorial elaborado no PSP 2022 Testado e revisado por Márcinha no PSP 2020.
Agradeço às Tubeiras pelos Tubes e Masks, pois sem eles não seria
possível criar este trabalho.
VÍDEO AULA
Se preferir acompanhar em vídeo no Youtube, clique no link
abaixo: Se este tutorial te inspirou: Deixe seu like Ative o sininho Compartilhe com outros amantes do PSP E deixe um comentário contando o que achou!
TUTORIAL
*Deletar a Marca D'água de todos os materiais. Cor 3: #9e996b Cor 4: #d08568
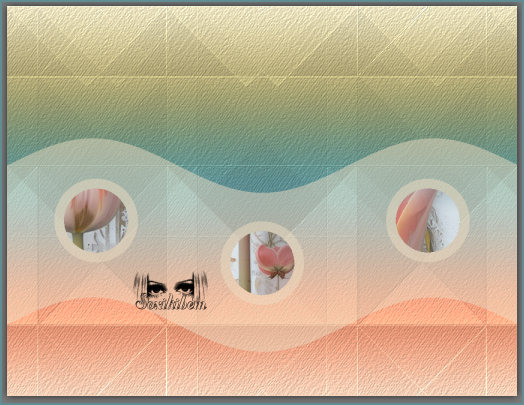
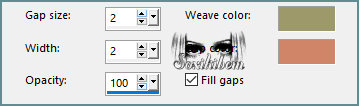
2 - Abra uma imagem
transparente de 850x650px. Seqüência das cores: Foreground, Background, 3 e 4.
3 - Layers > Duplicate. Plugin Filter Factory Gallery A > Triangular Mosaic Filter.
4 - Filters Unlimited 2.0 > Sandflower Specials "v" > Color Silver Liquid. Layers > Properties > General > Blend Mode: Dodge - Opacity: 30%.
5 - Effects > Image Effects > Seamles Tiling.
6 - Effects > Reflection Effects > Rotating Mirror: Horizontal Offset 0, Rotation angle 180, Edge Mode Reflect. Plugin FM Tile Tools > Blend Emboss: Default. Edit > Repeat Blend Emboss.
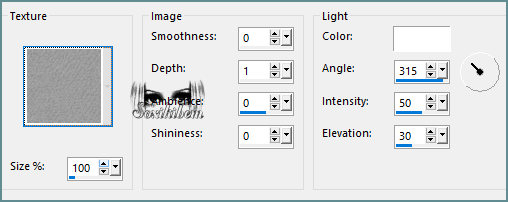
7 - Ativar a Layer Raster 1. Effects > Texture Effects > Texture: Striation
Plugin FM Tile Tools > Blend Emboss: Default.
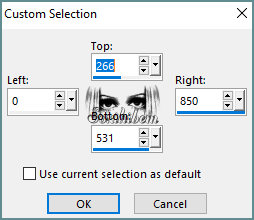
8 - Ativar a Layer Copy of Raster 1. Layers > New Raster Layer. Selection Tool > Custom Selection.
9 - Flood Fill > Opacity: 50%, pintar esta seleção com a cor do Background. *Retornar para 100% em Opacity Selections > Select None. Layers > Duplicate.
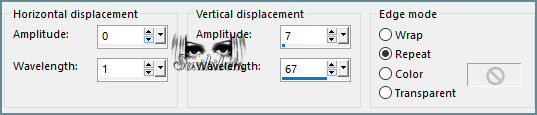
10 - Ativar a Layer Raster 2. Effects > Distortion Effects > Wave.
11 - Ativar a Layer Copy of Raster 2. Plugin Mura's Meister > Pole Trasnform. Pick Tool: Position X: 79, Position Y: 288.
12 - Layers > Duplicate. Image > Mirror > Mirror Horizontal. Layers > Duplicate. Pick Tool: Position X: 356, Position Y: 359. Layers > Merge Down 2 vezes.
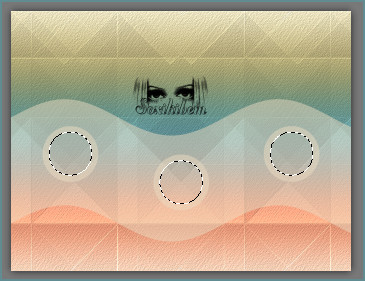
13 - Magic Wand, Tolerance e Feather 0, selecione o centro destes círculos.
Ativar a Layer Raster 2. Edit > Cut ou Delete. Ativar a Layer Copy of Raster 1. Edit > Cut ou Delete. Mantenha a seleção...
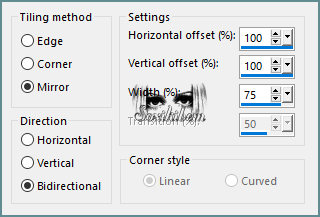
14 - Ativar a Layer Copy of Raster 2. Layers > New Raster Layer. Ferramenta Clone Brush configurada como abaixo. Clique com o botão direito do mouse em cima do Misted floral, volte ao nosso trabalho e clique com o botão esquerdo do mouse dentro da seleção de um dos círculos. Repita esse processo nos três círculos. Se tiver dúvidas de como utilizar esta ferramenta assista o nosso vídeo no
YouTube
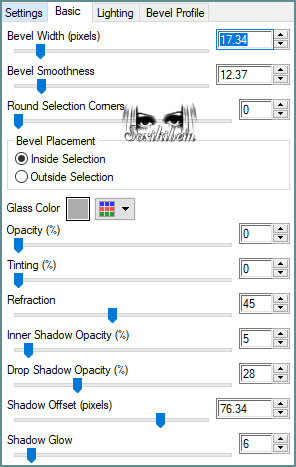
15 - Plugin Alien Skin | Eye Candy 5 | Impact > Glass. Selections > Select None.
16 - Ativar a Layer Copy of Raster 2. Selections > Select All. Selections > Float. Selections > Defloat. Effects > Artistic Effects > Enamel. Selections > Select None.
17 - Effects > 3D Effects > Drop Shadow: color: #000000
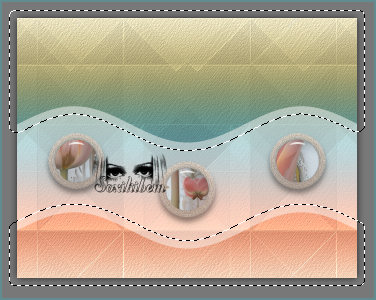
18 - Ativar a Layer Raster 2. Magic Wand, Tolerance & Feather: 0, clique na parte transparente, em cima e embaixo. Selections > Modify > Expand: 20.
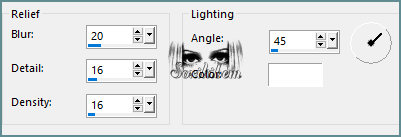
19 - Effects > Texture Effects > Weave. Aqui usei as cores 3 e 4, mude se desejar. Adjust > Sharpness > Sharpen More.
20 - Effects > 3D Effects > Drop Shadow: color: #000000 Repita o Drop Shadow mudando em Vertical para -14. Selections > Select None.
21 - Crop Tool > Merged Opaque > Apply:
22 - Image > Add Borders > Symmetric: 1px na cor 4 5px na cor #ffffff 1px na cor 4 Selections > Select All. Image > Add Borders > Symmetric: 15px na cor #ffffff Selections > Invert
23 - Effects > Texture Effects > Texture: Striation conforme usado anteriormente. Effects > Edge Effects > Enhance. Selections > Select None.
24 - Image > Add Borders > Symmetric: 1px na cor 4 5px na cor #ffffff 1px na cor 4 Selections > Select All Image > Add Borders > Symmetric: 40px cor #ffffff
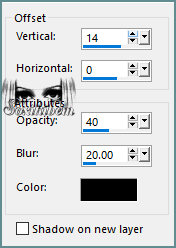
25 - Selections > Invert. Effects > Texture Effects > Texture: Striation conforme usado anteriormente. Effects > Edge Effects > Enhance. Selections > Invert. Effects > 3D Effects > Drop Shadow: 0, 0, 100, 40, color: #000000 Selections > Select None.
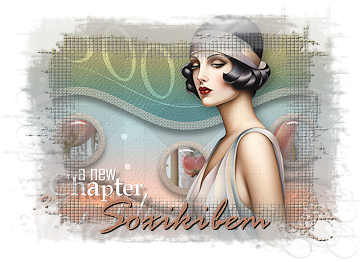
26 - Edit > Copy no Decor300_Xiki2. Edit > Paste as New Layer. Layers > Properties > General > Blend Mode: Luminance (L). Pick Tool: Position X: 113, Position Y: 75.
27 - Edit > Copy no Decor300_Xiki. Edit > Paste as New Layer. Layers > Properties > General > Blend Mode: Dodge, Opacity: 50%. Pick Tool: Position X: 68, Position Y: 75.
28 - Edit > Copy no Titulo300_Xiki. Edit > Paste as New Layer. Pick Tool: Position X: 82, Position Y: 501.
29 - Edit > Copy no Decor300_Xiki3. Edit > Paste as New Layer. Pick Tool: Position X: 92, Position Y: 33.
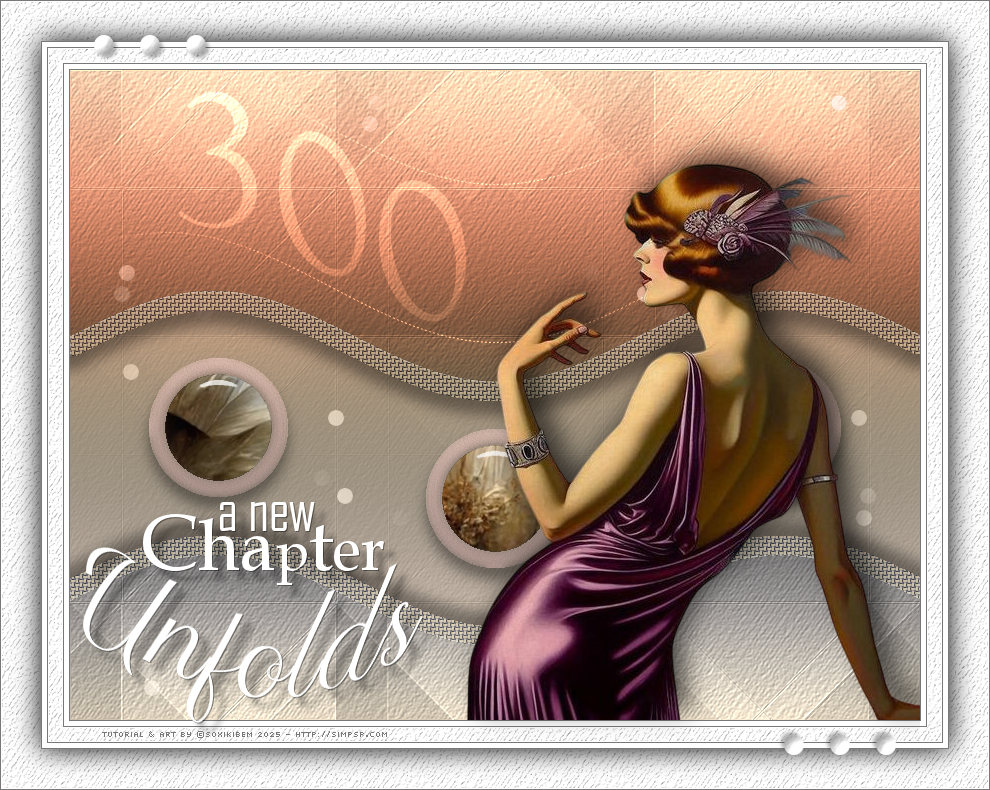
30 - Edit > Copy no Tube Personagem. Edit > Paste as New Layer. Image > Resize se necessário, no tube do material foi de 60%. Posicione e aplique efeito como preferir.
30 - Image > Add Borders > Symmetric: 1px na cor 4.
31 -
Aplicar sua marca d'água ou assinatura.
Versão:
Créditos: Formatação, Arte Final e Tutorial by Soxikibem Tube Principal: Tubed by Pqna&Alice Outros Materiais: by Soxikibem
Créditos Versão 3: Formatação, Arte Final e Tutorial by Soxikibem Tube Principal: AI Generated by SoxikibemOutros Materiais: by Soxikibem
Sinta-se à vontade para enviar suas versões. Terei todo o prazer em publicá-las em nosso site.
Envie sua versão para o e-mail:
Soxikibem Redes Sociais
My notebooks on Amazon
My art collections on Redbubble
SimPSP Redes Sociais
|