|
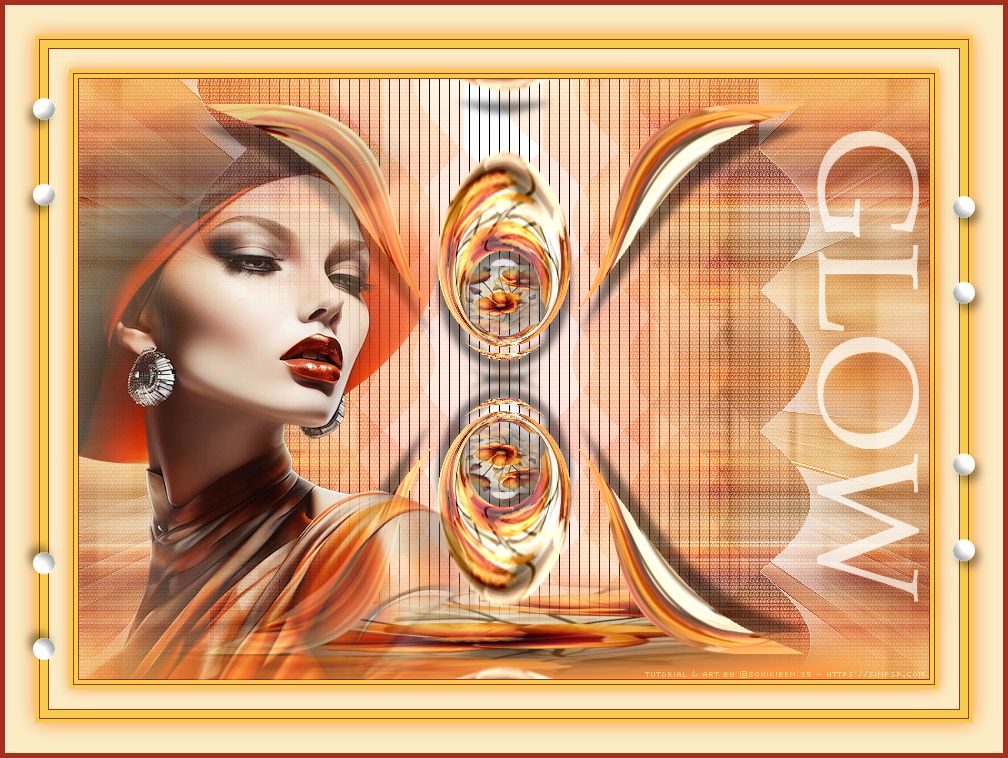
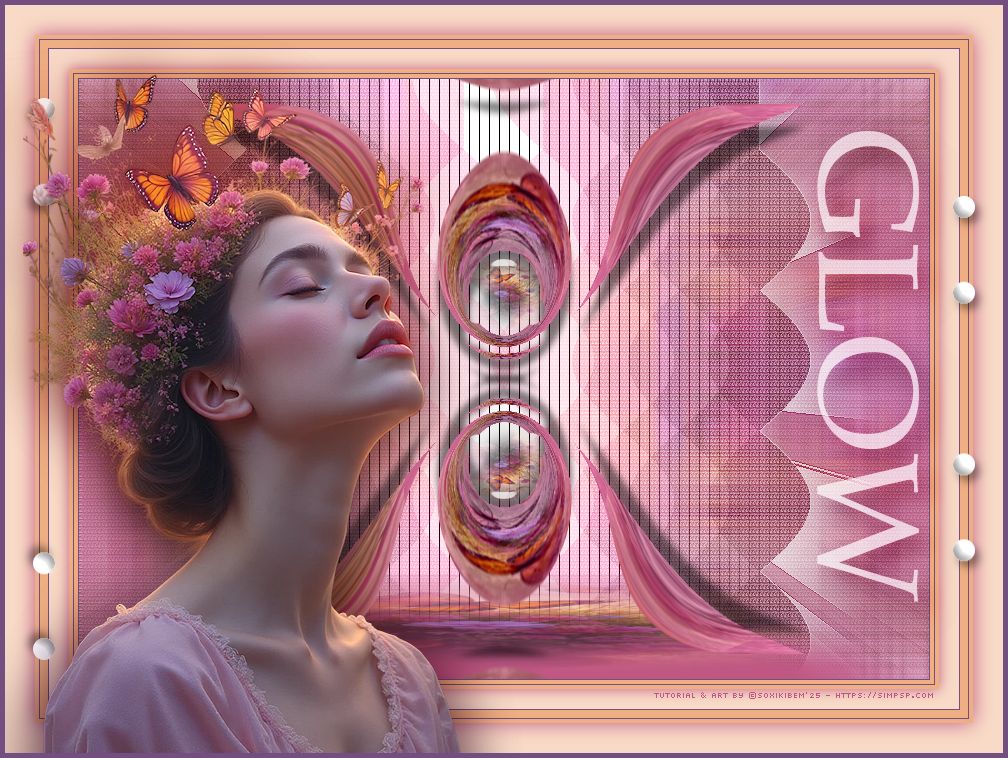
Brilhar é natural. Sem esforço, sem medo. Apenas luz, charme e atitude. Porque o verdadeiro brilho vem de dentro. Because true glow comes from within.
TRADUÇÕES:
O Sim
PSP valoriza e reconhece o trabalho das tradutoras que tornam os
tutoriais acessíveis a diferentes idiomas.
MATERIAL: 1 Tube Principal ou Personagem à sua escolha 1 Misted Floral à sua escolha Texture: JC_049 (Salvar na pasta Texture do seu PSP) Preset_UserDefinedFilter_Fake canvas.PspScript (Salvar na pasta Presets do seu PSP) Outros Materiais by Soxikibem
PLUGINS: Alien Skin Eye Candy 5 > Impact > Glass AP Lines > SilverLining Filters > Unlimited 2. 0 > &<Bkg Designer sf10 I > Cruncher. Filters > Ulimited 2.0 > Bkg Designer sf 10 IV > Lightburst. Kiwi's Oelfilter > 3.5 Promile Mehdi > Weaver Simple > Top Left Mirror.
Tutorial elaborado no PSP 2022 Testado e revisado por Márcinha no PSP 2020.
Agradeço às Tubeiras pelos Tubes e Masks, pois sem eles não seria
possível criar este trabalho.
VÍDEO AULA
Se preferir acompanhar em vídeo no Youtube, clique no link
abaixo: Se este tutorial te inspirou: Deixe seu like Ative o sininho Compartilhe com outros amantes do PSP E deixe um comentário contando o que achou!
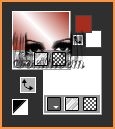
Cor 3: #f6cc4c Cor 4: #fbecc5
2 - Abra uma imagem
transparente de 850x600px.
3 - Selections > Select All. Edit > Copy no Misted Floral. Edit > Paste Into Selections. Selections > Select None.
4 - Effects > Image Effects > Seamless Tiling: Default. Plugin Mehdi > Weaver.
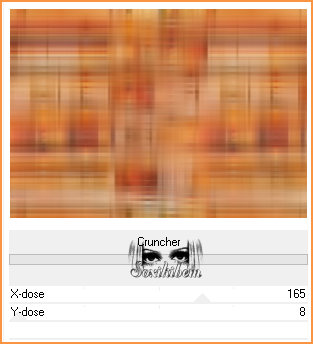
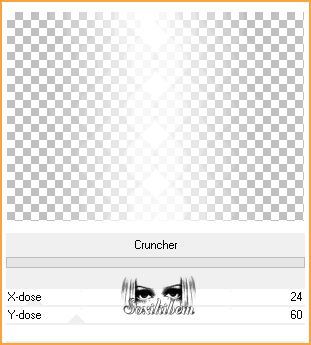
5 - Filters > Unlimited 2. 0 > &<Bkg Designer sf10 I > Cruncher.
6 - Plugin Simple > Top Left Mirror. Adjust > Sharpness > High Pass Sharpen.
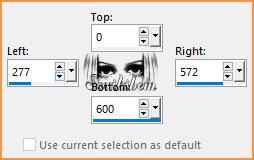
7 - Layers > New Raster Layer. Selection Tool > Custom Selection.
Coloque a cor branca em segundo plano.
Pinte a selecao coma cor branca Selections > Select None.
8 - Filters > Unlimited 2. 0 > &<Bkg Designer sf10 I > Cruncher.
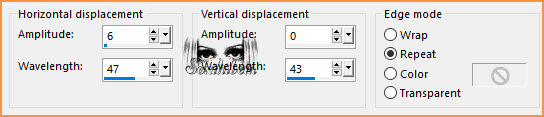
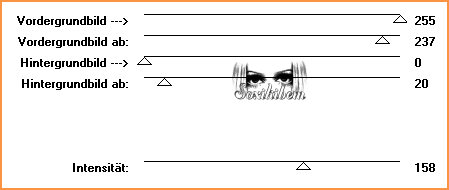
9 - Effects > Distortion Effects > Wave.
10 - Filters > Unlimited 2. 0 > &<Bkg Designer sf10 I > Cruncher.
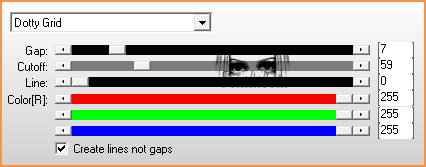
11 - Plugin AP Lines > SilverLining.
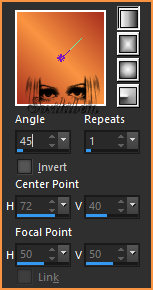
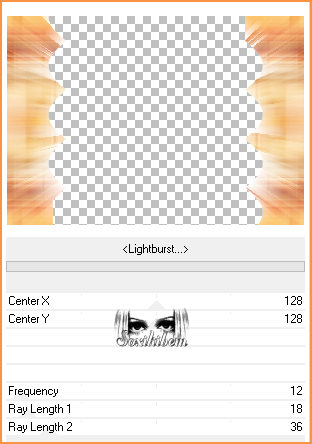
12 - Magic Wand > Tolerance & Feather 0, clique na parte transparente desta layer, esquerda e direita. Ativar a Layer Raster 1. Selections > Promote Selection to Layer. Filters > Ulimited 2.0 > Bkg Designer sf 10 IV > Lightburst.
Selections > Select None. Layers > Properties: Opacity 70%. Effects > Edge Effects > Enhance.
13 - Ativar a Layer Raster 1. Plugin AP Lines > SilverLining.
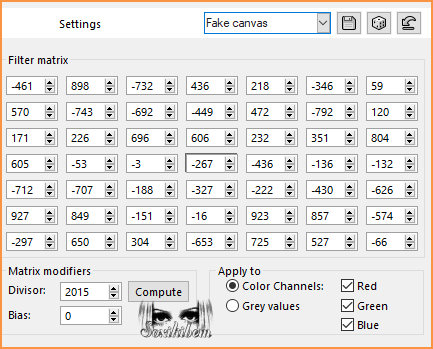
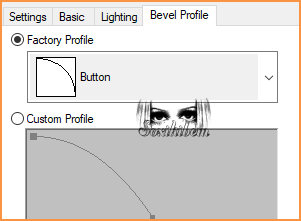
14 - Effects > User Defined Filter: Fake Canvas.
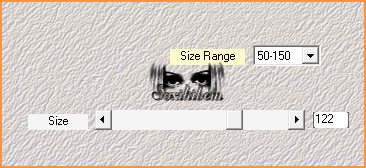
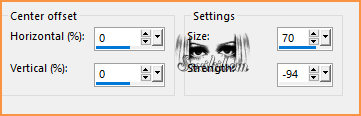
15 - Ativar a Layer Raster2. Layers > New Raster Layer. Selections > Load/Save Selections > Load Selection From Disk: 299_Xiki1. Pintar com a cor do background escolhida (#fa9442) . Edit > Copy no Misted Floral. Edit > Paste Into Selections. Layers > Duplicate. Plugin Kiwi's Oelfilter > 3.5 Promile.
Selections > Modify > Contract: 25 Selections > Invert. Edit > Cut ou Delete. Selections > Select None.
16 - Effects > Distortion Effects > Warp.
Effects > 3D Effects > Drop Shadow: -23, 0, 50, 10, cor preta. Layers > Duplicate. Image > Mirror > Mirror Vertical.
17 - Ativar a Layer Raster 3. Magic Wand > Tolerance 0, Feather 50, clicar na parte transparente desta layer. Edit > Cut ou Delete 3 vezes. Selections > Select None.
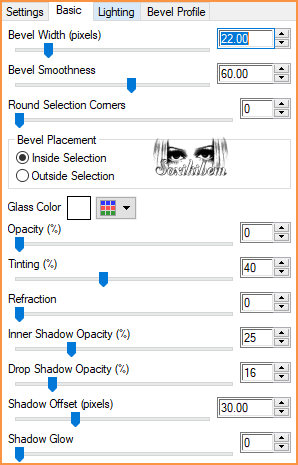
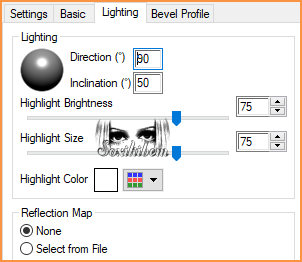
18 - Ativar a Layer do topo (Copy (2) of Raster 3. Layers > New Raster Layer. Selections > Load/Save Selections > Load Selection From Disk: 299_Xiki2. Edit > Copy no Misted Floral. Edit > Paste Into Selections. Adjust > Sharpness > Sharpen. Plugin Alien Skin Eye Candy 5 > Impact > Glass.
Selections > Select None.
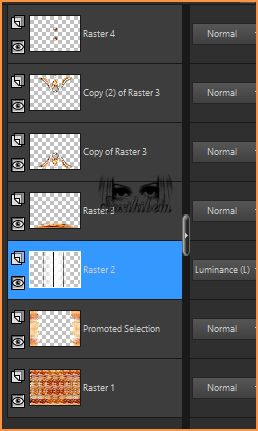
19 - Layers > Duplicate. Image > Mirror > Mirror Vertical. Layers > Merge > Merge Down. Ativar a Layer Raster 2 e mudar o blend para Luminance (L). Suas layers deverão estar como abaixo.
20 - Image > Add Borders: 1px cor foreground 4px cor 3 1px cor foreground 4px cor 3 Selections > Select All 20px cor 4 Effects > 3D Effects > Drop Shadow: 0, 0, 100, 20, cor background. Selections > Select None.
21 - Image > Add Borders: 1px cor foreground 8px cor 3 1px cor foreground 4px cor 3 Selections > Select All 30px cor 4 Effects > 3D Effects > Drop Shadow: 0, 0, 100, 30, cor background. Selections > Select None.
22 - Edit > Copy no Tube Personagem. Edit > Paste a New Layer. Posicione a esquerda do trabalho. Aplique efeito se desejar.
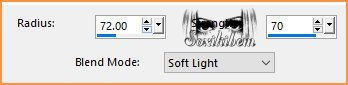
23 - Edit > Copy no TituloGlow_Xiki. Edit > Paste a New Layer. Pick Tool: Position X 791, Position Y 108. Layers > Properties: Blend Mode Soft Light. Layers > Duplicate.
24 - Edit > Copy no DecorGlow_Xiki. Edit > Paste a New Layer. Pick Tool: Position X13, Position Y 90. *Se for necessário mova esta layer para baixo da layer do tube, na segunda versão eu movi para que o decor não ficasse em cima do tube.
25 - Image > Add Borders: 5px cor foreground.
26 - Edit > Copy no Credit-Tutorial_bySoxikibem. Posicionar como preferir. Aplicar sua marca d'água ou assinatura.
Versão:
Créditos Versão 1 & 2: Formatação, Arte Final e Tutorial by Soxikibem Tube Personagem & Floral: Tubed by Pqna&Alice Outros Materiais: by Soxikibem
Créditos Versão 3: Formatação, Arte Final e Tutorial by Soxikibem Tube Personagem & Floral: AI Generated Tubed by Soxikibem Outros Materiais: by Soxikibem
Sinta-se à vontade para enviar suas versões. Terei todo o prazer em publicá-las em nosso site.
Envie sua versão para o e-mail:
SimPSP Redes Sociais
|