|
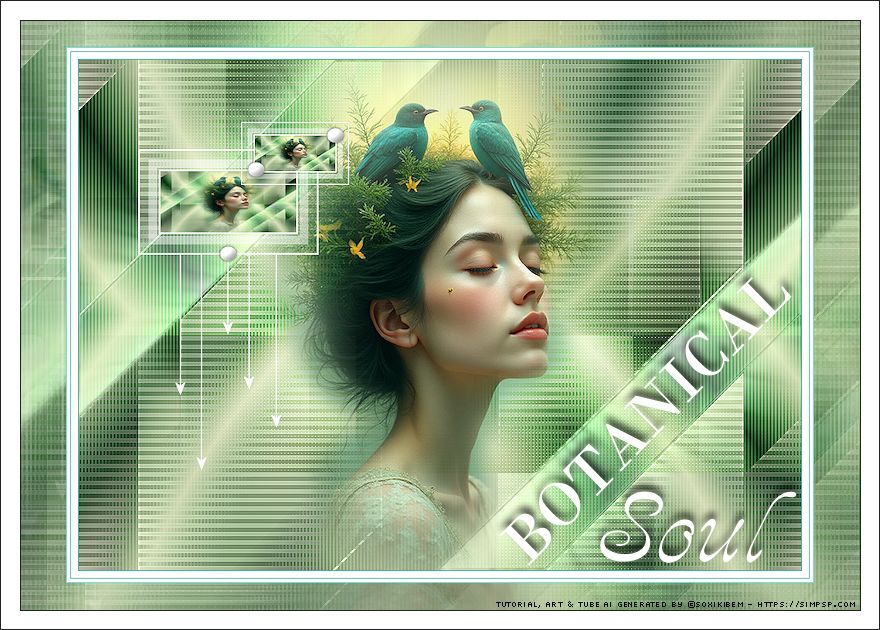
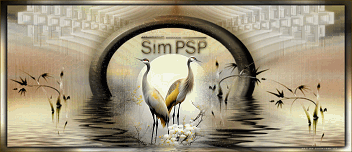
Em meio a tons de verde e sussurros da natureza, sua alma floresce como uma folha ao vento. Serenidade e vida entrelaçam-se em um único suspiro, onde pássaros cantam segredos e a essência da terra se reflete em seu olhar. Serenity and life intertwine in a single breath, where birds sing secrets and the essence of the earth reflects in your gaze.
TRADUÇÕES: O Sim
PSP valoriza e reconhece o trabalho das tradutoras que tornam os
tutoriais acessíveis a diferentes idiomas.
MATERIAL: 1 Tube Personagem à sua escolha Outros Materiais by Soxikibem
PLUGINS: Alien Skin Eye Candy 5: Impact: Backlight Carolaine and Sensibility > CS_HLines, CS_LDots Filters Factory Gallery A > Spotlight, Weave, Zoom In Toadies > Weaver
Tutorial elaborado no PSP 2022 Testado e revisado por Márcinha no PSP 2020.
Agradeço às Tubeiras pelos Tubes e Masks, pois sem eles não seria
possível criar este trabalho.
VÍDEO AULA
Se preferir acompanhar em vídeo no Youtube, clique no link
abaixo: Se este tutorial te inspirou: Deixe seu like Ative o sininho Compartilhe com outros amantes do PSP E deixe um comentário contando o que achou!
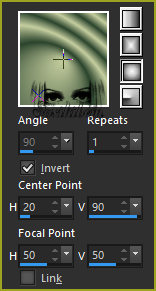
TUTORIAL Cor 3: #9fa322 Cor 4: #ffffff
2 - Abra uma imagem
transparente de 850x600px.
3 - Layers > Duplicate. Image > Mirror > Mirror Horizontal. Layers > Properties > General > Blend Mode: Soft Light. Layers > Merge > Merge Down.
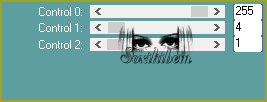
4 - Layers > Duplicate. Adjust > Blur > Gaussian Blur: 25. Plugin Filters Factory Gallery A > Weave.
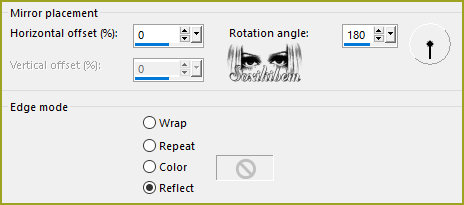
5 - Effects > Reflection Effects > Rotating Mirror.
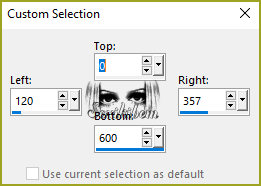
6 - Ferramenta Selection Tool > Custom Selection. Selections > Promote Selection to Layer. Selections > Select None.
7 - Plugin Filters Factory Gallery A > Spotlight.
8 - Layers > Duplicate. Image > Mirror > Mirror Horizontal. Image > Mirror > Mirror Vertical. Layers > Merge > Merge Down. Plugin Toadies > Weaver.
9 - Carolaine and Sensibility > CS_LDots. Layers > Properties > General > Blend Mode: Overlay.
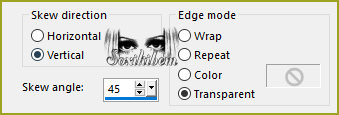
10 - Ativar a Layer Copy of Raster 1. Effects > Geometric Effects > Skew.
11 - Effects > Image Effect > Seamless Tiling: Default. Carolaine and Sensibility > CS_HLines. Layers > Properties > General > Blend Mode: Lighten. Adjust > Sharpeness > Sharpen More.
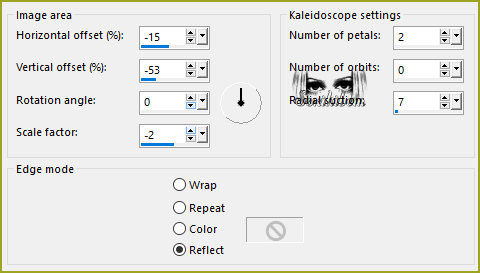
12 - Ativar a Layer Raster 1. Effects > Reflection Effects > Kaleidoscope.
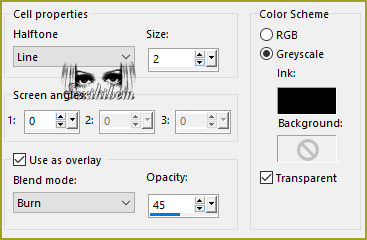
13 - Effects > Artistic Effects > Halftone.
14 - Ativar a Layer do topo > Promoted Selection. Layers > New Raster Layer. Selections > Load/Save Selections > Load Selection From Disk: 296_Xiki1. Pintar com a cor 3. Selections > Modify > Contact: 2. Edit > Cut ou Delete.
15 - Flood Fill > Opacity: 40%, pintar com a cor 4 (Branco). Selections > Select None. Layers > Duplicate. Image > Mirror > Mirror Horizontal. Image > Mirror Mirror Vertical. Layers > Merge > Merge Down.
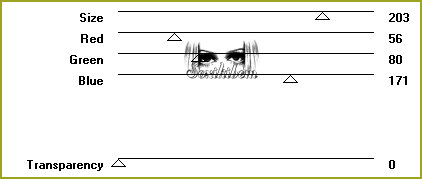
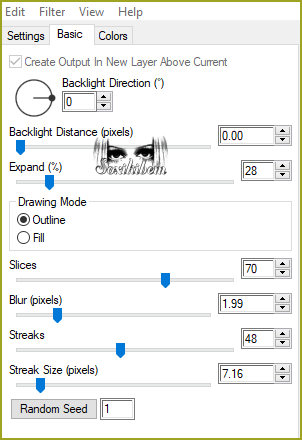
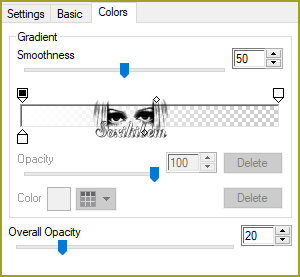
16 - Plugin Alien Skin Eye Candy 5: Impact: Backlight.
Layers > Properties > General > Blend Mode: Luminance (L).
17 - Edit > Copy no Tube Personagem. Edit > Paste as New Layer. Image > Resize se necessário, no tube do material doi de 65%. Aplique efeito se preferir, o meu eu coloquei apenas Sharpen porque eu precisei dar um resize.
18 - Edit > Copy Special > Copy Merged. Layers > New Raster Layer. Selections > Load/Save Selections > Load Selection From Disk: 296_Xiki2. Flood Fill > Opacity: 100%, pintar a seleção com a cor 4 (branco).
Selections > Modify > Contract: 2. Edit > Cut ou Delete.
Selections > Modify > Contract: 10. Flood Fill > Opacity: 50%, pintar a seleção com a cor 4 (branco).
Selections > Modify > Contract: 10. Edit > Cut ou Delete.
Selections > Modify > Contract: 2. Flood Fill > Opacity: 100%, pintar a seleção com a cor 4 (branco).
Selections > Modify > Contract: 2. Edit > Paste Into Selection. Adjust > Sharpness > Sharpen. Selections > Select None.
19 - Layers > Duplicate. Image > Resize: 60%, All layers desmarcado. Adjust > Sharpness > Sharpen. Pick Tool: Position X: 191, Position Y: 73.
20 - Edit > Copy no Decor296_Xiki. Retire a minha marca d'água. Edit > Paste as New Layer. Pick Tool: Position X: 113, Position Y: 76.
21 - Image > Add Borders > Symmetric: 1px com a cor 3 8px com a cor 4 1px com a cor 3 3px com cor 4 1px com cor 3
22 - Layers > Duplicate. Image > Resize: 85%, all layers desmarcado. Adjust > Sharpness > Sharpen.
23 - Ativar a Layer Background. Plugin Filters Factory Gallery A > Zoom In.
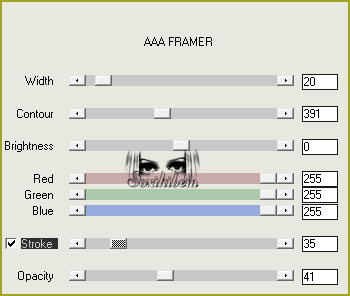
24 - Plugin AAA Filters > AAA Framer.
25 - Ativar a Layer Copy of Background. Edit > Copy no TituloBS_Xiki. Edit > Paste as New Layer. Pick Tool: Position X: 493, Position Y: 263.
26 -
Aplicar sua marca d'água ou assinatura.
VERSÃO 2:
Créditos Versão 1 & 2: Formatação, Arte Final e Tutorial by Soxikibem Tube Principal: Tubed by Pqna&Alice Outros Materiais: by Soxikibem
VERSÃO 3:
Créditos Versão 3: Formatação, Arte Final e Tutorial by Soxikibem Tube Principal: AI Generated by Soxikibem Outros Materiais: by Soxikibem
Sinta-se à vontade para enviar suas versões. Terei todo o prazer em publicá-las em nosso site.
Envie sua versão o e-mail:
|
