|
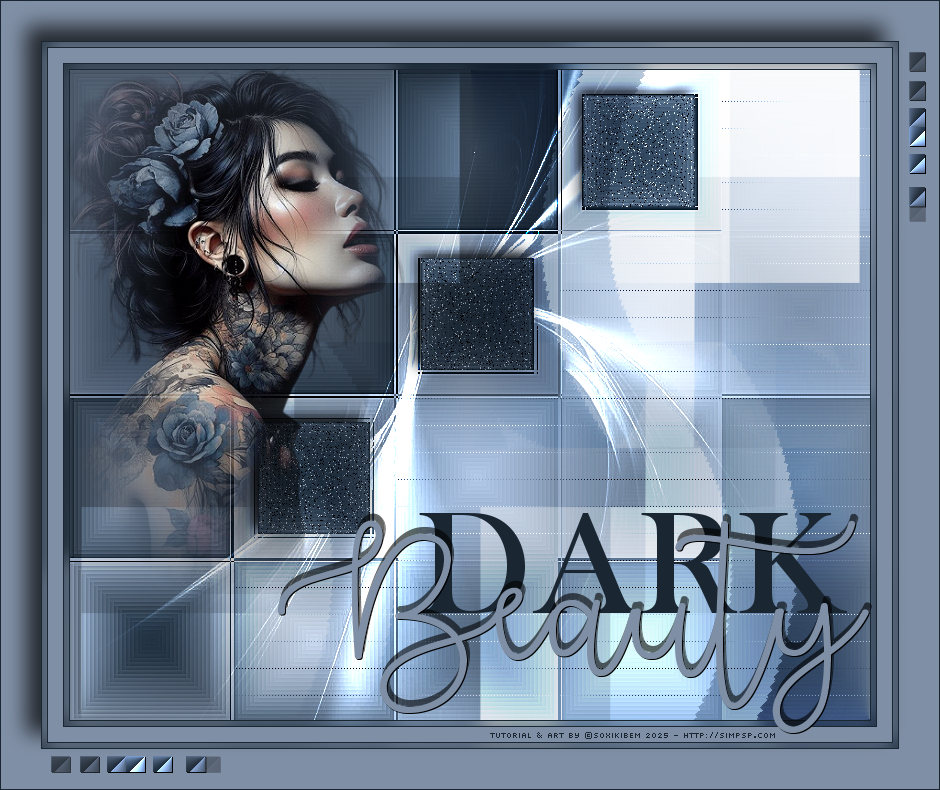
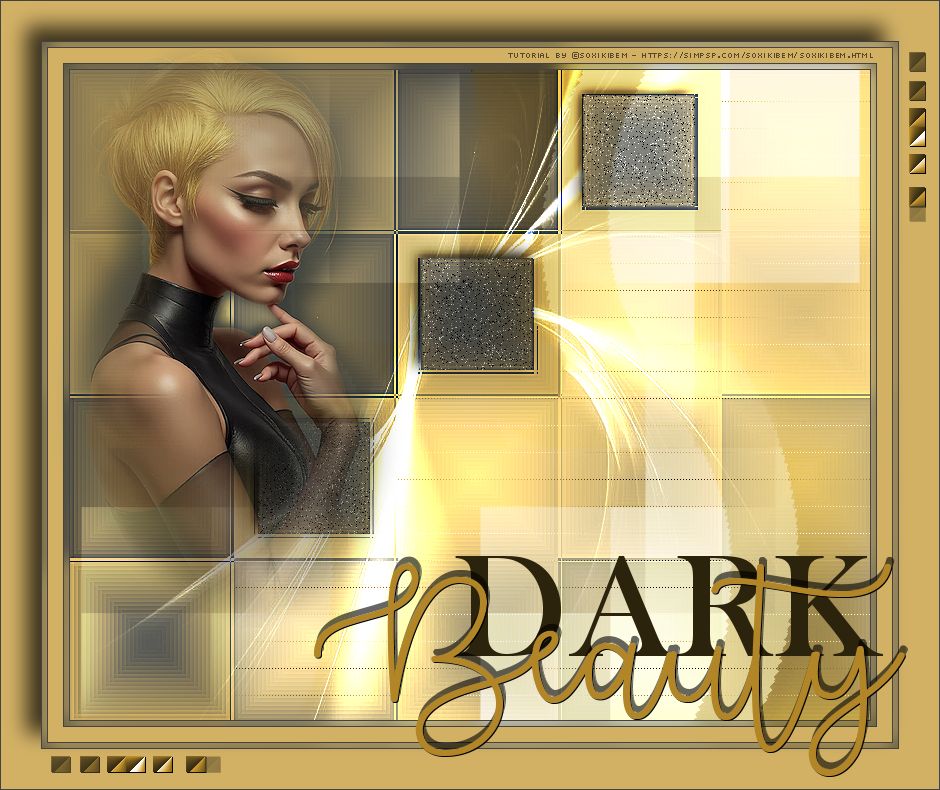
Há um encanto nas sombras, um magnetismo na melancolia. Entre flores que desabrocham em tons de mistério e marcas que contam segredos sussurrados ao vento, ela é a poesia da noite—intensa, enigmática e inesquecível.
TRADUÇÕES:
O Sim
PSP valoriza e reconhece o trabalho das tradutoras que tornam os
tutoriais acessíveis a diferentes idiomas.
MATERIAL: 1 Tube Principal ou Personagem à sua escolha 1 Misted Paisagem à sua escolha 1 Tube Decorativo à sua escolha 1 mask: Narah_Mask Outros Materiais by Soxikibem
PLUGINS: Filters Unlimited 2.0 > BKg Designer sf 10 II > DIS Refractor 1; &Bkg Kaleidoscoop > Swirl Away L en K's > Zitah Mehdi > Sorting Tiles Toadies > What Are You?
Tutorial elaborado no PSP 2022 Testado e revisado por Inácia Neves no PSP 2022.
Agradeço às Tubeiras pelos Tubes e Masks, pois sem eles não seria
possível criar este trabalho.
VÍDEO AULA
Se preferir acompanhar em vídeo no Youtube, clique no link
abaixo: Se este tutorial te inspirou: Deixe seu like Ative o sininho Compartilhe com outros amantes do PSP E deixe um comentário contando o que achou!
TUTORIAL
2 - Abra uma imagem
transparente de 800x650px.
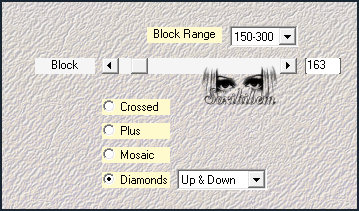
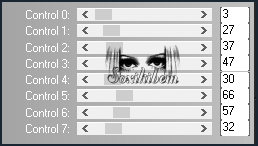
3 - Plugin Mehdi > Sorting Tiles.
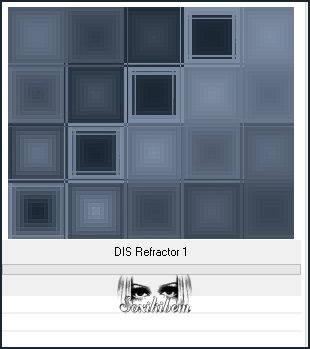
4 - Filters Unlimited 2.0 > BKg Designer sf 10 II > DIS Refractor 1. Adjust > Sharpness > Sharpen More.
5 - Selections > Load/Save Selections > Load Selection From Disk: DB_Xiki2. Plugin L en K's > Zitah.
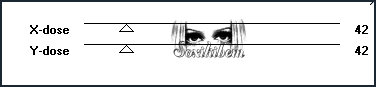
6 - Selections > Load/Save Selections > Load Selection From Disk: DB_Xiki3. Selections > Promote Selection to Layer. Selections > Select None. Plugin Toadies > What Are You?
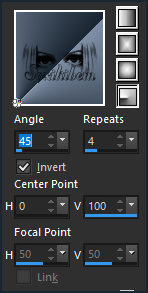
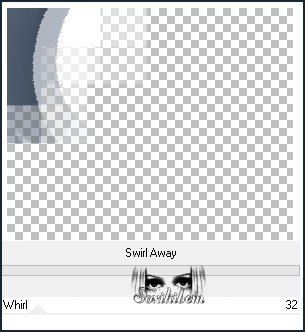
7 - Filters Unlimited 2.0 > &<Bkg Kaleidoscope> > Swirl Away Atenção: configure o Background com a cor #ffffff (Branca)antes de aplicar o efeito Swirl Away
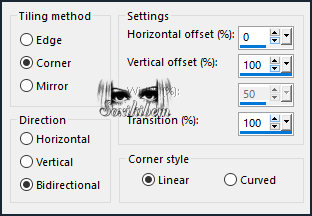
8 - Layers > Duplicate. Image > Mirror > Mirror Horizontal. Image > Mirror > Mirror Vertical. Layers > Merge > Merge Down. Effects > Image Effects > Seamless Tiling. Layers > Properties > General > Blend Mode: Overlay.
9 - Ativar a Layer Raster 1. Selections > Load/Save Selections > Load Selection From Disk: DB_Xiki1. Selections > Promote Selection to Layer. Selections > Select None.
Layers > Duplicate. Pick Tool: Position X: 351, POsition Y: 188. Layers > Duplicate. Pick Tool: Position X: 513, POsition Y: 25.
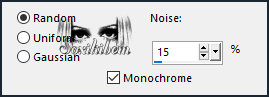
10 - Layers > Merge Down por 2 vezes. Adjust > Add/Remove Noise > Add Noise.
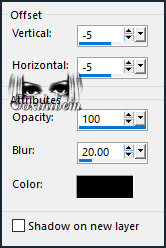
11 - Effects > 3D Effects > Drop Shadow.
12 - Ativar a Layer Raster 1. Layers > New Raster Layer. Pintar com a cor #ffffff (Branco). Layers > New Mask Layer > From Image: Narah_Mask_1494. Effects > Edge Effects > Enhance. Layers > Merge > Merge Group. Layers > Properties > General > Blend Mode: Dodge.
13 - Image > Add Borders > Symmetric: 1px com a cor do Foreground: #1a2632. Edit > Copy Selections > Select All. Imge > Add Borders > Symmetric: 5px com qualquer cor. Selections > Invert. Edit > Paste Into Selection.
14 - Adjust > Blur > Gaussian Blur: 10. Selections > Select None. Image > Add Borders > Symmetric: 1px com a cor do Foreground: #1a2632. Image > Add Borders > Symmetric: 15px com a cor do Background: #7f8fa5. Image > Add Borders > Symmetric: 1px com a cor do Foreground: #1a2632.
15 - Selections > Select All. Imge > Add Borders > Symmetric: 5px com qualquer cor. Selections > Invert. Edit > Paste Into Selection. Adjust > Blur > Gaussian Blur: 10. Selections > Select None.
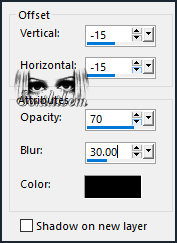
16 - Image > Add Borders > Symmetric: 1px com a cor do Foreground: #1a2632. Selections > Select All. Imge > Add Borders > Symmetric: 40px com a cor do Background: #7f8fa5. Effects > 3D Effects > Drop Shadow. Selections > Select None.
17 - Edit > Copy no Tube Personagem. Edit > Paste as New Layer. Image > Resize se necessário, no tube do material foi de 57% Image > Mirror > Mirror Horizontal. Posicionar à esquerda. Aplique Drop Shadow como preferir.
18 - Edit > Copy no TituloDB_Xiki. Edit > Paste as New Layer. Posicionar à direita ou como preferir.
19 - Edit > Copy no DecorDB_Xiki. Edit > Paste as New Layer. Pick Tool: Position X: 50, Position Y: 51.
20 - Image > Add Borders > Symmetric: 1px com a cor do Foreground: #1a2632.
21 -
Aplicar sua marca d'água ou assinatura.
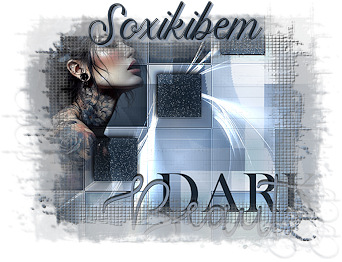
VERSÃO 2:
Créditos Versão 1 & 2: Formatação, Arte Final e Tutorial by Soxikibem Tube Principal: AI Generated Soxikibem Mask: by Narah Outros Materiais: by Soxikibem
VERSÃO 3:
Créditos Versão 3: Formatação, Arte Final e Tutorial by Soxikibem Tube Principal: Tube IA by Soxikibem Mask: by Narah Outros Materiais: by Soxikibem
Sinta-se à vontade para enviar suas versões. Terei todo o prazer em publicá-las em nosso site.
|