|
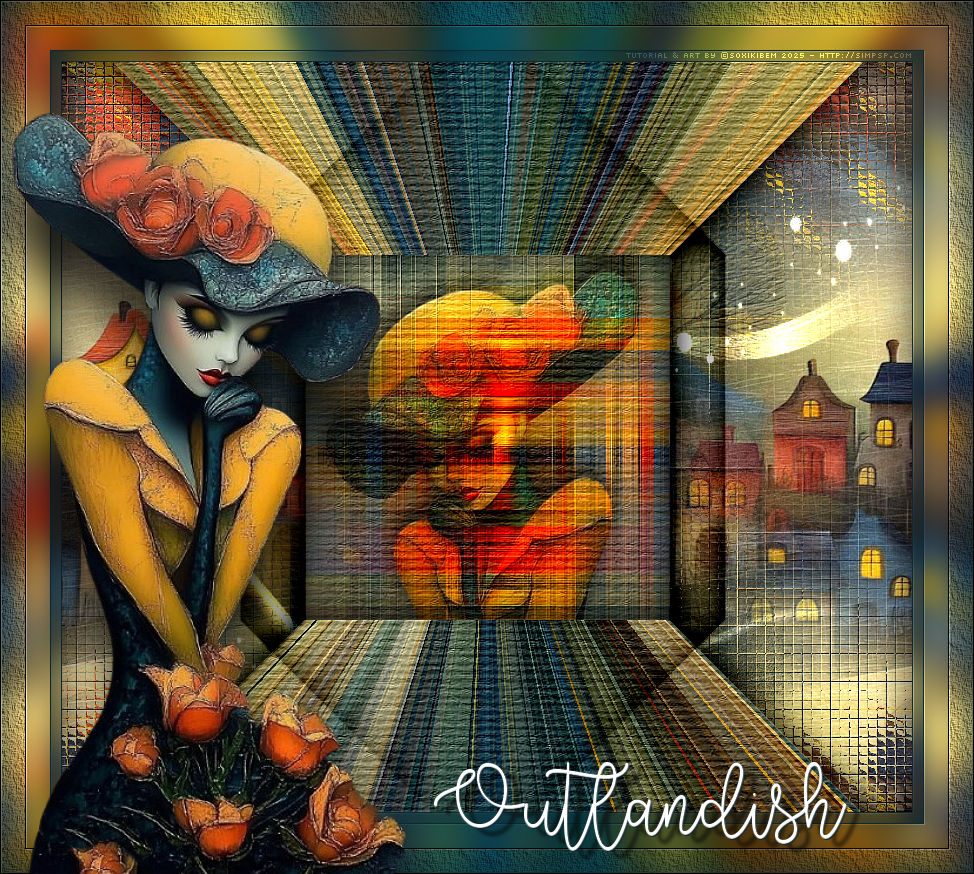
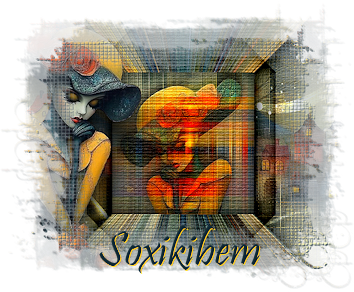
As luzes refletiam em sua pele pálida, tornando-a quase irreal, uma visão passageira entre o concreto e o brilho dos letreiros. Quem a via não sabia dizer se era um sonho, um delírio ou apenas uma mulher que não deveria estar ali.
TRADUÇÕES:
O Sim
PSP valoriza e reconhece o trabalho das tradutoras que tornam os
tutoriais acessíveis a diferentes idiomas.
MATERIAL: 1 Tube Principal ou Personagem à sua escolha 1 Misted Paisagem à sua escolha 1 mask: Narah_Mask Outros Materiais by Soxikibem
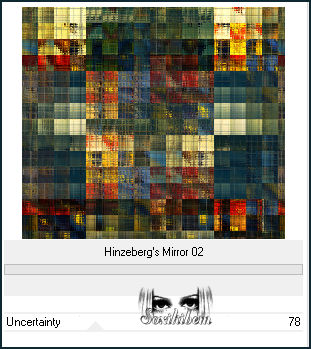
PLUGINS: Mehdi > Weaver AAA Frames > Texture Frame FM Tile Tools > Saturation Emboss Italian Editors Effect > Vetro Unlimited 2.0 > BKgDesigner sf10 II > Hinzeberg's Mirror 02 Filters Unlimited 2.0 > Paper Textures > Structure Paper 1 Filters Unlimited 2.0 > Paper Textures > Papier Kassy 1
Tutorial elaborado no PSP 2022 Testado e revisado por Inácia Neves no PSP 2022.
Agradeço às Tubeiras pelos Tubes e Masks, pois sem eles não seria
possível criar este trabalho.
VÍDEO AULA
Se preferir acompanhar em vídeo no Youtube, clique no link
abaixo: Se este tutorial te inspirou: Deixe seu like Ative o sininho Compartilhe com outros amantes do PSP E deixe um comentário contando o que achou!
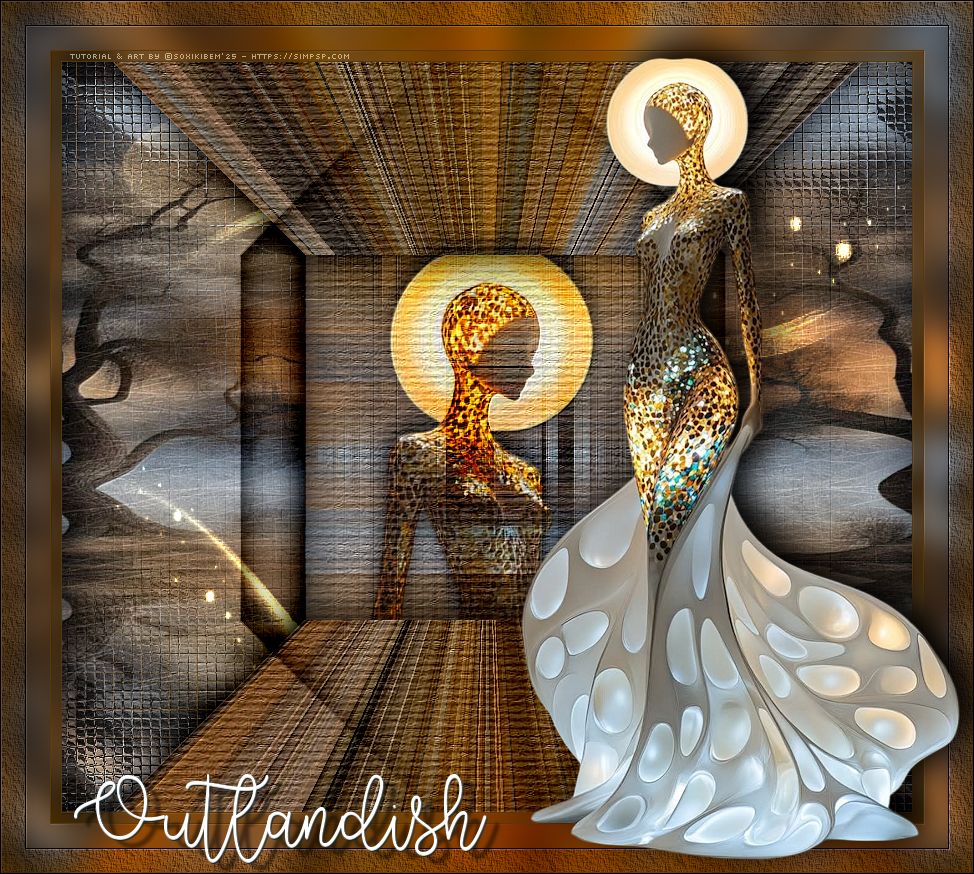
TUTORIAL
2 - Abra uma imagem
transparente de 850x750px.
3 - Selections > Select All. Edit > Copy no Misted Paisagem. Edit > Paste Into Selection. Selections > Select None.
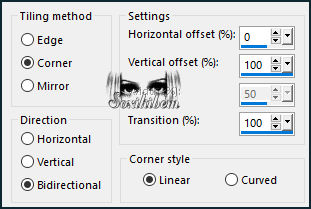
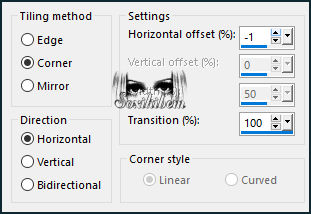
4 - Effects > Image Effects > Seamless Tiling: Default. Plugin Italian Editors Effect > Vetro.
5 - Layers > New Raster Layer. Selections > Select All. Edit > Copy no Misted Paisagem. Edit > Paste Into Selection. Selections > Select None. Effects > Image Effects > Seamless Tiling.
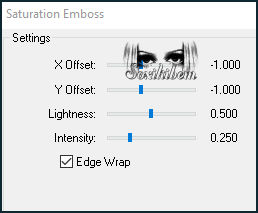
6 - Layers > Merge > Merge Down. FM Tile Tools > Saturation Emboss: Default. (Opcional)
7 - Layers > Duplicate. Filters Unlimited 2.0 > BKgDesigner sf10 II > Hinzeberg's Mirror 02: 78.
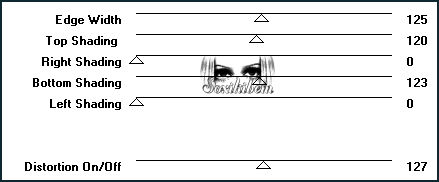
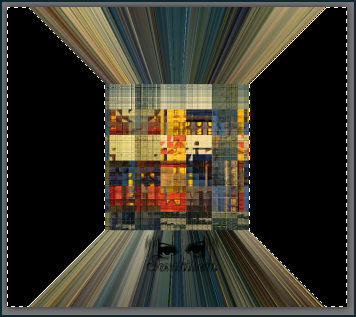
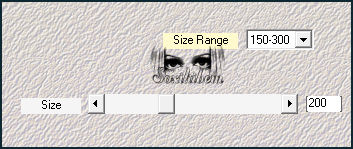
8 - Plugin Filters Factory Gallery B > Button Deluxe.
9 - Magic Wand > Tolerance & Feather: 0, selecione a parte preta da esquerda e direita. Edit > Cut ou aperte a tecla Delete.
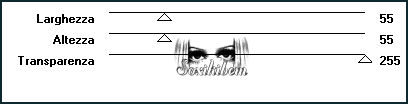
10 - Layers > New Raster Layer. Effects > 3D Effects > Cutout.
Selections > Select None.
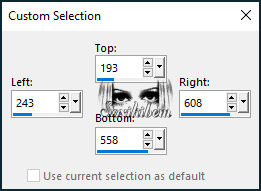
11 - Ativar a Layer Copy of Raster 1. Ativar Selection Tool > Custom Selection.
12 - Plugin Mehdi > Weaver.
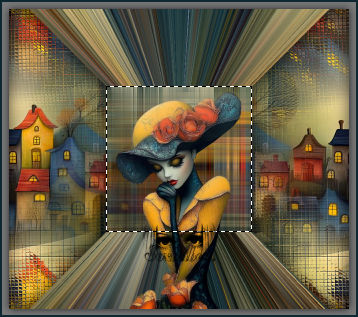
13 - Edit > Copy no Tube Personagem. Edit > Paste as New Layer. Com a Ferramenta Move Tool, posicione como no print abaixo. Selections > Invert. Edit > Cut ou Delete.
14 - Selections > Invert. Layers > New Raster Layer. Effects > 3D Effects > Cutout. Selections > Select None.
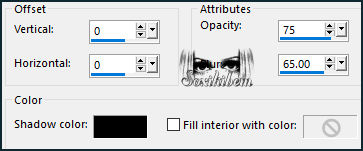
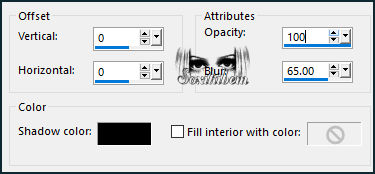
15 - Ativar a Layer Raster 3 (Tube Personagem). Layers > Properties > General > Blend Mode: Overlay - Opacity: 80%. (Na segunda versão eu usei o Blend Mode: Hard Light) Effects > 3D Effects > Drop Shadow: -10, 0, 70, 30, cor #000000 (Preto) Layers > Merge > Merge Down.
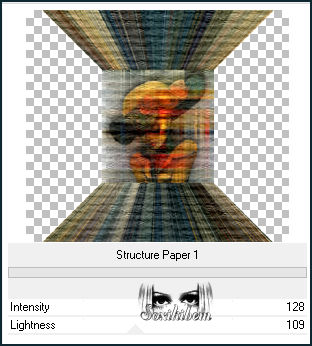
16 - Filters Unlimited 2.0 > Paper Textures > Structure Paper 1.
17 - FM Tile Tools > Saturation Emboss: Default. (Opcional)
18 - Ativar a Layer Raster 1. Layers > New Raster Layer. Pintar com a cor #ffffff (Branco). Layers > New Mask Layer > From Image: Narah_mask_Abstract127. Effects > Edge Effects > Enhance. Layers > Duplicate. Layers > Merge > Merge Group. Layers > Properties > General > Blend Mode: Dodge.
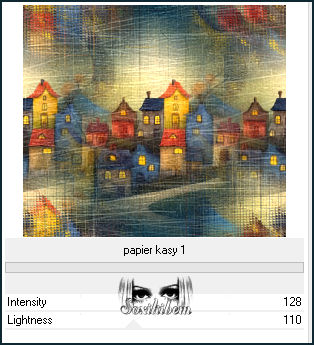
19 - Ativar a Layer Raster 1. Filters Unlimited 2.0 > Paper Textures > Papier Kassy 1.
20 - Ativar a Layer Raster 2 (Top Layer). Layers > Duplicate. Effects > Image Effects > Seamless Tiling. Layers > Properties > General > Blend Mode: Multiply. Layers > Duplicate. Layers > Properties > General > Blend Mode: Burn.
21 - Image > Add Borders> Symmetric: 1px com a cor do Foreground. Edit > Copy. Selections > Select All. Image > Add Borders > Symmetric: 10px com qualquer cor. Selections > Invert. Edit > Paste Into Selection. Adjust > Blur > Gaussian Blur: 15.
22 - Plugin FM Tile Tools > Saturation Emboss: Default.
Selections > Select None.
23 - Image > Add Borders > Symmetric: 1px com a cor do Foreground. Selections > Select All. Image > Add Borders > Symmetric: 50px com qualquer cor. Selection > Invert. Edit > Paste Into Selection. Adjust > Blur > Gaussian Blur: 15.
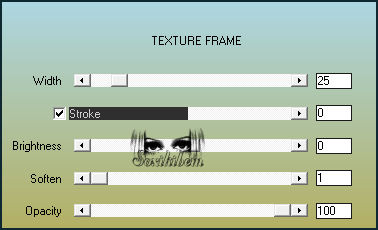
24 - Plugin AAA Frames > Texture Frame.
25 - Plugin FM Tile Tools > Saturation Emboss: Default.
Selections > Select None.
26 - Edit > Copy no Tube Personagem. Edit > Paste as New Layer. Posicione e Drop Shadow como preferir.
27 - Edit > Copy no TituloO_Xiki. Edit > Paste as New Layer. Posicione como preferir.
28 -
Aplicar sua marca d'água ou assinatura.
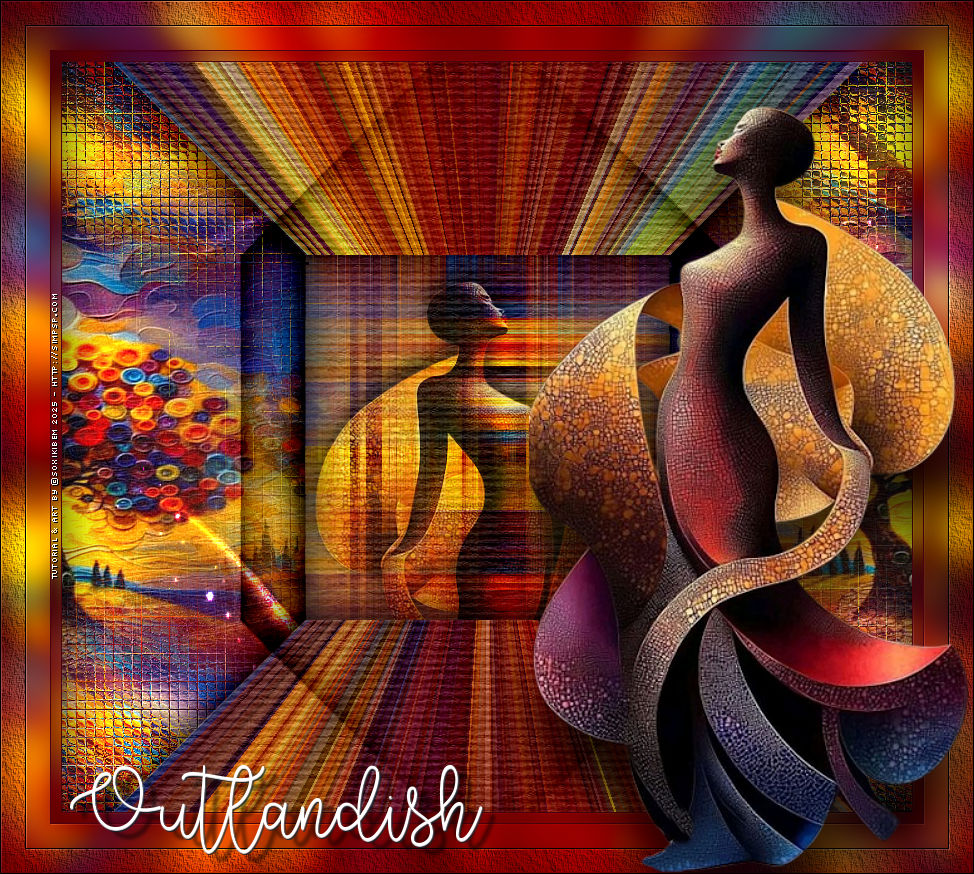
VERSÃO:
Créditos: Formatação, Arte Final e Tutorial by Soxikibem Tube Principal & Misted Paisagem: Tubed by Pqna&Alice Mask: by NaraMasks Outros Materiais: by Soxikibem
Sinta-se à vontade para enviar suas versões. Terei todo o prazer em publicá-las em nosso site.
|