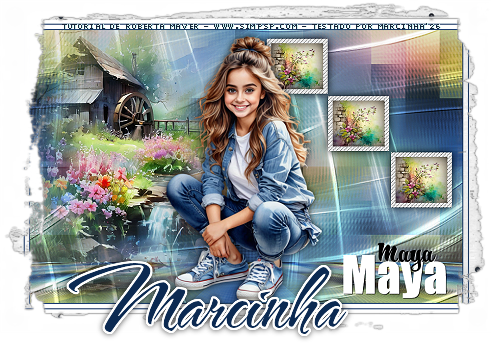
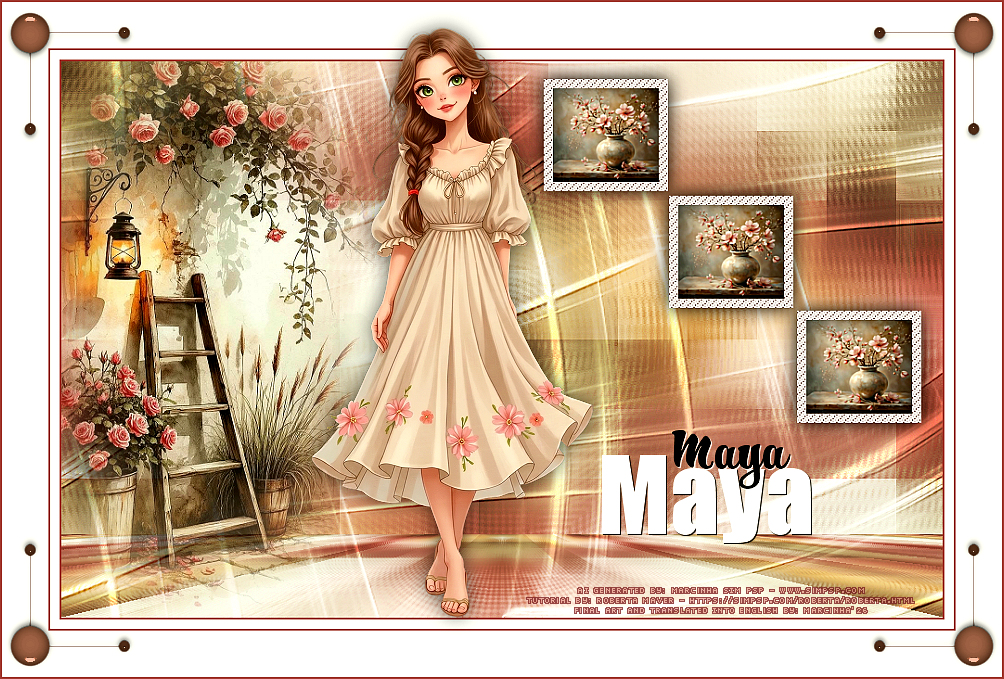
|
Translated into English by Márcinha
Tutorial created in PSP 2022 Tutorial tested and reviewed by Márcinha in PSP 2020
SUPPLIES:
Other Materials by Roberta Maver
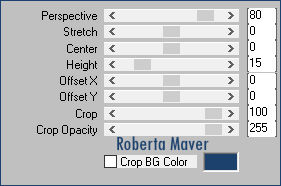
Mura's Meister > Perspective
Tiling: I would like to thank the
tube and mask artists, without whom this project would not have been
possible.
Feel free to adjust the
Blend Modes to match the colors you are using.
*Delete the Watermark from all materials.
Choose two colors to work with.
3rd Color # FFFFFF
Edit > Copy on the Misted Landscape.
Adjust > Blur > Gaussian Blur: 30
Effects > Edge Effects > Enhance More.
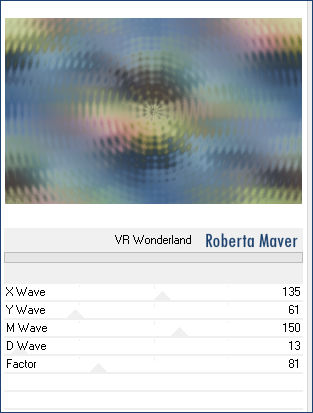
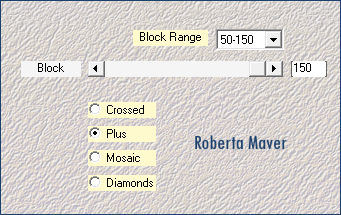
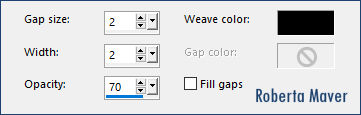
Effects > Plugins > Mehdi > Sorting Tiles:
Layers > Properties > General > Blend Mode: Overlay - Opacity: 75% Adjust > Sharpness > Sharpen.
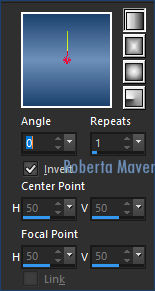
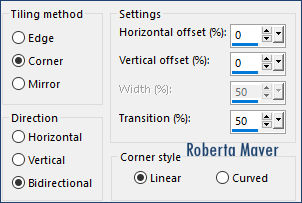
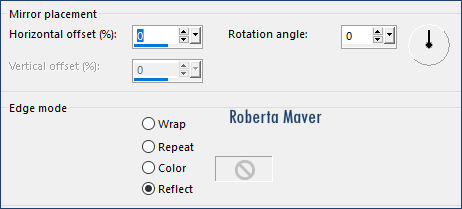
Edit > Paste As New Layer. Effects > Plugins > Mura's Meister > Perspective Tiling:
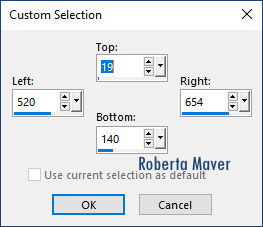
Selection Tool > Custom Selection:
Paint this selection with the color white #ffffff.
Selections > Modify > Contract: 10 Press the Delete key on the keyboard. Selections > Modify > Expand: 4
11 - Layers > New Raster Layer. Layers > Arrange > Move Down.
Edit > Copy on the file Imagem83_byRoberta. Keep the selection...
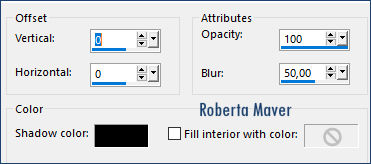
12 - Layers > New Raster Layer. Effects > 3D Effects > Cutout:
Selections > Select None.
13 - Activate the Raster 3 layer. (top) Layers > Merge > Merge Down. (2 times)
14 - Layers > Duplicate. With the Pick Tool, position: Position X: 655 Position Y: 145 Layers > Duplicate. With the Pick Tool, position: Position X: 793 Position Y: 269 Layers > Merge > Merge Down. (2 times) Effects > 3D Effects > Drop Shadow: 0 / 0 / 100 /30, Color: #000000
15 - Edit > Copy on the
file Decor01_byRobertaMaver. Layers > Properties > General > Blend Mode: Overlay - Opacity: 100% Layers > Arrange > Move Down.
16 - Activate the Raster 4 (top) layer.
Edit > Copy on the Misted Landscape. Position it to the left of the work. Adjust > Sharpness > Sharpen.
2 px - color: Background #1c416d. 50 px - color: White #ffffff. Image > Resize > By Pixel > Width: 1000 px, resize all layers checked.
Adjust > Sharpness > Sharpen.
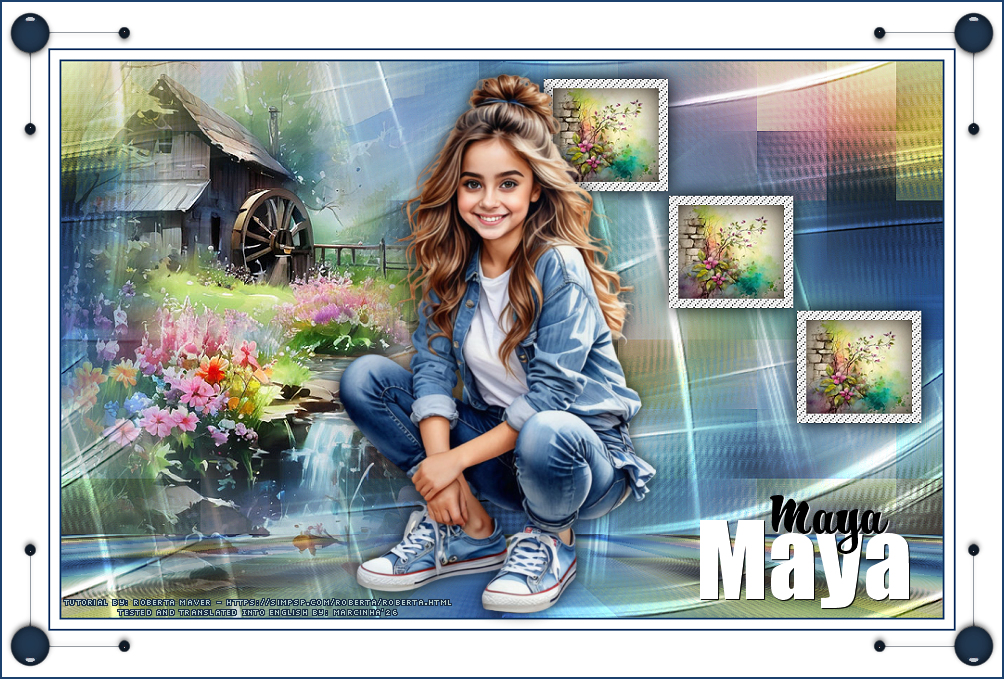
Image > Resize if necessary: the material's tube was resized to 72%.
Position it in the center.
Do not move, it's already in the correct place.
22 - Edit > Copy from the Credito-TradByMarcinha file:
Edit >
Paste As New Layer and position it wherever you prefer. File > Export > JPEG Optimizer...
VERSION:
Formatting, Final Artwork, and English Translation by Márcinha Tutorial by: Roberta Maver - Main Tube: AI-generated by Marcinha (SIM PSP) Misted: Tubed by Pqna&Alice - Prints by Roberta Maver
Feel free to send your versions.
Send your version to this email: robertamaver@gmail.com
SimPSP Social Media
|