  Tutorial by Elaine English Translation by Soxikibem Original Tutorial
MATERIAL:
1 Christmas image
1
misted of Christmas
1 main Christmas tube 1 Christmas ornament tube  PLUGIN:
Eye Candy 5 - Impact
TUTORIAL:
01- Open the material on the psp, duplicate
and close the originals.
Choose two colors to work with: Foreground
#a00901
Background
#9bbb62
02-
Open new transparent 900 x 600px image.
03- Selections > Select All.
Edit > Copy on image.
Edit > paste in
to selection.
Selections >
Selection
none.
04- Adjust > Blur > Motion Blur:
Repeat Adjust > Blur > Motion Blur.
Effects > Image Effects > Seamless Tiling: Default.
05-
Layers > New Raster Layer.
Paint
with the background color.
Layers > New Mask Layer > From image: NarahsMasks_1596
Layers > Merge > Merge
group.
06- Layers > Duplicate.
Image > Mirror > Mirror Horizontal.
Layers > Merge > Merge Down.
07- Layers > New Raster Layer.
Paint
with Foreground color.
Layers > New Mask Layer > From image: Narah_Mask_1157
Layers > Merge > Merge
group.
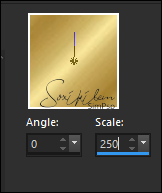
08- Layers > New Raster Layer.
Paint with the
golden pattern- 557 with the configuration below.
 09- Layers > New Mask Layer > From image: Narah_Mask_1326 Layers > Merge > Merge
group.
10- Effects > 3D Effects > Drop Shadow: 0,
0, 100, 50, color: #ffffff.
11- Effects > Distortion Effects > Pixelate:
12- Edit > copy in the misted.
Edit > Paste as new layer.
Position it in the center, as in my example of the
tag.
Resize if is necessary .
13- Layers > Properties > General > Blend Mode: Hard Light - Opacity: 70%
You can change the BLEND if it doesn't match the colors
you are using.
14- Edit > Copy in the main tube
Edit > Paste as new layer. Position right.
Layers > Duplicate.
Adjust > Blur > Motion Blur:
Layers > Arrange > Move Down.
15- Edit > Copy in the decorative tube.
Edit > Paste as new layer. Position left.
Layers > Duplicate.
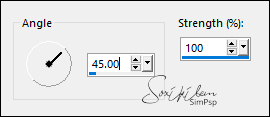
Adjust > Blur > Motion Blur: Angle 45, Strength 100.
Layers > Arrange > Move Down.
16- Edit > Copy in the
Titulo_Merry_Christmas_Elaine2020
Edit > Paste as new layer. Position to your liking. Layers > Merge > Merge Visibile.
17- Selections - Select All
Image > Add Bordes > 40px with any color.
Selections > Invert. Paint with the Golden Pattern.
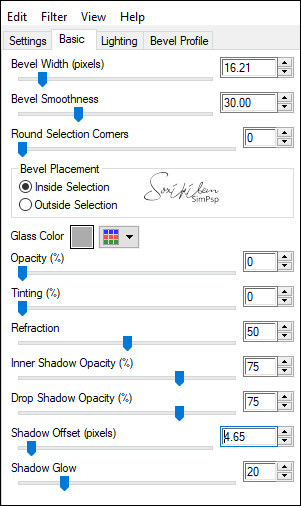
18- Effects > Plugins > Eye Candy 5 Impact > Glass: Settings: Clear
19-
Selections > Select None.
Apply your watermark or signature. File > Export > JPEG Optimizer...  CREDITS
Fonte _
Great Day Bold Personal Use
Main Tube & Decorative Tube
by Renee - Mised by Soxikibem
Feel free to submit your versions. I will be happy to publish them on our website.   
|