|
Tutorial by
Elaine
English
Translation by Soxikibem
Original Tutorial
MATERIAL 1 Tube of your choice NarahsMasks_1591 09_enfeite_Brush_Elaine2020 PDS_StB- ribbon1
PLUGINS Mura's Meister Filters Tramages AA Frame
TUTORIAL
01- Open a transparent image of 850 x
600px
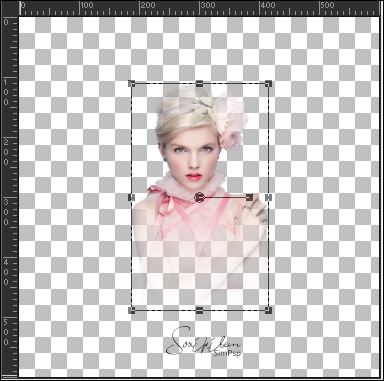
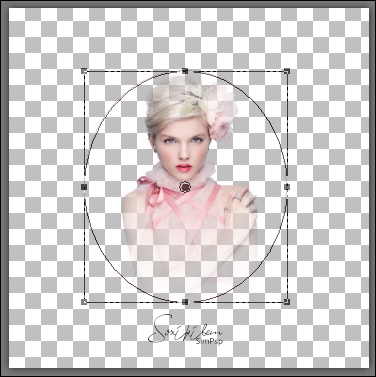
02- Open a new transparent image 600x600px. 03- Edit > Copy on the tube. Edit > Paste a New Layer.
If the tube is too big, resize it. .
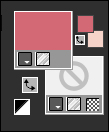
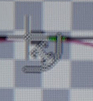
04- Click on the Preset Shapes configure tool like this:
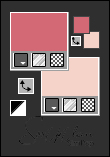
05- Also configure the Color Palette.
or like this. Change the Color Palette
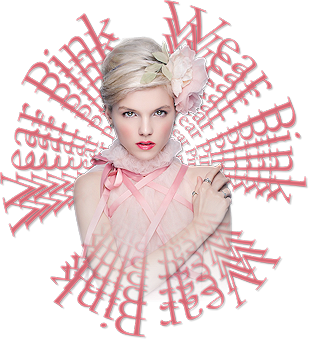
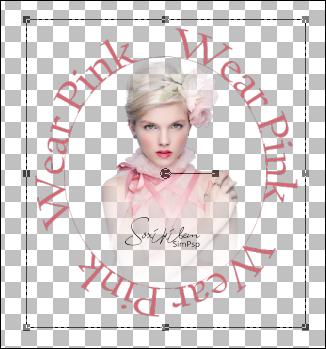
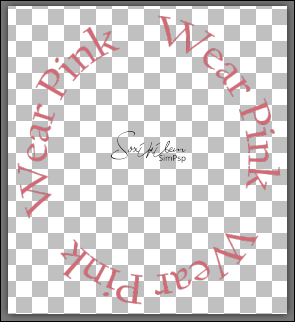
Write the text Wear Pink, 3 times, font and size of your choice.
08- Edit > Copy. Edit > Paste as New Image.
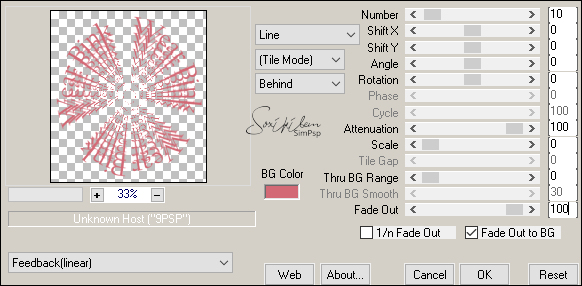
09- Effects > Plugins > Mura's Meister > Copies:
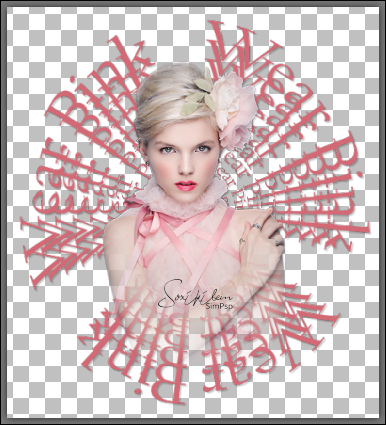
10- Effects > 3D Effects > Drop Shadow: 2, 2, 22, 2, black color.
11- Edit > Copy on the tube. Edit > Paste a New Layer. Effects > 3D Effects > Drop Shadow: 2, 2, 22, 2, black color. Layers > Merge > Merge Down. Reserve.
12- Go back to your 850x600 image. Layers > New raster layer. Paint with the lightest color. Layers > New Mask Layer > From Image > NarahsMasks_1591 Layers > Merge > Merge Group. Layers > Duplicate (2x). Layers > Merge > Merge Visible.
13- Adjust > Blur > Gaussian Blur: 25
14- PlugIn Tramages > Tow the line: 80, 54, 48, 9.
15- Edit > Copy in the reserved image we created with the text in effect copies and the tube. Edit > Paste New Layer.
16- Edit > Copy on the PDS_StB- ribbon1. Edit > Paste as New Layer. Pick Tool: Position X 4, Position Y 211. Effects > 3D Effects > Drop Shadow: 2, 2, 22, 2, black color.
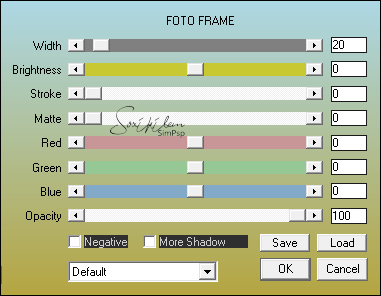
17- Edit > Copy on the 09_enfeite_Brush_Elaine2020. Edit > Paste as New Layer. Layers > Merge > Merge All. 18-Selections > Select All Image > Add Borders: 40px in light color. Selections
> Invert.
Selections > Select None. 19- If you wish, resize your work. Apply your watermark or signature. File > Export > JPEG Optimizer.  CREDITS Tube Pink by Elaine - Art by Soxikibem Tube by Maryse . Mak by Narah PDS_StB- ribbon1
Feel free to send your versions. I will be happy to publish them on our website .
|