  MATERIAL: 1 Main Tube of your choice smArt_maszk_52 Brush_Enfeite_byElaine Brush_TagMiau_byElaine Titulo_Miau_byelaine
PLUGINS: Alf's Power Toys Filtro Unlimited
TUTORIAL:
01- Open the material on the PSP, duplicate and close the original.
02- Open a new
transparent 900 x 500px image.
03 - Selections > Select all.
Edit > Copy in the tube.
Edit > Paste into selection. Selections > Select none.
04 - Effects > Image Effects > Seamless Tilling > Default.
Adjust > Blur > Motion Blur: 20, 100
05 - Effects > Filter Unlimited > Alf's Power Toys > Mirror Offset: 128, 128.
06 - Layers > New Raster Layer. Paint with your chosen color. Layers > New Mask Layer > From Image: smArt_maszk_52Layers > Merge > Merge group. Layers > Duplicate. Layer > Merge > Merge Down.
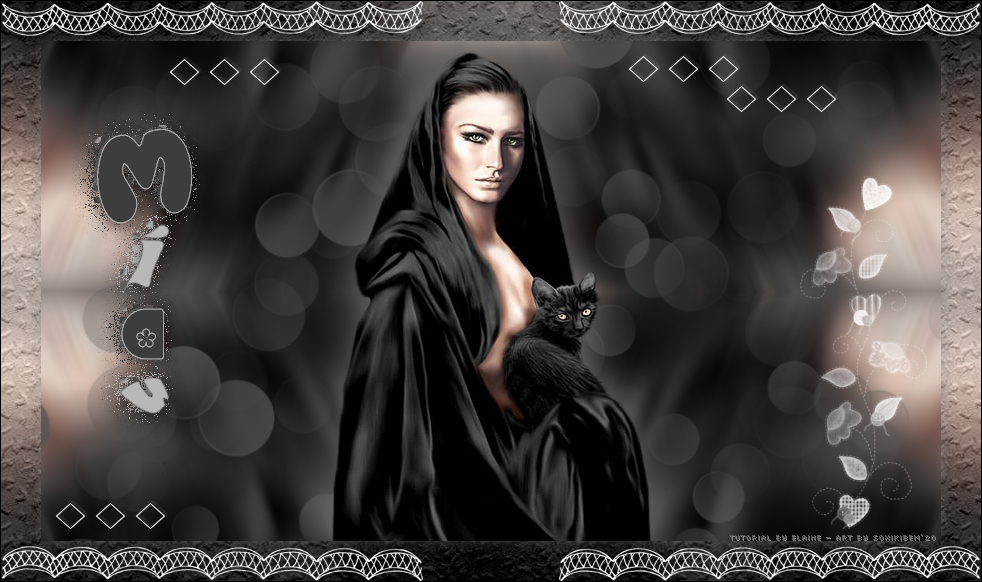
07 - Edit > Copy in the Main Tube. Edit > Paste as New Layer. Resize the tube as you prefer. Adjust > Sharpness > Sharpen. Position in the center. Effects > 3D Effects > Drop Shadowas you wish.
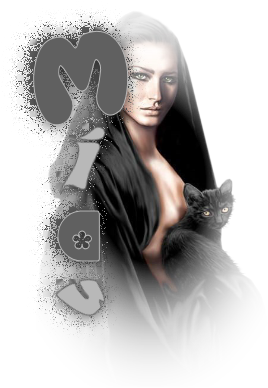
08 - Edit > Copy in Titulo_Miau_byElaine Edit > Paste a New Layer. With the Pick Tool: Postion X: 23 , Position Y:57.
09 - Edit > Copy in the Brush_TagMiau_byElaine. Edit > Paste a New Layer.
10 - Layers > Merge > Merge Visibile. Edit > Copy. Selections > Select All. Image > Add Borders: 40 px with any color. Selections > Invert. Edit > Paste Into Selection. Adjust > Blur > Gaussian Blur: 30.
11 - Filter Unlimited > Paper Textures > Walpaper Coarse: 128, 99.
12 - Selections > Invert. Effects > 3D Effects > Drop Shadow: 1, 1, 50, 20, black color. Selections > Select None. Image > Add Borders: 1px with a dark color.
13 - Edit > Copy in Brush_Enfeite_byElaine. Edit > Paste a New Layer.
14 - Apply your watermark or signature. File > Export > JPEG Optimizer. 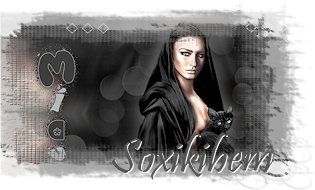  CREDITS;
Tutorial BY Elaine®/2020 - Art by
soxikibem
Version 1 - Tube by Luz Cristina /
Version 2 - tube by Mina
Mask_smArt_maszk_52 - Brush_Enfeite_byElaine
Brush_TagMiau_byElaine - Titulo_Miau_byelaine
Tutorial
by
Elaine®/2020
Feel free to send your versions.
|