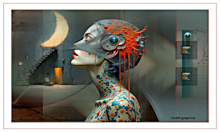
Tutorial de Edith
Graphics
Nota: Salve a seleçõesna pasta Selections do PSP.
PLUGINS: Eye Candy 5 Impact >
Glass
CORES:
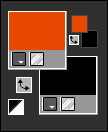
Configure o Foreground: Cor 2: #e74902 - Background: Cor 5: #000000
Tutorial Traduzido no PSP 2020
1- Abra os materiais no PSP, duplique-os e
feche os originais. Ative o arquivo "fond". Layers > Promote Background Layer.
2- Layers > New Raster Layer. Selections > Select All. Ative o arquivo "texture pinterest".
Edit > Copy. Edit > Paste Into Selection. Selections > Select None. Layers > Properties > General > Blend Mode: Luminance (L)
3- Layers > New Raster Layer.
Preencha com a cor do Foreground: Cor 2:
#e74902
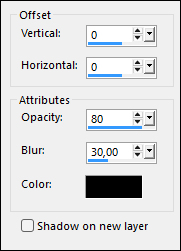
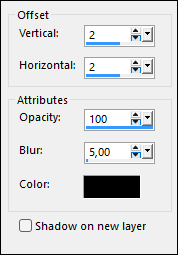
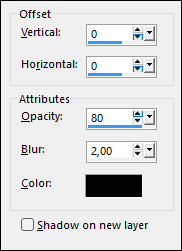
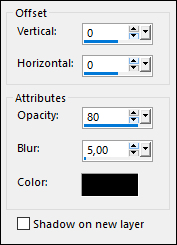
Effects > 3D Effects > Drop Shadow:
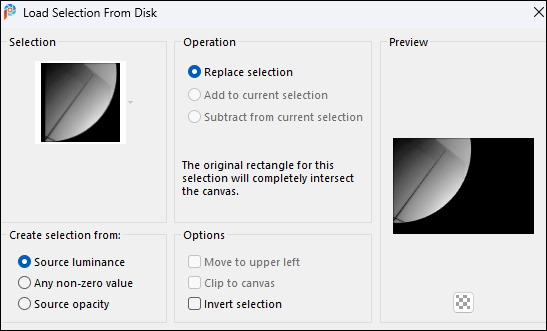
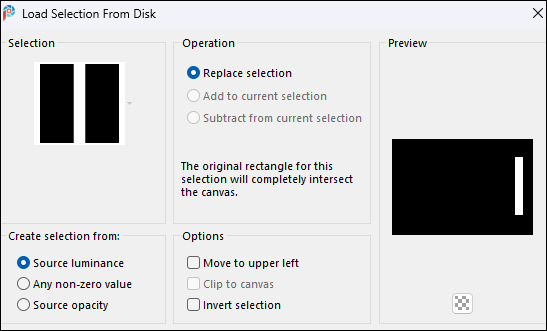
5- Layers > New Raster Layer. Selections > Load/Save Selections > Load Selection From Disk: "28.06.2026.1"
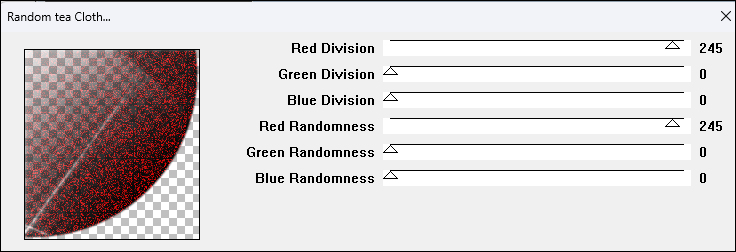
Preencha a seleção, clicando 2 vezes, com a cor do Background: Cor 2: #000000. Effects > Plugins > Andrew's Filters 22 > Random tea Cloth:
Selections > Select None.
6- Ative o tube "deco 1". Edit > Paste As New Layer.
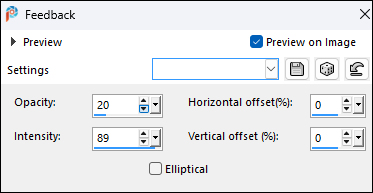
7- Layers > Duplicate. Effects > Reflection Effects > Feedback:
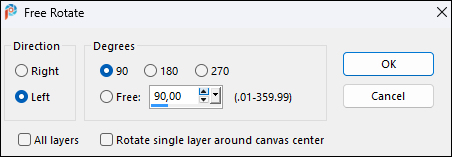
Layers > Duplicate. Image > Free Rotate:
Adjust > Sharpness > Sharpen. Selections > Load/Save Selections > Load Selection From Disk: "28.06.2026.1"
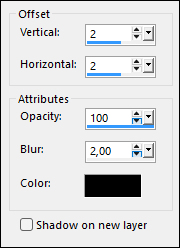
Effects > 3D Effects > Drop Shadow:
Selections > Select None.
8- Ative o tube "misted pinterest". Edit > Paste As New Layer.
Posicione com a Pick tool
em: Position X: -30,00 - Position Y:
-60,00
9- Ative o tube "Renee-TUBES-Juin-2026-1". Edit > Paste As New Layer.
Ele ficará na posição correta que é: Posicione com a Pick tool
em: Position X: 283,00 - Position Y: 0,00
10- Layers > New Raster Layer.
Preencha com a cor Cor 3:
#6f8b8c
Effects > 3D Effects > Drop Shadow:
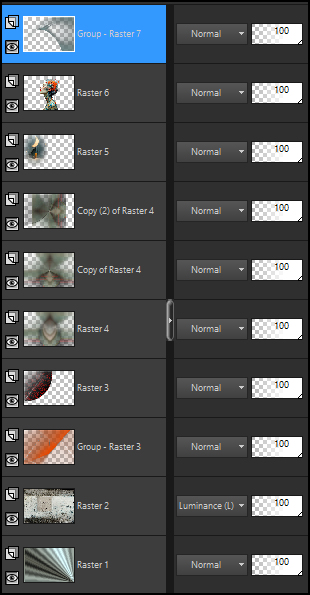
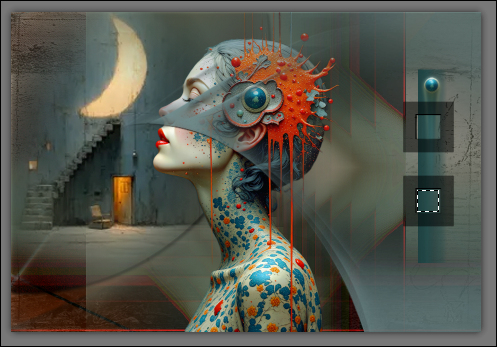
Posição das layers:
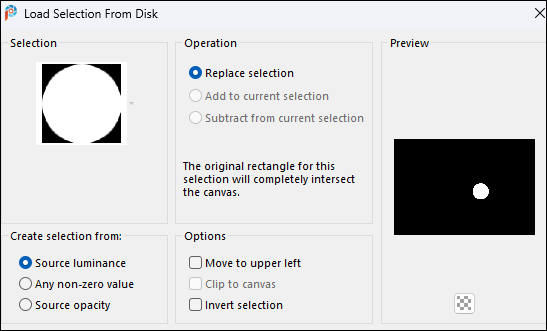
11- Layers > New Raster Layer. Selections > Load/Save Selections > Load Selection From Disk: "28.06.2026.2"
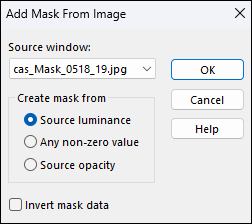
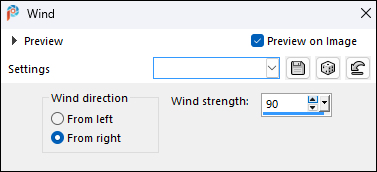
Preencha a seleção com a cor Cor 4: #1c3f3f. Effects > Distortion Effects > Wind:
Selections > Select None.
12- Ative o tube "Renee-TUBES-Juin-2026-1".
Edit > Copy. Edit > Paste as New Layer. Image > Resize > 30%, resize all layers desmarcado. Posicione com a Pick tool
em: Position X: 826,00 - Position Y: 131,00
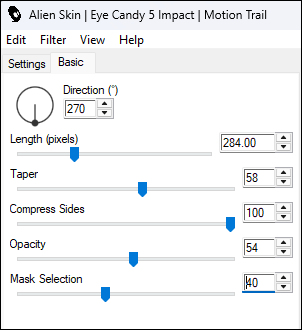
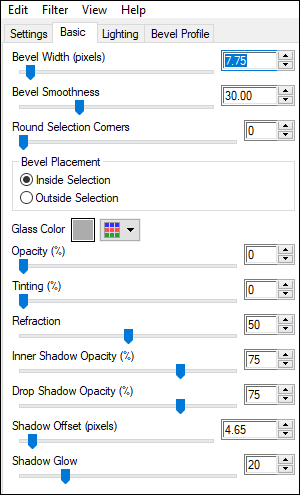
Effects > Plugins > Eye Candy Impact > Motion Trail: Setting > Art is color ou configure o Basic:
13- Ative o tube "petit
cadre". Posicione com a Pick tool
em: Position X: 785,00 - Position Y: 180,00 Layers > Properties > General > Blend Mode: Multiply Effects > 3D Effects > Drop Shadow:
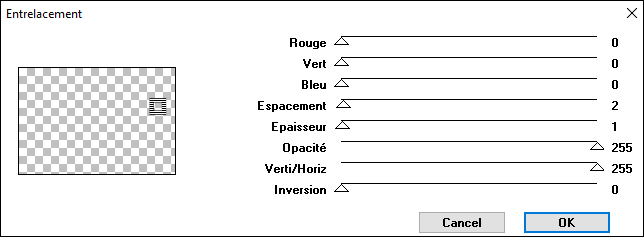
Effects > Plugins > Jeu de lignes > Entrelacement:
Layers > Duplicate. Posicione com a Pick tool
em: Position X: 785,00 - Position Y: 326,00
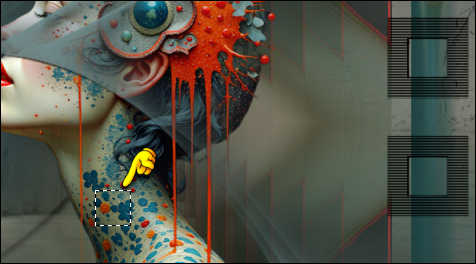
14 - Ative a ferramenta Magic Wand > Tolerance e Feather: 0, clique dentro do quadrado para selecionar:
Com a seleção ainda ativa, mude para a ferramenta Move Tool (Mover). Clique dentro da seleção com o botão direito do mouse, segure e arraste a seleção para uma parte do pescoço do tube. Solte o botão do mouse e veja como ficou:
Nota: Para ver mais detalhes e dicas sobre este processo, assista ao vídeo explicativo feito pela querida Soxikibem clicando aqui.
Ative a layer Raster 6 (layer do tube). Selections > Promote Selection to layer. Layers > Arrange > Bring to Top. Posicione com a Pick tool
em: Position X: 814,00 - Position Y: 209,00 Effects > Plugins > Eye Candy 5 Impact > Glass: Em Settings: Clear
15 - Layers > Duplicate. Posicione com a Pick tool
em: Position X: 814,00 - Position Y: 354,00
16- Image > Add Borders > Symmetric:
- 1 px com a cor 4
Selections > Select All. - 15 px com a cor 6 Effects > 3D Effects > Drop Shadow:
Selections > Select None.
17- Edit > Copy no Credit-TraducaoTutoEdithG_byMarcinha: File > Export > JPEG Optimizer...
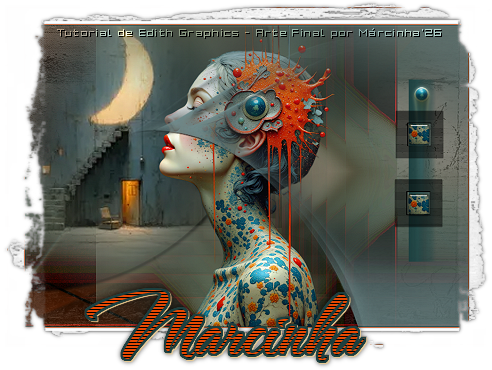
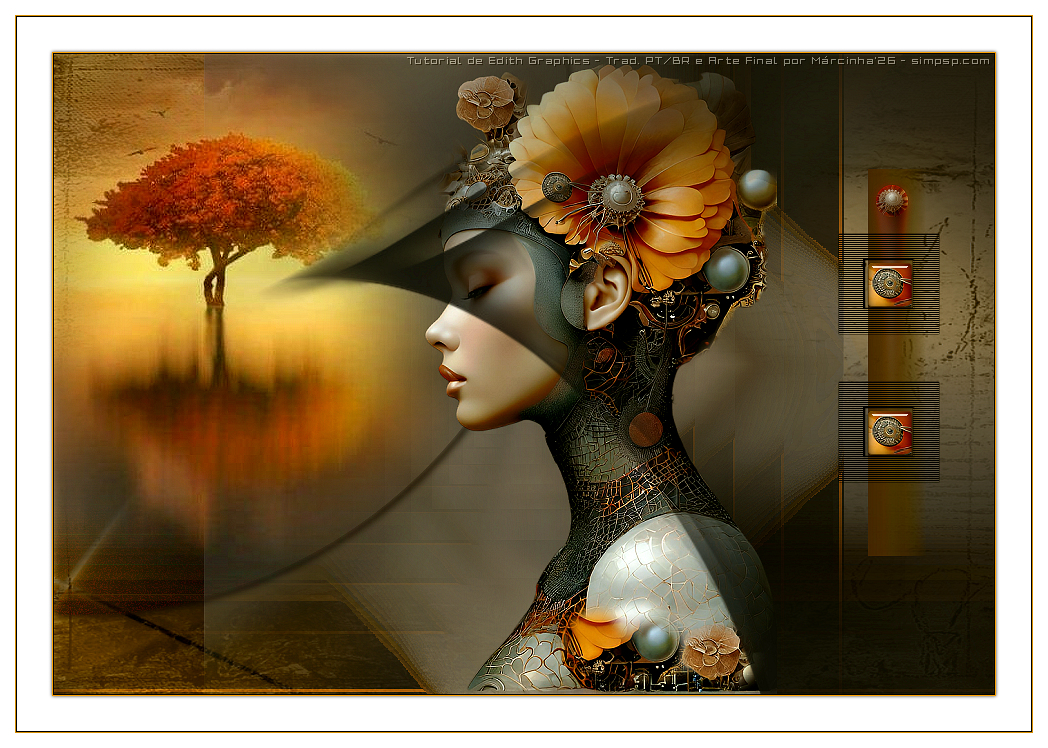
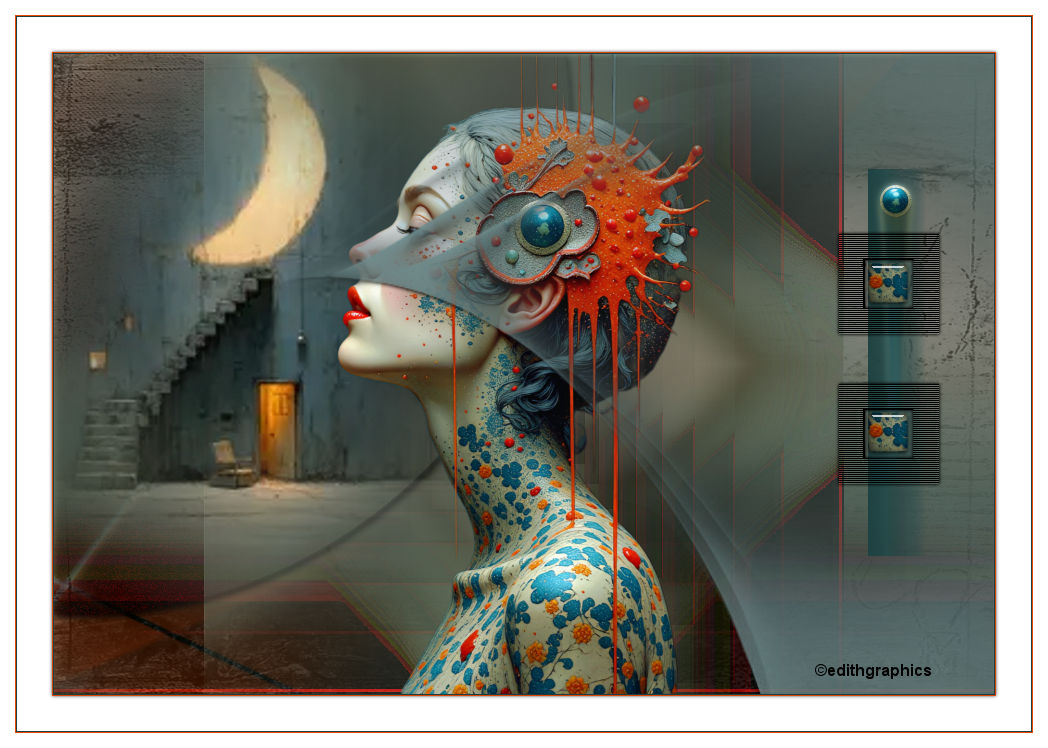
Créditos: Formatação, Tradução PT/BR e Arte Final por Márcinha'26 - Tutorial de Edith Graphics Tube Principal: Tubed by Renee - Outros Materiais: Edith Graphics
VERSÃO:
Créditos Versão: Tutorial de Edith Graphics - Tradução PT/BR por Márcinha'26 Tubes: Tubed by Renee - Outros Materiais: Edith Graphics
Sinta-se à vontade para enviar suas versões para a autora no e-mail abaixo:
SimPSP Redes Sociais
|