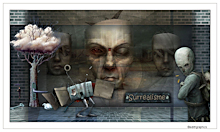
Tutorial de Edith
Graphics
Nota: Salve a seleção 20.12.2025.1 na pasta Selections do PSP.
PLUGINS: Mehdi > Sorting Tiles
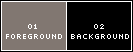
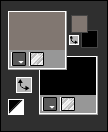
CORES: Configure o Foreground: Cor 1: ≠817771 - Background: Cor 2: #000000
Tutorial Traduzido no PSP 2020
TUTORIAL
1- Abra os materiais no PSP, duplique-os e
feche os originais. Abra uma nova imagem transparente de 1100 x 600.
2- Ative o arquivo "fond". Edit > Paste As New Layer.
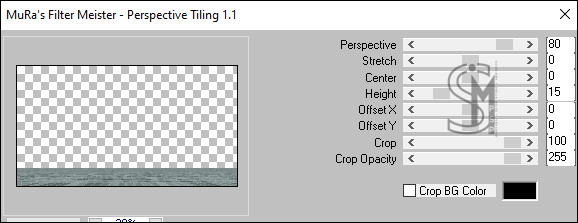
3- Layers > Duplicate. Effects > Plugins > MuRa's Meister > Perspective Tiling:
4- Ative a
ferramenta Magic Wand Tool > Tolerance: 30 e Feather: 30, Retorne o Tolerance e
Feather para 0
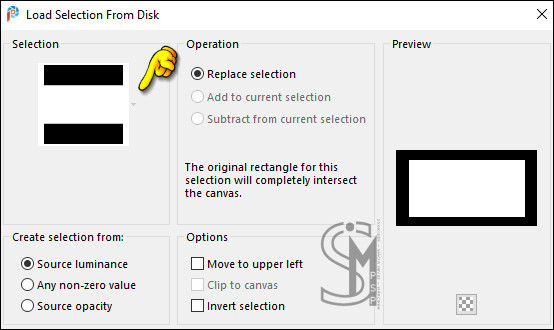
5- Layers > New Raster Layer. Selections > Load/Save Selections > Load Selection From Disk: "20.12.2025.1"
Ative o arquivo "Fragment Glow pinterest". Edit > Copy.
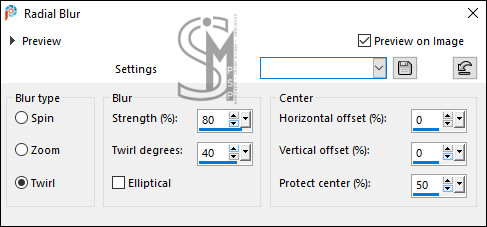
Adjust > Blur > Radial Blur:
Selections > Select None.
Layers > Properties > General > Blend Mode: Multiply
7- Layers > Duplicate. Objects > Align > Right.
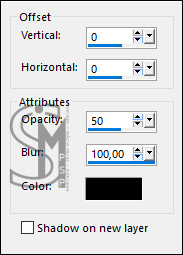
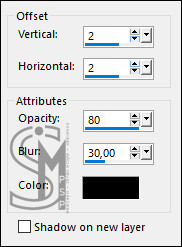
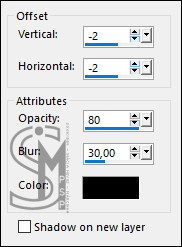
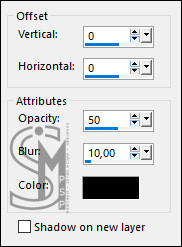
8- Layers > Duplicate. Objects > Align > Horizontal Center. Effects > 3D Effects > Drop Shadow:
9- Ative o tube "Renee_TUBES_ASEMENOV-29". Edit > Paste As New Layer.
Layers > Properties > General > Opacity:
80%
Posicione com a Pick tool
em: Position X: 81,00 - Position Y:
-164,00
10- Layers > New Raster Layer. Selections > Load/Save Selections > Load Selection From Disk: "20.12.2025.1"
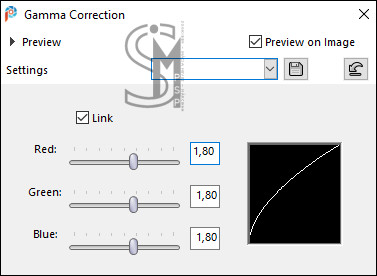
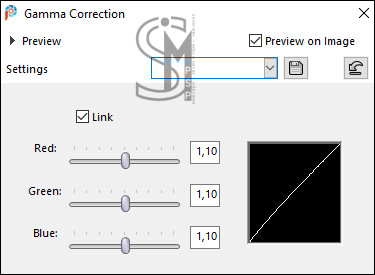
Novamente ative o arquivo "Fragment Glow pinterest". Edit > Copy. Adjust Gamma Corretion (Shift+G): 1,80
Layers > Properties > General > Blend Mode: Overlay - Opacity: 36% Selections > Select None.
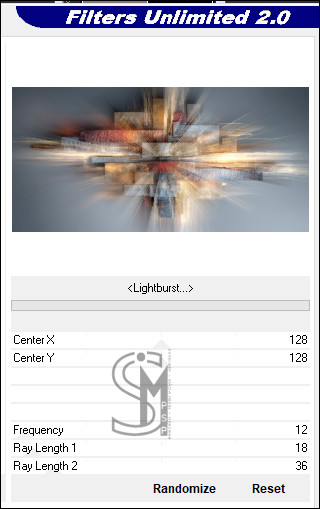
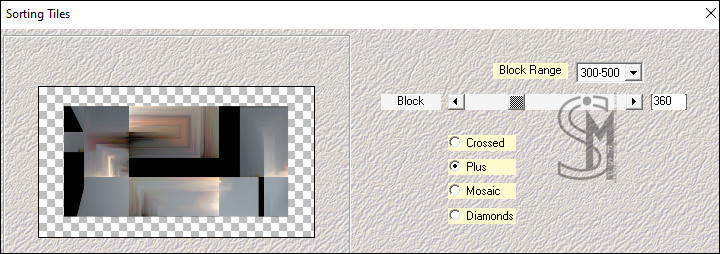
Effects > Plugins > Mehdi > Sorting Tiles:
Objects > Align > Bottom. Layers > Duplicate. Image > Flip > Flip Vertical. Objects > Align > Top.
Selections > Load/Save Selections > Load Selection From Disk: "20.12.2025.1"
Pressione a tecla Delete ou Edit > Cut.
Ative a layer Copy of Raster 5. Pressione a tecla Delete ou Edit > Cut. Selections > Select None.
12- Ative a layer
Copy (2) of Raster 5 (topo)
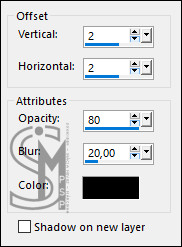
Layers > Properties > General > Blend Mode: Multiply - Opacity: 60% Effects > Edge effects > Enhance. Effects > 3D Effects > Drop Shadow: positivo e negativo
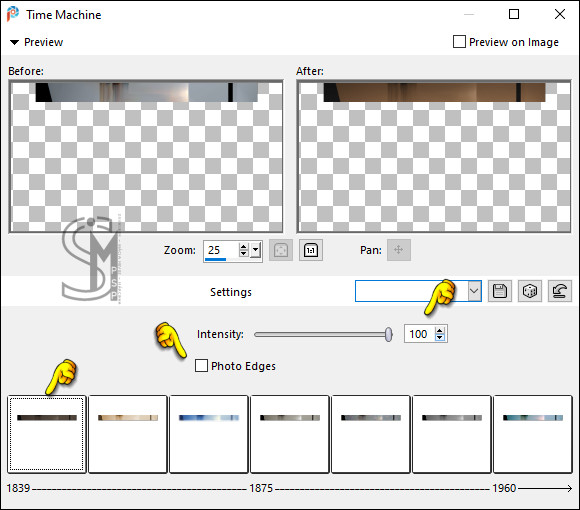
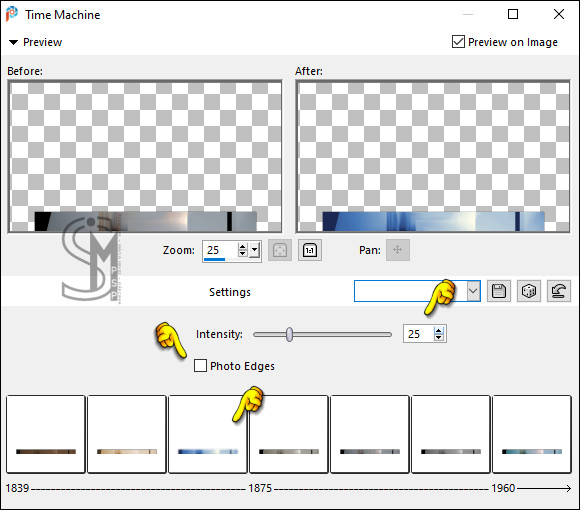
13- Ative a layer Copy of Raster 5. Effects > Photo Effects > Time Machine:
Mude o Blend Mode para Multiply e a Opacity para 60%. Effects > Edge effects > Enhance. Effects > 3D Effects > Drop Shadow: positivo e negativo
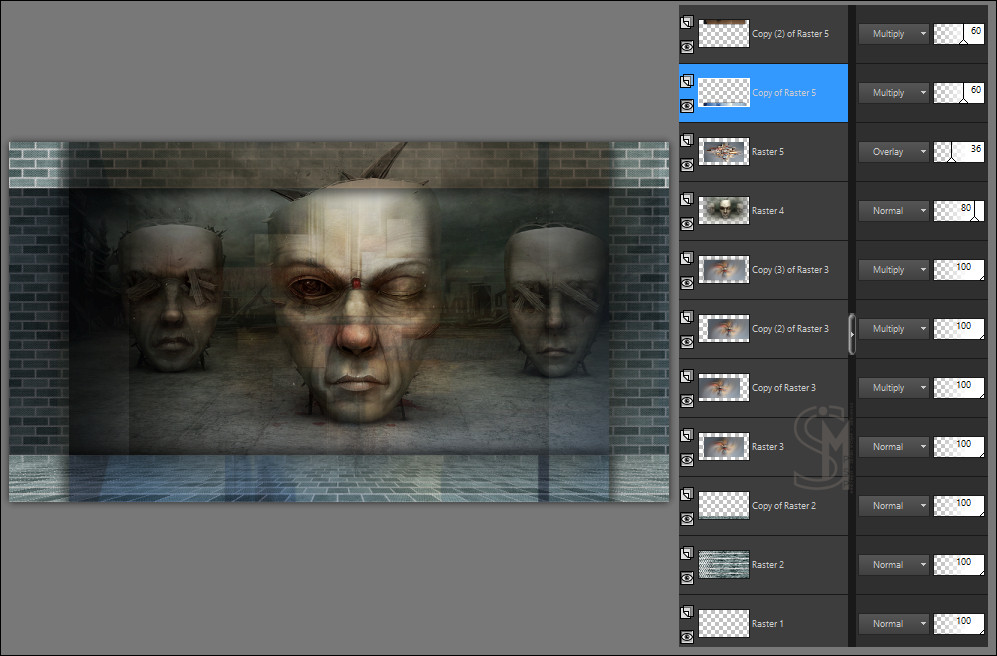
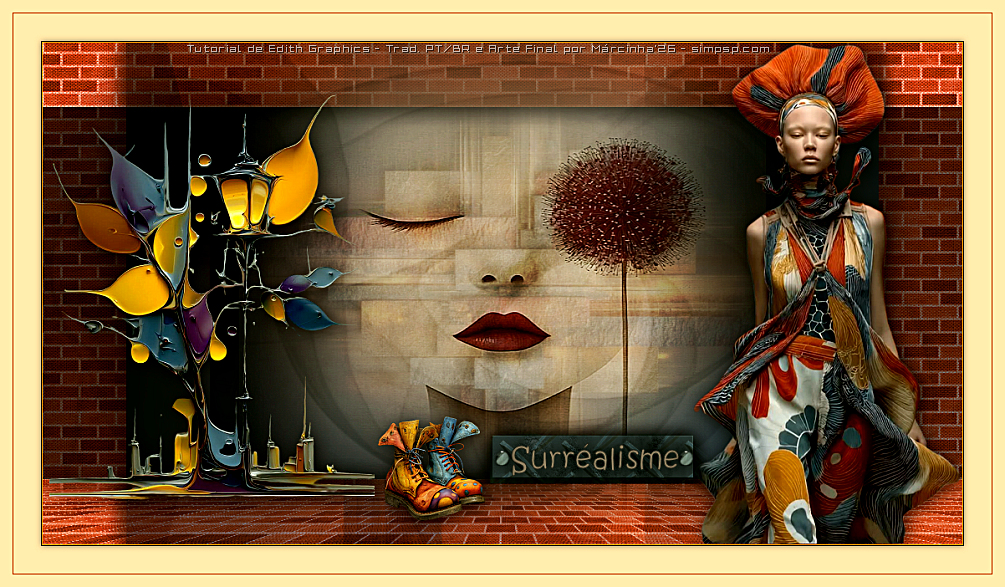
Teremos esse resultado até o momento:
Ative o arquivo "deco 1". Edit > Paste As New Layer. Layers > Properties > General > Blend Mode: Overlay
15- Ative o tube "Renee_TUBES_Surrealiste-23". Edit > Paste As New Layer.
Posicione com a Pick tool
em: Position X: -14,00 - Position Y:
30,00
16- Ative o tube "Renee_TUBES_ASEMENOV-12".
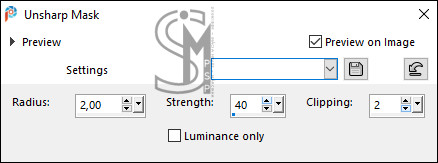
Adjust > Sharpness > Sharpen.
Posicione com a Pick tool
em: Position X: 174,00 - Position Y: 293,00 Effects > 3D Effects > Drop Shadow:
17- Ative o tube "Renee_TUBES_ASEMENOV-2".
Adjust > Sharpness > Sharpen.
Posicione com a Pick tool
em: Position X: 906,00 - Position Y: 198,00 Effects > 3D Effects > Drop Shadow:
18- Ative o tube "deco 2". Edit > Paste As New Layer.
Posicione com a Pick tool
em: Position X: 605,00 - Position Y: 422,00
19- Ative o tube "deco 3". Edit > Paste As New Layer.
Posicione com a Pick tool
em: Position X: 605,00 - Position Y: 422,00
20- Ative o tube "titre". Edit > Paste As New Layer.
Posicione com a Pick tool
em: Position X: 632,00 - Position Y: 432,00
21- Ative o tube "deco 4". Edit > Paste As New Layer.
Posicione com a Pick tool
em: Position X: 617,00 - Position Y: 441,00
- 1 px com a cor 1 >
Foregorund Effects > 3D Effects > Drop Shadow:
23- Finalização: Image > Resize > By Pixel
> Width: 1005 px, resize all layers marcado.
Edit > Copy no Credit-TraducaoTutoEdithG_byMarcinha: File > Export > JPEG Optimizer...
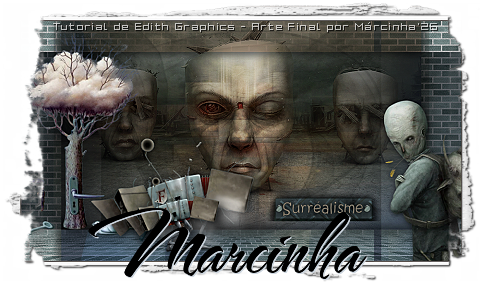
Créditos: Formatação, Tradução PT/BR e Arte Final por Márcinha'26 - Tutorial de Edith Graphics Tube Principal: Tubed by Renee - Outros Materiais: Edith Graphics
VERSÃO:
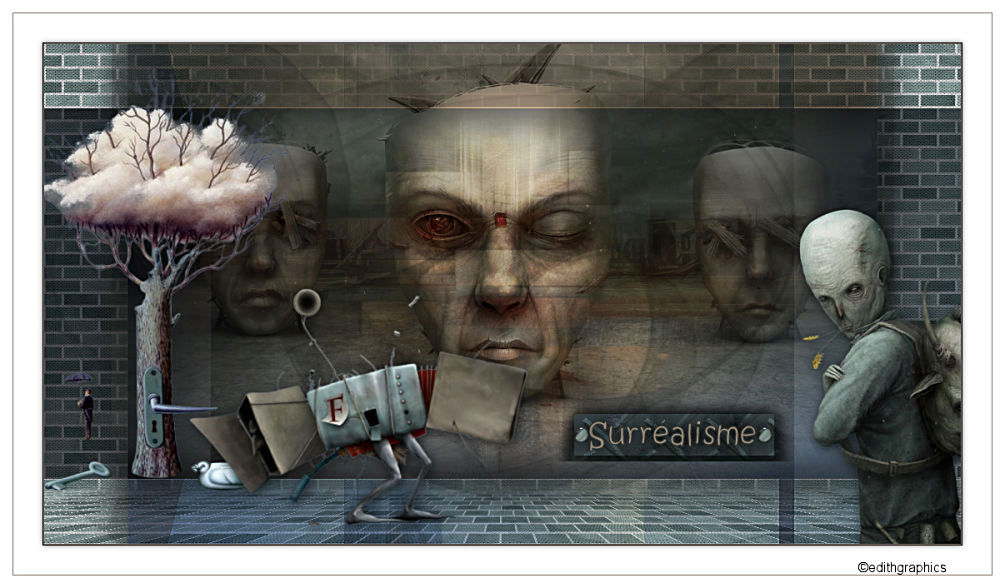
Créditos Versão: Tutorial de Edith Graphics- Tradução PT/BR por Márcinha'26 Tubes: Tubed by Renee - Outros Materiais: Edith Graphics
Sinta-se à vontade para enviar suas versões para a autora no e-mail abaixo:
SimPSP Redes Sociais
|