|
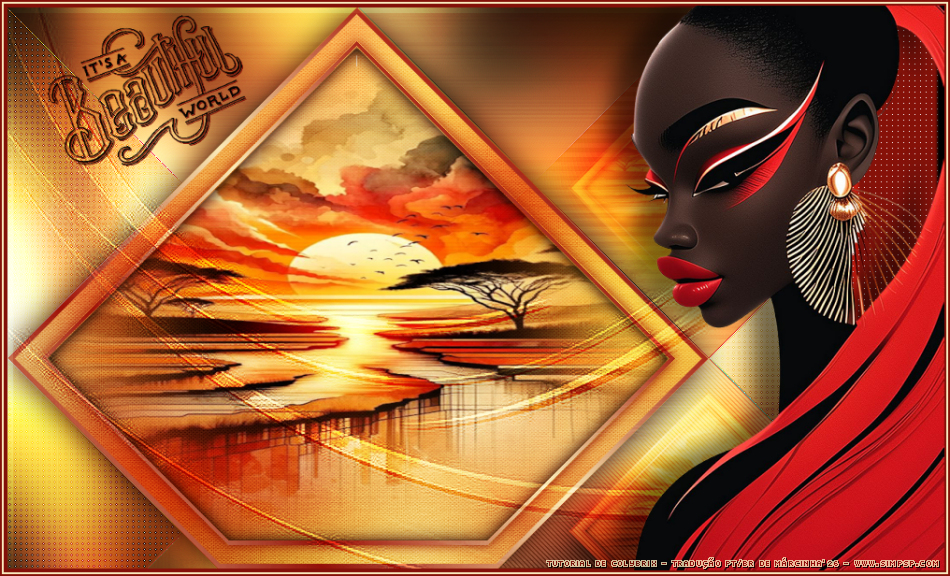
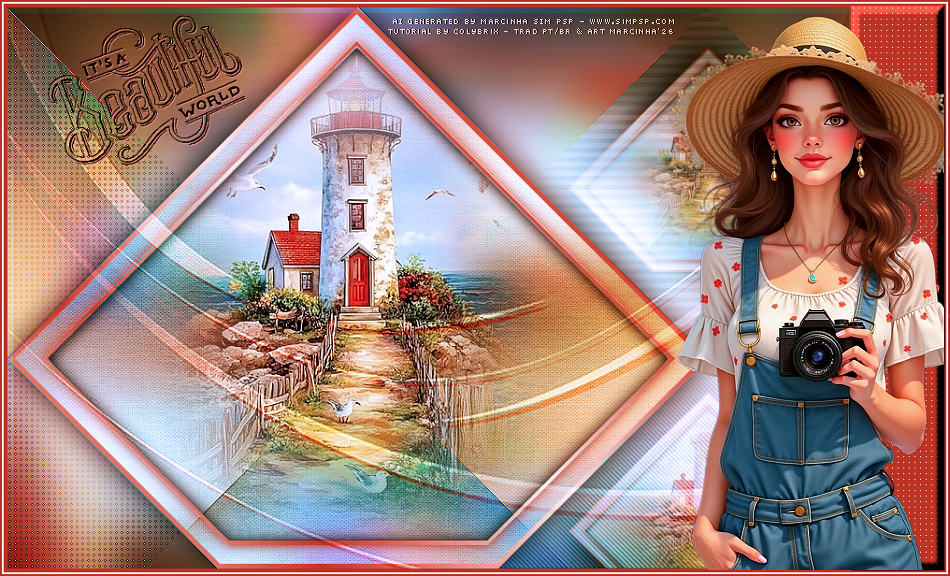
Tutorial "Beautiful World" by Colybrix Traduzido para o Português por Márcinha do grupo SIM PSP Tutorial Original:
MATERIAL:
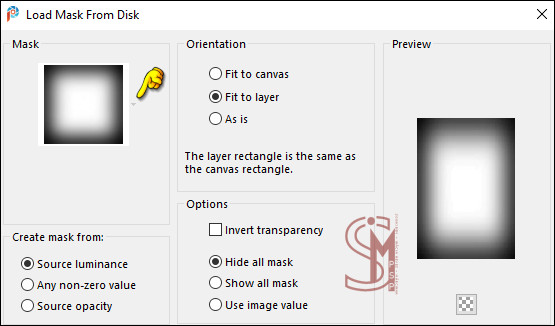
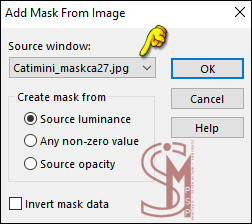
Nota: Salve a mask mini_4539182121 na pasta Mask do PSP
Mehdi > Sorting Tiles Graphics Plus > Cross Shadow Carolaine and Sensibility
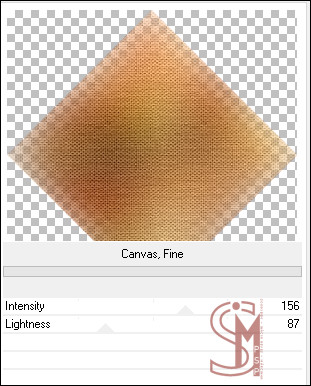
> CS-LDots Alien Skin Eye Candy 5 > Impact > Glass Filters Unlimited > Paper textures > Canvas, Fine
CORES:
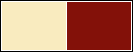
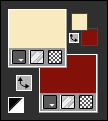
Configure o Foreground: #f9ebbf - Background: #831109
2- Abrir o arquivo Alpha Beautiful World. Selections > Select All. Ative a image fond paysage ou um de sua escolha. Edit > Copy. Volte para a imagem que estamos trabalhando... Edit > Paste Into Selection. Selections > Select None.
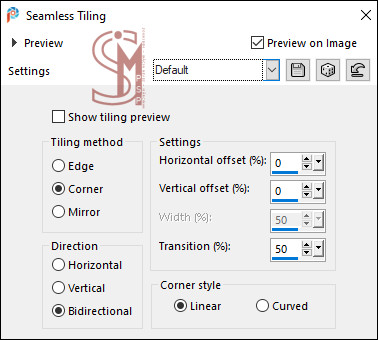
3- Effects > Image Effects > Seamless Tiling: Default
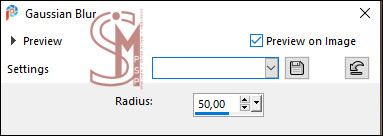
Adjust > Blur > Gaussian Blur: 50
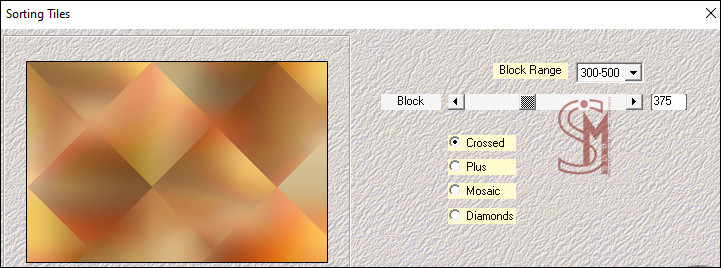
4- Effects > Plugins > Mehdi > Sorting Tiles:
Selections > Promote Selection to Layer. Adjust > Blur > Gaussian Blur: 50
Layers > Properties > General > Blend Mode: Overlay
Mantenha a seleção...
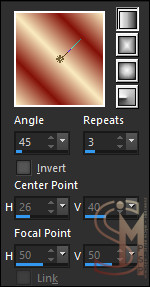
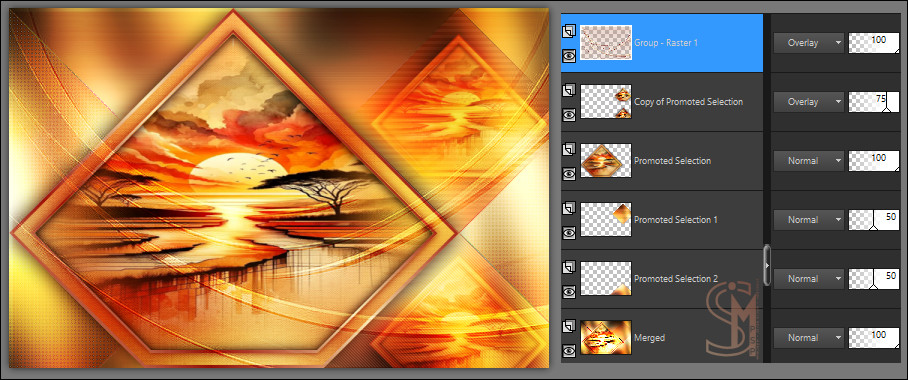
7- Layers > New Raster Layer. Preencha com um gradiente Linear, formado pelas cores em uso:
8- Selections > Modify > Contract: 5 Pressione a tecla Delete do teclado.
9- Selections > Modify > Contract: 20 Effects > 3D Effects > Drop Shadow: : 0, 0, 100, 20, cor do Background.
10- Preencha com um gradiente Linear, formado pelas cores em uso:
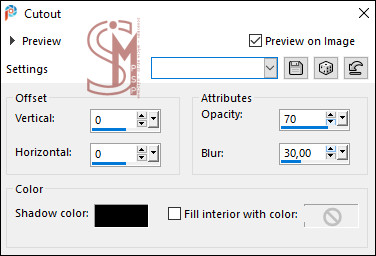
Selections > Modify > Contract: 5 Effects > 3D Effects > Cutout:
11- Ative o mist paysage Coly.
Edit > Copy.
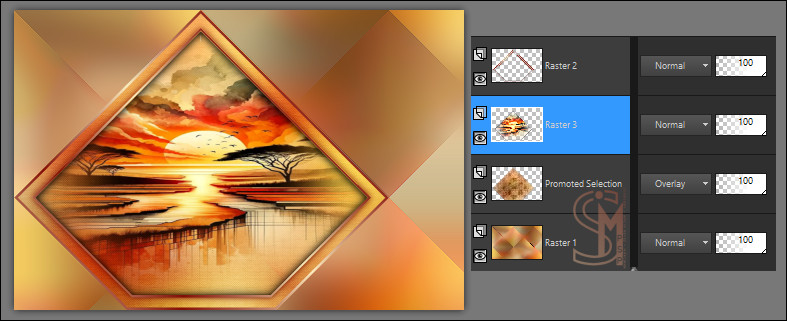
12- Volte para a imagem que estamos trabalhando... Layers > New Raster Layer. Edit > Paste Into Selection.
Effects >
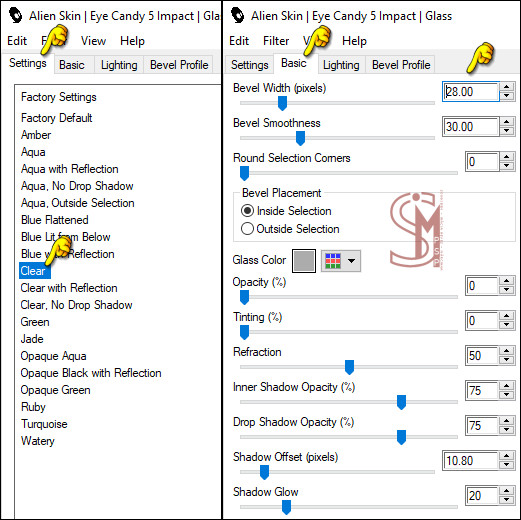
Plugins > Alien Skin Eye Candy – Impact > Glass: 13- Layers > Arrange > Move Down.
Layers > Merge > Merge Visible.
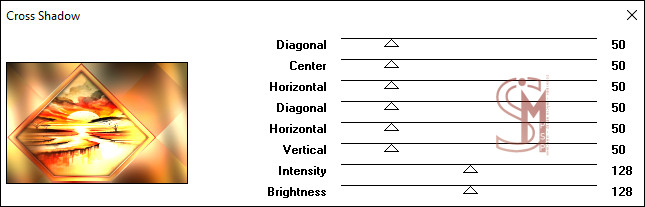
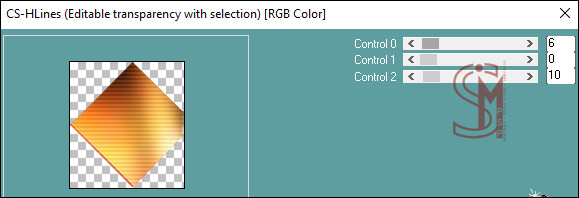
Effects > Plugins > Graphic Plus > Cross Shadow:
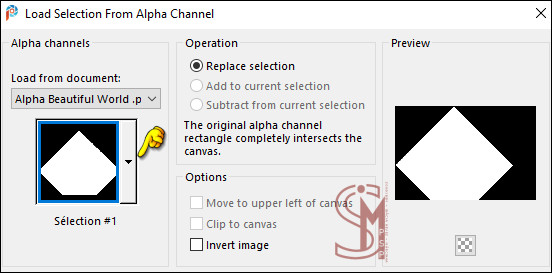
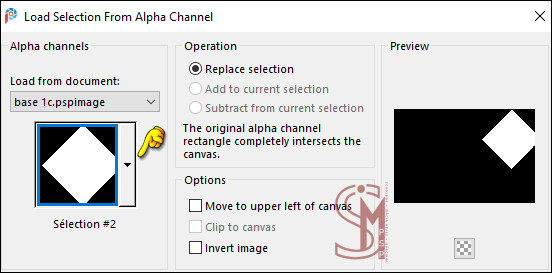
15- Com a layer Merged ativa... Selections > Load/Save Selection > Load Selection from Alpha Channel: Sélection #2
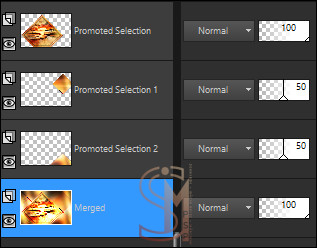
Selections > Promote Selection to Layer. 16- Ative a layer Merged.
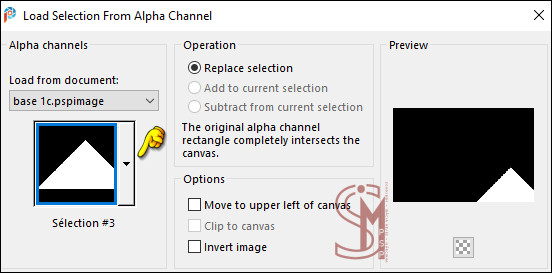
Selections > Load/Save Selection > Load Selection
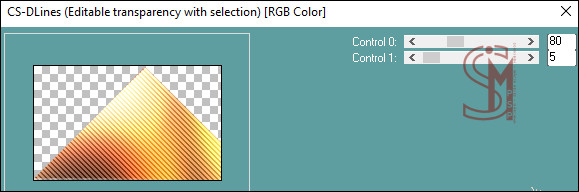
from Alpha Channel: Sélection #3 17- Effects > Plugins > Carolaine and Sensibility > CS-DLines:
Layers > Properties > General > Opacity: 50%
18- Ative a layer Merged.
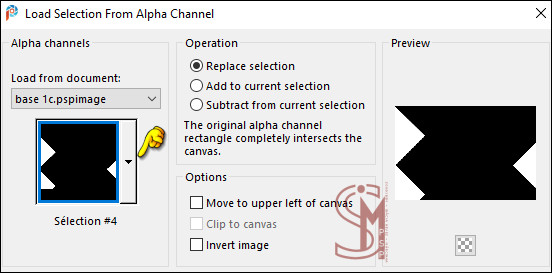
Selections > Load/Save Selection > Load Selection
from Alpha Channel: Sélection #4
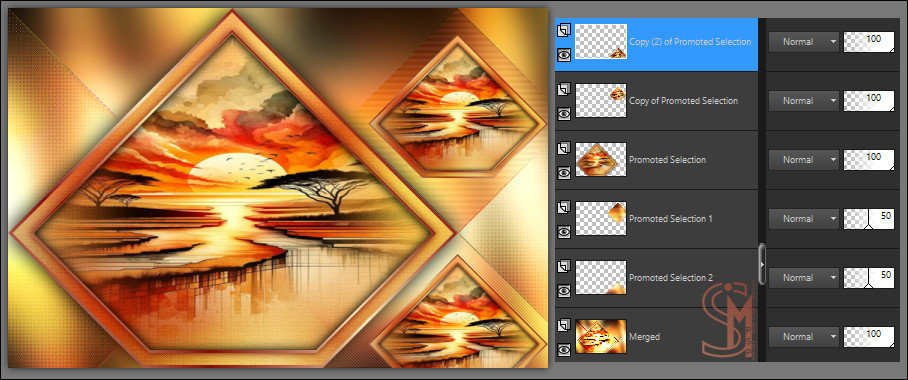
Layers > Duplicate.
20- Ative a layer Copy of Promoted Selection (topo) Image > Resize > 40%, resize all layers desmarcado.
Posicione com a Pick tool em: Position X: 600,00 - Position
Y: 43,00
22-
Layers > New Raster Layer.
23- Effects > 3D Effects >
Drop Shadow : 6, 6, 100, 0, cor do Background.
24- Image > Add Borders > Symmetric: 2px - Color: com a cor do Foreground.
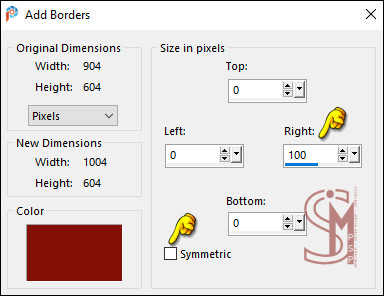
25- Selections > Select All. Image > Add Borders: desmarcar o Symmetric:
Selections > Invert.
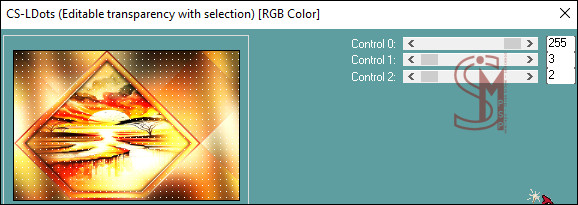
26- Effects > Plugins > Carolaine and Sensibility > CS-LDots:
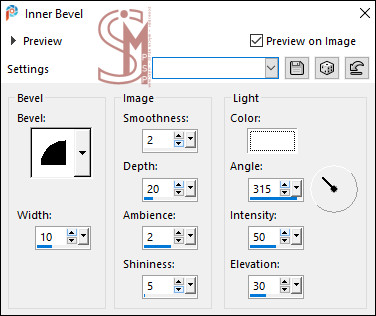
Effects > 3D Effects > Inner Bevel:
Selections > Select None.
27- Ative o arquivo tube femme1205-coly. Edit > Copy. Volte para a imagem que estamos trabalhando... Edit > Paste As New Layer. Image > Mirror > Mirror Horizontal. Image > Resize > 78%, resize all layers desmarcado. Objects > Align > Right.
Volte para a imagem que estamos trabalhando... Edit > Paste As New Layer.
Posicione com a Pick tool
em: Position X: 45,00 - Position Y: 10,00 Effects > 3D Effects > Drop Shadow: 1 / 1 / 100 / 0 color: cor do Foreground
2px - com a cor do Foreground 31-
Image > Resize > By Pixel > Width: 950px,
resize all layers marcado. e sua marca d'água ou assinatura. Layers > Merge > Merge All. File > Export > JPEG Optimizer...
CRÉDITOS: Tutorial "Beautiful World" by Colybrix Tradução, Formatação e Arte Final por Márcinha SIM PSP Tubes: by Colybrix
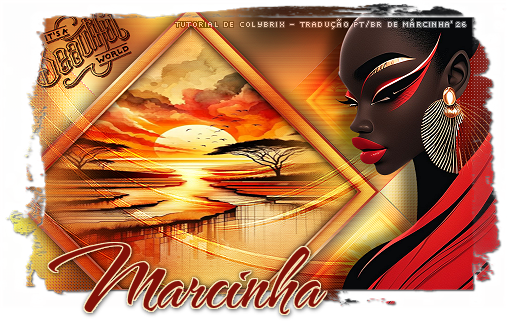
Versão by Marcinha
Créditos: Tube Personagem: AI Generated by Marcinha SIM PSP
Sinta-se à vontade para enviar suas versões para a autora no e-mail abaixo: colybrix@hotmail.com
SimPSP Redes Sociais
|