-
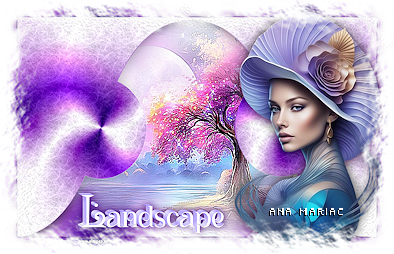
TUTORIAL
01 - Abrir o material no PSP, duplique e feche os originais.
- 02 -
Escolha duas cores para trabalhar.
Foreground:
#ffffff
Background:
#400070
-
-
- 03 -
Ativar a cópia do AlphaChannel_Twilight_byAnaMariaC.
-
Pintar com um gradiente Linear formado pelas cores escolhidas.
-

-
-
04 -
Layers > Duplicate.
-
-
05 -
Image > Mirror > Mirror Horizontal.
-
Layers > Properties > General > Blend Mode:
Hard Light - Opacity: 100
-
Layers > Merge > Merge Down.
-
-
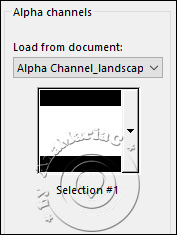
06 - Selections > Load/Save Selections > Load Selection from Alpha
Channel: Selection
#1
-
Pressione a tecla
Delete.
-
Selections > Select None.
-
Image > Mirror > Mirror Vertical.
-
-
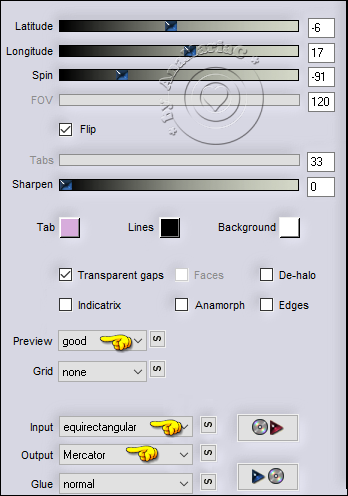
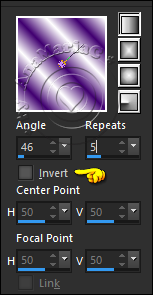
07 - Effects > Plugins > Flaming Pear Flexify 2...
-
-
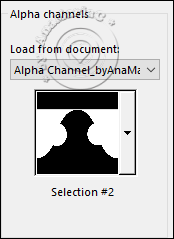
08 - Selections > Load/Save Selections > Load Selection from
Alpha Channel:
Selection #2
-
-
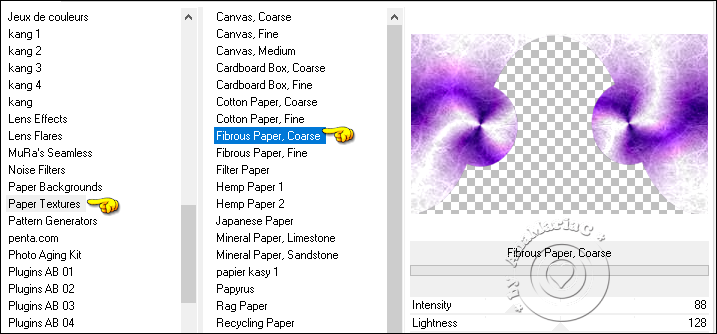
09 - Effects > Plugins > Paper Texture > Fibroux Paper,
Coarse > Default.
-
Selections > Select None.
-
-
-
10 - Layer New Raster Layer.
-
Pintar com um gradiente Linear formado pelas cores escolhidas.
-
-
11 - Layers > Duplicate.
-
Image > Mirror > Mirror Horizontal.
-
Layers > Properties > General > Blend Mode: Hard Light - Opacity:
100
-
Layers > Merge > Merge Down.
-
Layers > Arrange > Move Down.
-
-
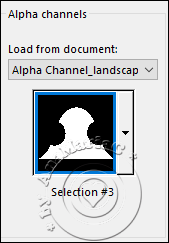
12 - Ativar a Layer Raster 1 do topo.
-
Selections > Load/Save Selections > Load Selection from Alpha
Channel:
Selection #3
-
-
13 - Layers > New Raster Layer.
-
Edit > Copy no Misted-Paisagem26_byAnaMariaC.
-
Edit > Paste Into Selection.
-
Adjust > Sharpness > Sharpen.
-
-
14 - Selections > Invert.
-
-
15 - Effects > 3D Effects > Drop Shadow.
-
Selections > Select None.
-
-
16 - Ativar a Layer Raster 2.
-
Edit > Copy.
-
-
17 - Image > Add Borders - Symmetric:
2 px > cor: #400070 (Background).
-
-
18 - Selections > Select All.
-
Image > Add Borders - Symmetric:
40 px > qualquer cor.
-
Selections > Invert.
-
Edit > Paste Into Selection.
-
-
19 - Selections > Invert.
-
Effects > 3D Effects > Drop Shadow > color: #400070 (Background).
-
Selections > Select None.
-
-
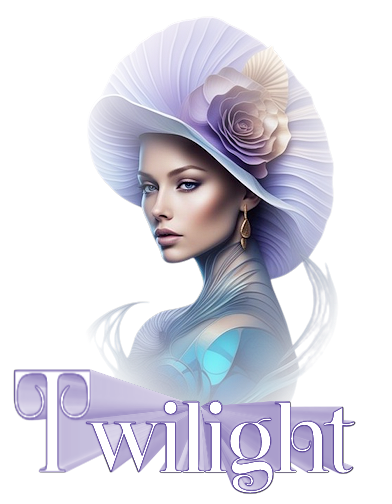
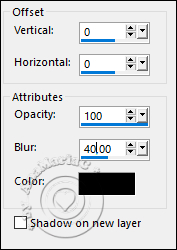
20 - Edit > Copy no Tube-Mulher70_byAnaMariaC.
-
Edit > Paste As New Layer.
-
Adjust > Sharpness > Sharpen.
-
Posição e Drop Shadow à sua escolha.
-
Apliquei o Drop Shadow: 0 / 0 / 80 / 40 / color: #000000
-
-
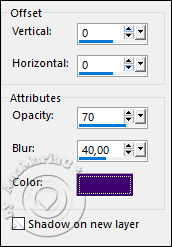
21 - Edit > Copy no WordArt_byAnaMariaC.
-
Edit > Paste As New Layer.
-
Adjust > Sharpness > Sharpen.
-
Colorize à sua escolha.
-
Posição e Drop Shadow à sua escolha.
-
Apliquei o Drop Shadow: 0 / 0 / 100 / 30 / color: #400070
(Background).
-
-
22 - Finalizar:
-
Image > Add Borders - Symmetric: 2 px > cor: #400070 (Background).
-
- 23
- Se você desejar
redimensione seu trabalho.
Aplicar sua marca d'água ou assinatura.
File > Export > JPEG Optimizer...