|
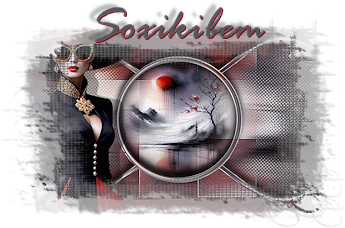
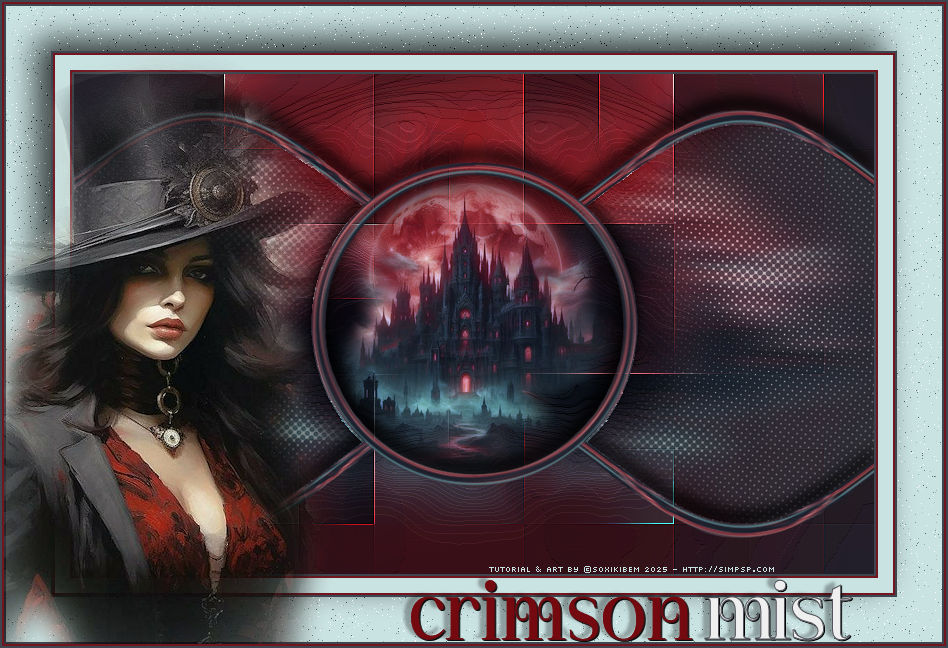
No encontro entre luz e sombra, a bruma carmesim dança, efêmera e eterna. At the meeting of light and shadow, the crimson mist dances, ephemeral and eternal.
TRADUÇÕES:
Obrigada aos nossos Tradutores
MATERIAL: 1 Tube Personagem à sua escolha 1 Misted Paisagem à sua escolha Outros Materiais by Soxikibem
PLUGINS: Mehdi > Sorting Tiles Mura's Meister > Pole Transform Xero > Porcelain
Este Tutorial foi escrito
por Soxikibem, qualquer semelhança é mera coincidência.
VÍDEO AULA
Se preferir acompanhar em vídeo no Youtube, clique no link
abaixo: Se este tutorial te inspirou: Deixe seu like Ative o sininho Compartilhe com outros amantes do PSP E deixe um comentário contando o que achou!
Cor 3: #efefef
2 - Abra uma imagem
transparente de 800x500px.
3 - Selections > Select All. Edit > Copy no Misted Paisagem. Edit > Paste Into Selection. Selections > Select None.
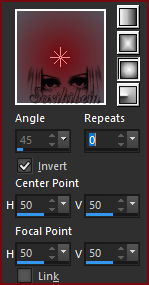
4 - Adjust > Blur > Radial Blur.
5 - Layers > Duplicate. Image > Mirror > Mirror Horizontal. Layers > Properties > General: Opacity 50%. Layers > Merge > Merge Down.
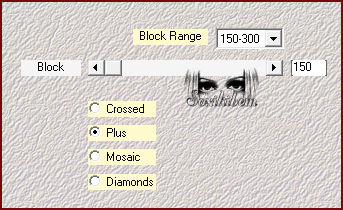
6 - Layers > Duplicate. Plugin Mehdi > Sorting Tiles. Layers > Properties > General > Blend Mode: Hard Light. Effects > Edge Effects > Enhance More.
7 - Ativar a Layer Raster 1. Effects > Artistic Effects > Topography.
8 - Ativar a Layer Copy of Raster 1. Layers > New Raster Layer. Selections > Select All. Edit > Copy no Misted Paisagem. Edit > Paste Into Selection. Selections > Select None. Adjust > Sharpness > Sharpen.
9 - Effects > Image Effects > Seamless Tiling: Default. Adjust > Blur > Gaussian Blur: 15. Effects > Geometric Effects > Perspective - Horizontal: 98, Transparent. Effects > Geometric Effects > Perspective - Horizontal: -98, Transparent. Layers > Duplicate. Image > Mirror > Mirror Horizontal. Layers > Merge > Merge Down.
10 - Layers > Duplicate. Fechar a visibilidade da layer Copy of Raster 2.
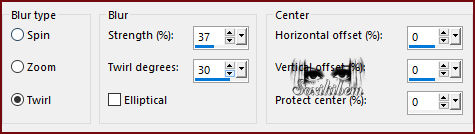
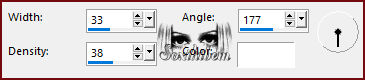
11 - Ativar a Layer Raster 2. Effects > Distortion Effects > Wave. Pick Tool: Position X: 0, Positon Y: 35. Layers > Duplicate. Image > Mirror > Mirror Vertical. Layers > Merge > Merge Down.
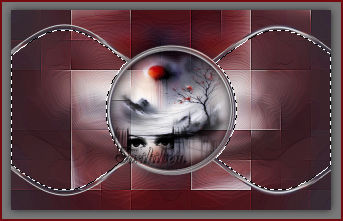
12 - Ativar e abrir a visibilidade da layer Copy of Raster 2. Plugin Mura's Meister > Pole Transform.
13 - Magic Wand > Tolerance e Feather: 0, selecionar o centro do circulo. Selections > Modify > Expand: 10. Ativar a Layer Raster 2. Edit > Cut ou aperte a tecla Delete. Selections > Select None.
14 - Ativar a layer Copy of Raster 2. Layers > Merge > Merge Down. Magic Wand: Tolerance e Feather: 0, selecionar o centro do circulo. Selections > Modify > Expand: 2. Layers > New Raster Layer.
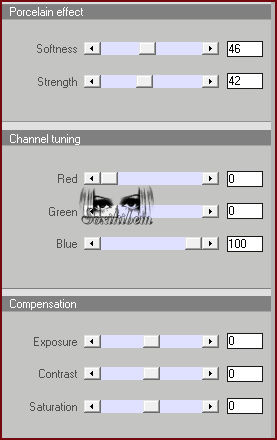
15 - Edit > Copy no Misted Paisagem. Edit > Paste Into Selection. Layers > Duplicate Layers > Merge > Merge Down. Adjust > Sharpness > Sharpen. Layers > Arrange > Move Down. Plugin Xero > Porcelain.
16 - Layers > New Raster Layer. Effects > 3D Effects > Cutout. Selections > Select None. Layers > Merge > Merge Down.
17 - Ativar a Layer Raster 2. Magic Wand: Tolerance e Feather: 0, selecionar as laterais como no print abaixo.
18 - Selections > Modify > Expand: 2. Ativar a Layer Raster 3. Layers > New Raster Layer. Flood Fill > Opacity: 40%, pintar a seleção com a cor do Foreground. * Retornar para 100% em Opacity para o Flood Fill. Edit > Copy no Misted Paisagem. Edit > Paste Into Selection. Selections > Select None.
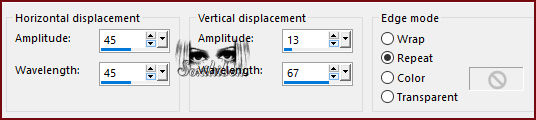
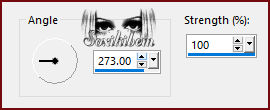
19 - Ativar a Layer Raster 2. Magic Wand >Tolerance e Feather: 0, selecionar a lateral esquerda. Ativar a Layers Raster 4. Adjust > Blur > Motion Blur. Edit > Repeat Motion Blur. Selections > Select None.
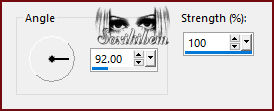
20 - Ativar a Layer Raster 2. Magic Wand > Tolerance e Feather: 0, selecionar a lateral direita. Ativar a Layers Raster 4. Adjust > Blur > Motion Blur. Edit > Repeat Motion Blur. Selections > Select None.
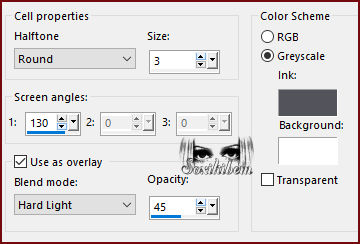
21 - Effects > Artistic Effects > Halftone. Com a cor do Foreground. Adjust > Sharpness > Sharpen More.
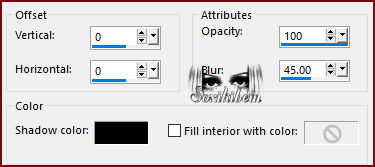
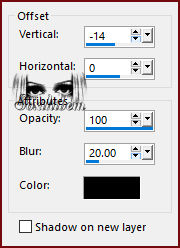
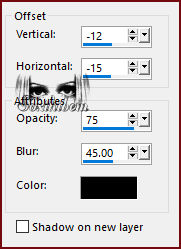
22 - Ativar a Layer Raster 2. Effects > 3D Effects > Drop Shadow: cor #000000 (Preto).
23 - Image > Add Borders > Symmetric: 2px com a cor do Foreground 2px com a cor do Background 15px com a cor 3 2px cor Background 2px cor Foreground Selections > Select All 45px com a cor 3
24 - Effects > 3D Effects > Drop Shadow: cor #000000 (Preto).
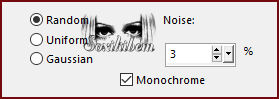
25 - Selections > Invert. Adjust > Add/Remove Noise > Add Noise. Selections > Select None.
26 - Image > Add Borders > Symmetric: 2px cor Foreground.
27 - Edit > Copy No Tuber Personagem. Edit > Paste a New Layer. Posicione a esquerda do trabalho. Aplique efeito como preferir.
28 - Edit > Copy no tituloCM_Xiki. Edit > Paste a New Layer. Pick Tool: Position X: 396, POsition Y: 568.
29 - Image > Add Borders Symmetric: 2px com a cor do Background 2px com a cor do Foreground.
30 -
Aplicar sua marca d'água ou assinatura.
VERSÃO:
Créditos: Formatação, Arte Final e Tutorial by Soxikibem Tube Principal & Misted: Tubed by Pqna&Alice Outros Materiais: by Soxikibem
Sinta-se à vontade para enviar suas versões. Terei todo o prazer em publicá-las em nosso site.
|