|
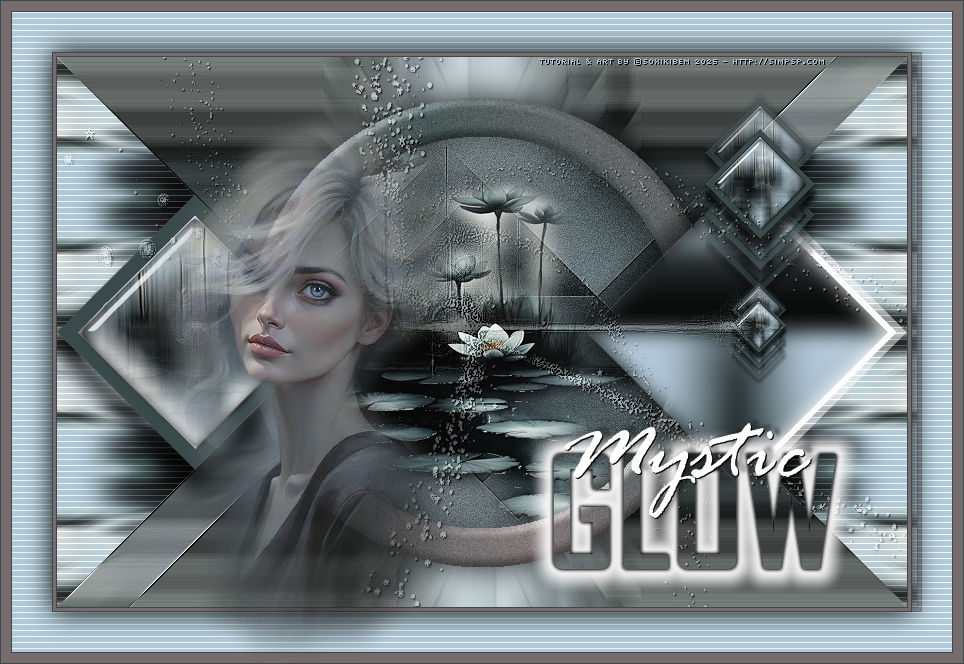
Como um sussurro etéreo, ilumina o caminho dos sonhos, refletindo beleza e mistério em um equilíbrio perfeito entre luz e fantasia.
Like an ethereal whisper, it illuminates the path of dreams, reflecting beauty and mystery in a perfect balance between light and fantasy.
TRADUÇÕES:
Obrigada aos nossos Tradutores
MATERIAL: 1 Tube Personagem à sua escolha 1 Misted Paisagem à sua escolha Mask by Narah Selections: Salvar as seleções na pasta Selection do PSP Outros Materiais by Soxikibem
PLUGINS: Alien Skin Eye Candy 5: Impact > Glass Caroline and Sensibility > CS-Texture Mura's Meister > Copies RCS Filter Pack 1.0 > RCS Triple Exposure Unlimited 2.0 > Bkg Kaleidoscope > BlueBerryPie > Mirrored&Scaled VanDerLee > Unplugged X > Round Button
Este Tutorial foi escrito
por Soxikibem, qualquer semelhança é mera coincidência.
Cor 3: #ba9455
2 - Abra uma imagem
transparente de 850x550px. Selections > Select All. Edit > Copy no Misted Floral. Edit > Paste Into Selection. Selections > Select None.
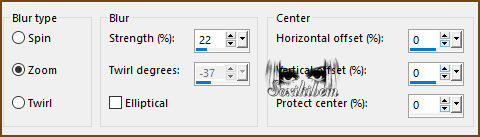
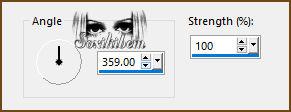
3 - Effects > Image Effects > Seamless Tiling: Default. Adjust > Blur > Radial Blur.
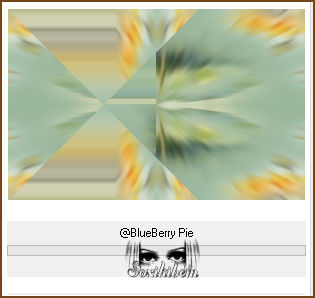
4 - Filters Unlimited 2.0 > Kaleidoscope > BlueBerry Pie.
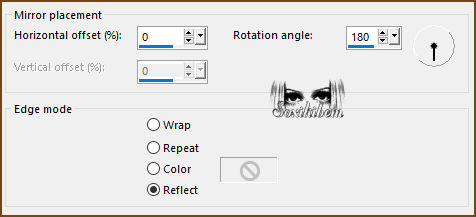
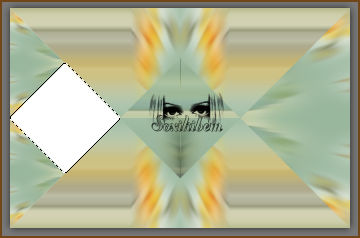
5 - Effects > Reflection Effects > Rotating Mirror.
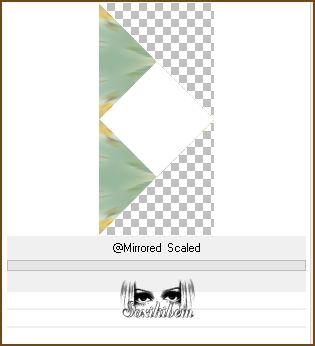
6 - Selections > Load/Save Selections > Load Selection From Disk: 283_Xixi1. Selections > Promote Selection to Layer. Filters Unlimited 2.0 > Kaleidoscope > @Mirrored & Scaled. Selections > Select None.
7 - Magic Wand > Tolerance & Feather: 0, selecione a parte branca desse efeito. Layers > New Raster Layer. Pintar esta seleção com a cor do Foreground.
8 - Selections > Modify > Contract: 15. Edit > Cut ou aperte a tecla Delete. Layers > New Raster Layer. Pintar com a cor do Background. Edit > Copy no Misted Floral. Edit > Paste Into Selection.
9 - Adjust > Blur > Motion Blur. Effects > Edge Effects > Enhance More.
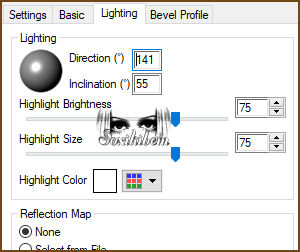
10 - Plugin Alien Skin | Eye Candy 5 Impact > Glass.
Selections > Select None.
11 - Ativar a Layer Raster 2. Effects > 3D Effects > Drop Shadow: Cor #000000 (Preto)
12 - Ativar a Layer Promoted Selection. Plugin Carolaine and Sensibility > CS_Texture. Layers > Duplicate. Image > Mirror > Mirror Horizontal.
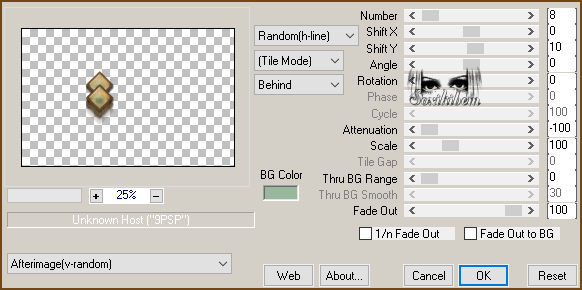
13 - Ativar a Layer Raster 3. Layers > Merge > Merge Down. Layers > Duplicate. Image > Resize: 40%, all layers desmarcado. Plugin Mura's Meister > Copies. Adjust > Sharpness > Sharpen. Pick Tool: Position X: 648, Position Y: 35.
14 - Layers > Duplicate. Image > Resize: 50%, all layers desmarcado. Adjust > Sharpness > Sharpen. Pick Tool: Position X: 674, Position Y: 222.
15 - Ativar a Layer Raster 1. Selections > Load/Save Selections > Load Selection From Disk: 283_Xixi2. Selections > Promote Selection to Layer. Adjust > Blur > Gaussian Blur: 10. Selections > Select None. Pick Tool: Position X: 529, Position Y: 124. Layers > Arrange > Move Up 2 vezes. Effects > 3D Effects > Drop Shadow: 0, -23, 60, 30, cor #000000 (Preto).
17 - Ativar a Layer Raster 1. Plugin RCS Filter Pack 1.0 > Rcs TripleExposure: 217. Effects > Edge Effects > Enhance More.
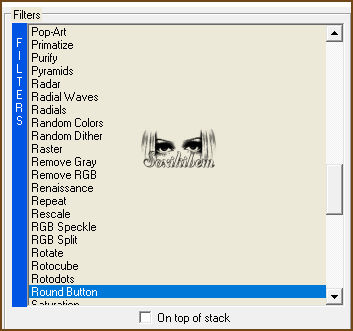
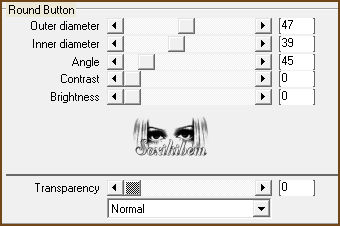
18 - Layers > New Raster Layer. Plugin Van Der Lee > Unplugged-X: Round Button.
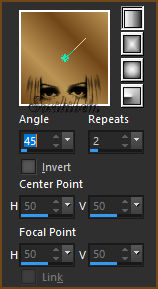
19 - Magic Wand > Tolerance & Feather: 0, selecione a parte preta. Edit > Cut ou aperte a tecla Delete. Pintar com um Gradient Linear formado pelas cores do Foreground e cor 3.
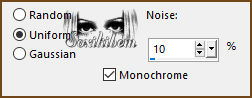
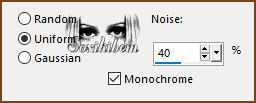
20 - Adjust > Add/Remove Noise > Add Noise.
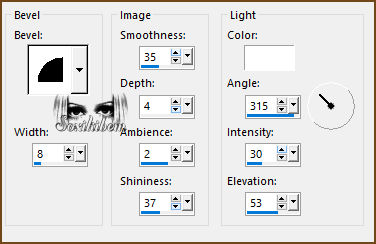
21 - Effects > 3D Effects > Inner Bevel. Selections > Select None.
22 - Layers > New Raster Layer. Selections > Load/Save Selections > Load Selection from Disk: 283_Xixi3. Flood Fill Tool > Opacity: 40%, pintar a seleção com a cor do Foreground. *Retornar para 100% em opacity da Flood Fill Tool. Adjust > Add/Remove Noise > Add Noise.
23 - Edit > Copy no Misted em uso. Edit > Paste Into Selection. Adjust > Sharpness > Sharpen. Selections > Select None. Layers > Arrange > Move Down. Ativar a Layer do circulo. Layers > Merge > Merge Down.
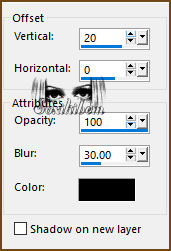
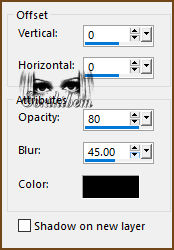
24 - Effects > 3D Effects > Drop Shadow: cor #000000 (Preto)
25 - Ativar a Layer do Topo. Layers > New Raster Layer. Pintar essa layer com a cor #ffffff (Branca). Layers > New Mask Layer > From Image: NarahsMasks_1782. Layers > Merge > Merge Group. Effects > 3D Effects > Drop Shadow: 1, 1, 100, 0, cor #000000 (Preto). Effects > Edge Effects > Enhance. Edit > Repeat Enhance Edges. Layers > Properties > General > Blend Mode: Soft Light. Layers > Duplicate.
26 - Image > Add Borders > Symmetric: 1px com a cor Foreground 3px com a Cor 3 1px com a cor Foreground Selections > Select All. Image > Add Borders > Symmetric: 40px cor Background Selections > Invert.
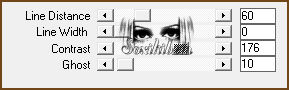
27 - Plugin Carolaine and Sensibility > CS_Texture.
28 - Selections > Invert. Effects > 3D Effects > Drop Shadow: 0, 0, 100, 40, cor: #000000 (Preto). Selections > Select None.
29 - Image > Add Borders > Symmetric: 1px com a cor Foreground 10px com a cor 3 1px com a cor Foreground
30 - Edit > Copy no Tube Personagem. Edit > Paste as New Layer. Posicione e alique Drop Shadow como preferir.
31 - Edit > Copy no TituloMG_Xiki. Edit > Paste as New Layer. Posicionar como preferir.
32 -
Aplicar sua marca d'água ou assinatura.
Versão:
Créditos: Formatação, Arte Final e Tutorial by Soxikibem Versão 1 - Tube Principal by InaciaNeves - Misted Floral: Tubed by Pqna&Alice Versão 2 - Tube Principal e Misted Floral: Tubed by Pqna&Alice Mask: by NarahMask Outros Materiais: by Soxikibem
Sinta-se à vontade para enviar suas versões. Terei todo o prazer em publicá-las em nosso site.
|