|
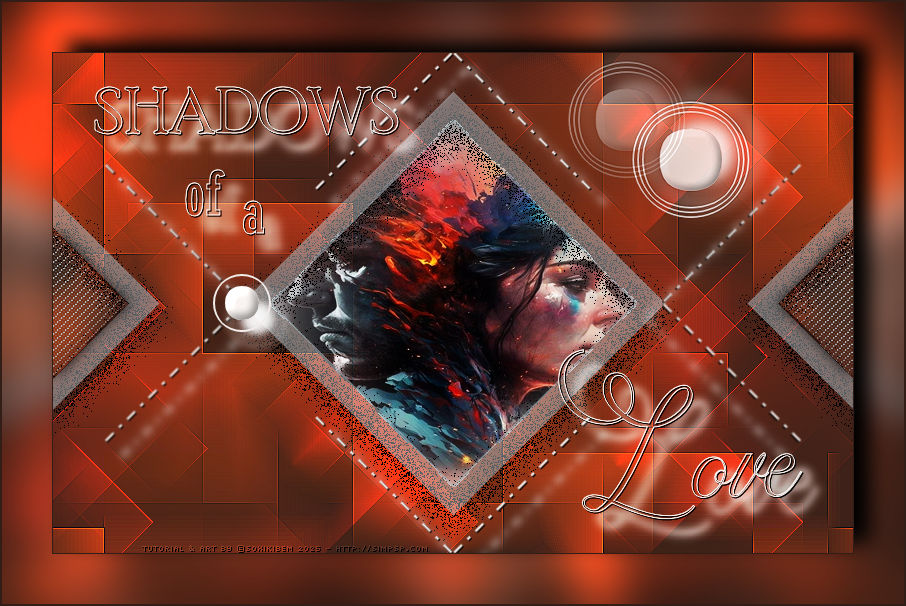
Seus olhos já não se reconheciam, como se a distância tivesse nublado a visão e apagado a luz do passado compartilhado. Nesse espaço quieto, onde as palavras já não tinham mais sentido, eles se afastavam cada vez mais, presos nas sombras de um amor que lentamente ia se esvaindo. Their eyes no longer recognized each other, as if the distance had clouded their vision and dimmed the light of their shared past. In this quiet space, where words no longer mattered, they drifted further apart, trapped in the shadows of a love that was slowly slipping away.
TRADUÇÕES:
Obrigada aos nossos Tradutores
MATERIAL: 1 Tube ou Misted Personagem à sua escolha Seleções: Salvar as Seleções na pasta Selections do seu PSP Outros Materiais by Soxikibem
PLUGINS: Filters Unlimited 2.0 Background Designers IV > sf10 Slice N Dice Background Designers IV > @Night Shadow Mehdi > Sorting Tiles
Este Tutorial foi escrito
por Soxikibem, qualquer semelhança é mera coincidência.
Cor 3: #f2edea
2 - Abra uma imagem
transparente de 800x500px.
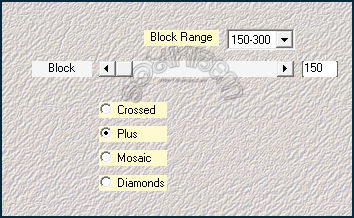
3 - Plugin Mehdi > Sorting Tiles.
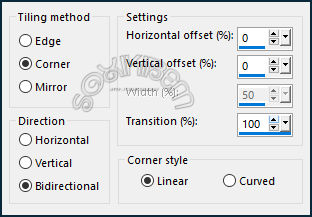
4 - Effects > Edge Effects > Enhance More. Effects > Image Effects > Seamless Tiling.
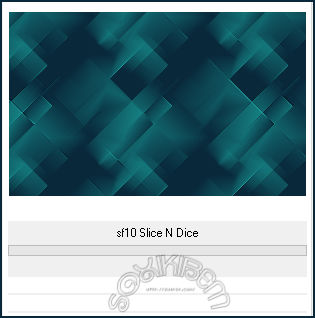
5 - Layers > Duplicate. Filters Unlimited 2.0 > Background Designers IV > sf10 Slice N Dice
Layers > Properties > General > Blend Mode: Dodge.
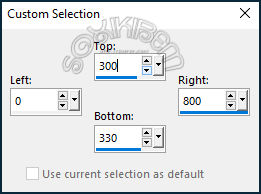
6 - Layers > New Raster Layer. Ativar a Selection Tool (S) > Custon Selection.
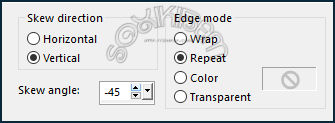
7 - Ativar Flood Fill Tool > Opacity: 50%. Pintar a seleção com a cor 3. Selections > Select None. Effects > Geometric Effects > Skew.
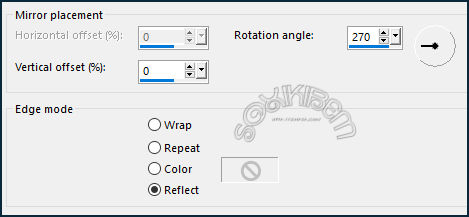
8 - Effects > Reflection Effects > Rotating Mirror.
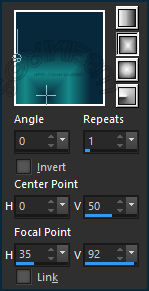
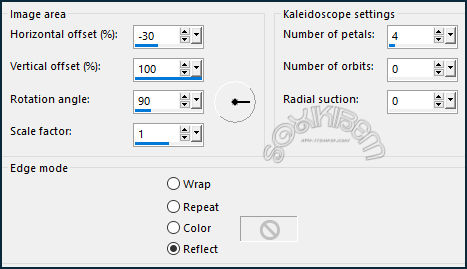
9 - Effects > Reflection Effects > Kaleidoscope.
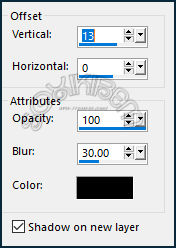
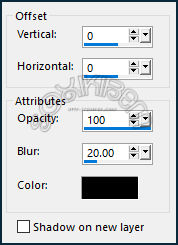
10 - Effects > 3D Effects > Drop Shadow. Com a layer do Drop shadow ativada... Layers > Properties > General > Blend Mode: Dissolve.
11 - Ativar a Layer Raster 2. Ativar a Magic Wand > Tolerance e Feather: 0 - Mode: Add (Shift), selecione como no print abaixo.
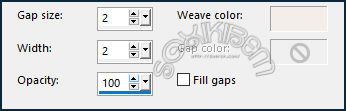
12 - Ativar a Layer Copy of Raster 1. Selections > Promote Selection to Layer. Adjust > Blur > Gaussian Blur: 10. Effects > Texture Effects > Weave, com a cor 3.
13 - Ativar a Layer Raster 2. Effects > 3D Effects > Drop Shadow: Shadown on new layer desmarcado Selections > Select None.
14 - Ativar a Magic Wand > Tolerance e Feather: 0, selecione como no print abaixo.
Selections > Modify > Expand: 3. Ativar a Layer Copy of Raster 1.
15 - Layers > New Raster Layer. Ativar a Flood Fill Tool > Opacity: 40%.* Pintar essa seleção com a cor 3. *Retornar para 100% em Flood Fill Tool > Opacity.
16 - Edit > Copy no Tube ou Misted Personagem. *Lembre-se de Deletar a marca d'agua. Edit > Paste Into Selection. Adjust > Sharpness > Sharpen. Selections > Select None.
17 - Ativar a layer Raster 2 (Top Layer). Edit > Copy no DecorSOL_Xiki1. *Lembre-se de Deletar minha marca d'agua. Edit > Paste as New Layer. Pick Tool: Position X: 51, Position Y: 0.
18 - Edit > Copy no DecorSOL_Xiki2. *Lembre-se de Deletar minha marca d'agua. Edit > Paste as New Layer. Pick Tool: Position X: 160, Position Y: -17.
19 - Image > Add Borders > Symmetric: 1px - cor Foreground. Edit > Copy. Selections > Select All.
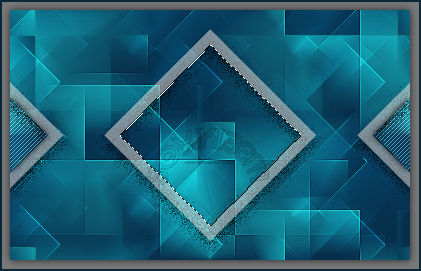
20 - Image > Add Borders > Symmetric: 50px com qualquer cor. Selections > Invert. Edit > Paste Into Selection. Adjust > Blur > Gaussian Blur: 20.
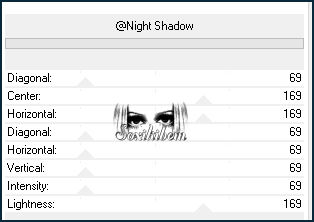
21 - Filters Unlimited 2.0 > Background Designers IV > @Night Shadow.
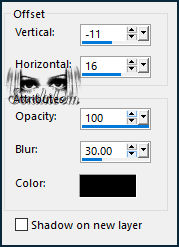
22 - Selections > Invert. Effects > 3D Effects > Drop Shadow. Selections > Select None.
23 - Image > Add Borders > Symmetric: 2px - cor Foreground.
24 - Edit > Copy no TituloSOL_Xiki. *Lembre-se de Deletar minha marca d'agua. Edit > Paste a New Layer. Pick Tool: Position X: 94, Position Y: 86.
25 - Opcional: Layers > Duplicate. Layers > Properties > General > Blend Mode: Overlay - Opacity: 70%.
26 -
Aplicar sua marca d'água ou assinatura.
VERSÃO:
Créditos: Formatação, Arte Final e Tutorial by Soxikibem Tube Principal: Tubed by Pqna&Alice Outros Materiais: by Soxikibem
Sinta-se à vontade para enviar suas versões. Terei todo o prazer em publicá-las em nosso site.
|