|
TRADUÇÕES:
Obrigada aos nossos Tradutores
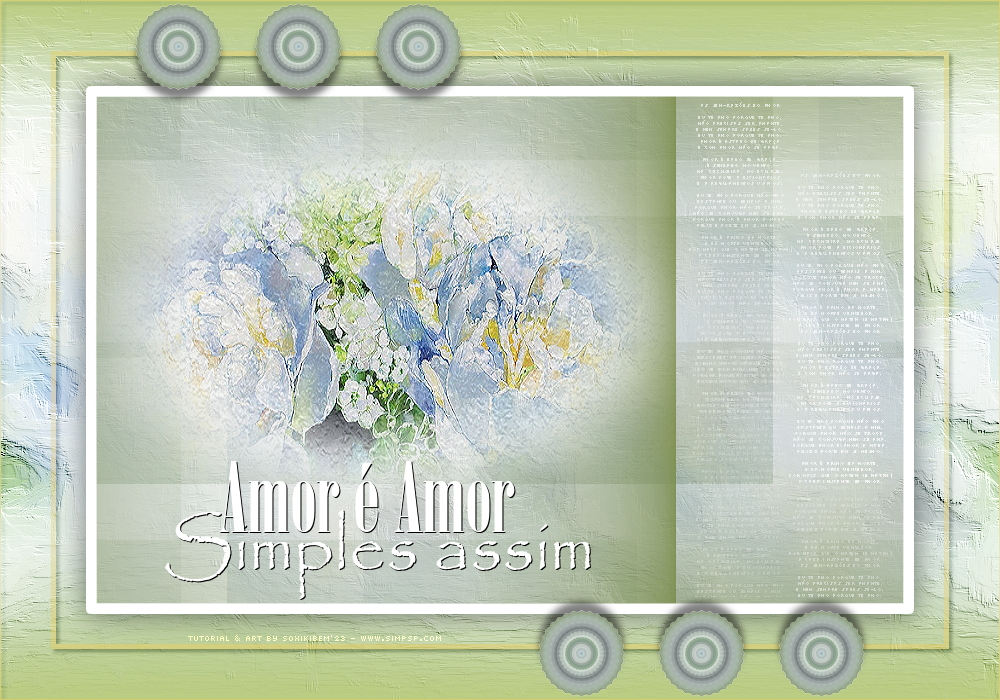
MATERIAL: 1 Tube Principal ou Personagem à sua escolha 1 Misted Floral ou Paisagem à sua escolha 1 Tube Decorativo à sua escolha 1 mask: Narah_Mask Outros Materiais by Soxikibem
PLUGINS: Mura's Meister > Copies Unlimited 2.0 > Bkg Designer sf10 II, Bkg Designer sf10 III
Este Tutorial foi escrito
por Soxikibem, qualquer semelhança é mera coincidência. Cor 3: #b7d2cd Cor 4: #ffffff
2 - Abra uma imagem
transparente de 1000x700px.
3 - Selections > Select All. Edit > Copy no Misted Floral. Edit > Paste Into Selection. Selections > Select None.
4 - Effects > Image Effects > Seamless Tiling.
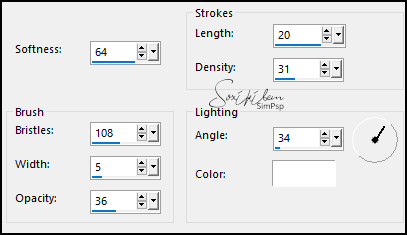
5 - Effects > Art Media Effects > Brush Strokes.
6 - Layers > Duplicate. Fechar a visibilidade da layer Copy of Raster 1. Ativar a Layer Raster 1. Layers > New Raster Layer.
7 - Pintar com a cor do background. Selections > Select All. Selections > Modify > Contract: 1. Aperte a tecla Delete do teclado.
8 - Selections > Modify > Contract: 50. Pintar com a cor do background. Selections > Modify > Contract: 5. Aperte a tecla Delete do teclado.
9 - Selections > Modify > Contract: 35. Ativar e abrir a visibilidade da Layer Copy of Raster 1. Selections > Invert. Selections > Promote Selection to Layer.
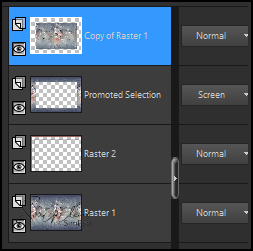
10 - Ativar a Copy of Raster 1. Aperte a tecla Delete do seu teclado. Ativar a Layer Promoted Selection. Layers > Arrange > Move Down. Layers > Properties: Blend Mode Screen. Selections > Select None.
11 - Ativar a Layer Raster 2. Effects > 3D Effects > Drop Shadow: 3, 3, 100, 5, cor preta.
12 - Ativar a Layer do topo ( Copy of Raster 1).
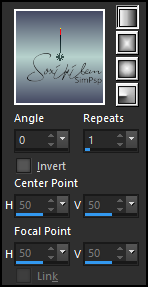
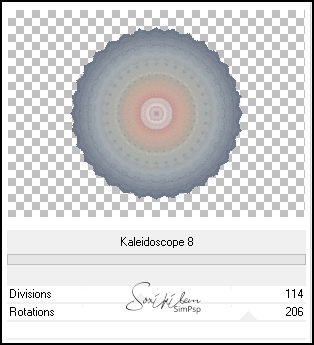
13 - Layers > Duplicate. Filters > Unlimited 2.0 > Bkg Designer sf10 II > Kaleidoscope 8.
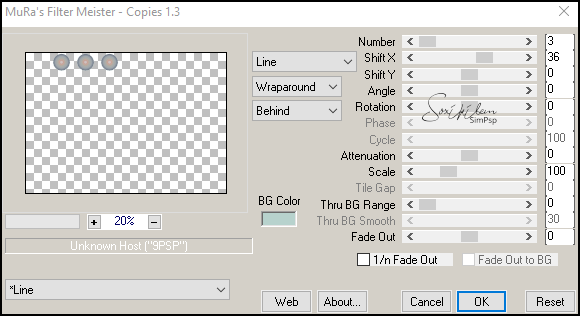
14 - Image > Resize: 15%, all layers desmarcado. Pick Tool: Position X 135, Position Y 3. Plugin Mura's Meister > Copies.
15 - Effects > 3D Effects > Drop Shadow: 10, 0, 50, 10, cor preta. Layers > Duplicate. Image > Mirror > Mirror Horizontal. Image > Mirror > Mirror Vertical.
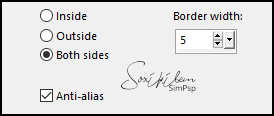
16 - Ativar a Layer Copy of Raster 1. Com a ferramenta Magic Wand, Tolerance e Feather 0, clique na parte transparente desta layer. Selections > Invert. Selections > Modify > Select Selection Borders.
17 - Layers > New Raster Layer. Pintar com a cor 4. Selections > Select None. Com a ferramenta Magic Wand, Tolerance e Feather 0, clique na parte de fora dessa borda.
18 - Selections > Invert. Effects > 3D Effects > Drop Shadow: 0, 0, 50, 40, cor preta. Selections > Select None.
19 - Ativar a Layer Copy of Raster 1. Filters Unlimited 2.0 > Bkg Designer sf10 III > SE Shiver.
20 - Effects > Texture Effects > Weave, com a cor do foreground.
21 - Ativar a Layer do Topo. Edit > Copy no TextoByXiki. Edit > Paste as New Layer. Pick Tool: Position X 689, Position Y 102.
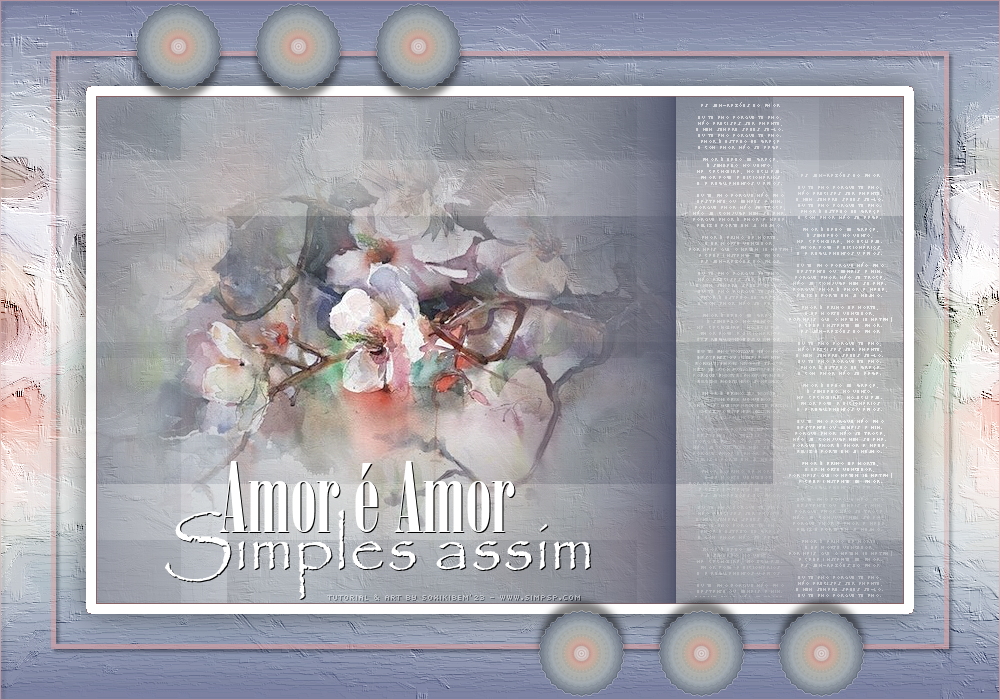
22 - Edit > Copy no Misted Floral ou Paisagem. Edit > Paste as New Layer. Posicione como preferir.
23 - Edit > Copy no TituloByXiki. Edit > Paste as New Layer. Pick Tool: Position X 164, Position Y 461.
24 -
Aplicar sua marca d'água ou assinatura.
Versão:
Créditos: Formatação, Arte Final e Tutorial by Soxikibem Tube Misted Floral: Tubed by Pqna&Alice Outros Materiais: by Soxikibem
Sinta-se à vontade para enviar suas versões. Terei todo o prazer em publicá-las em nosso site.
|