|
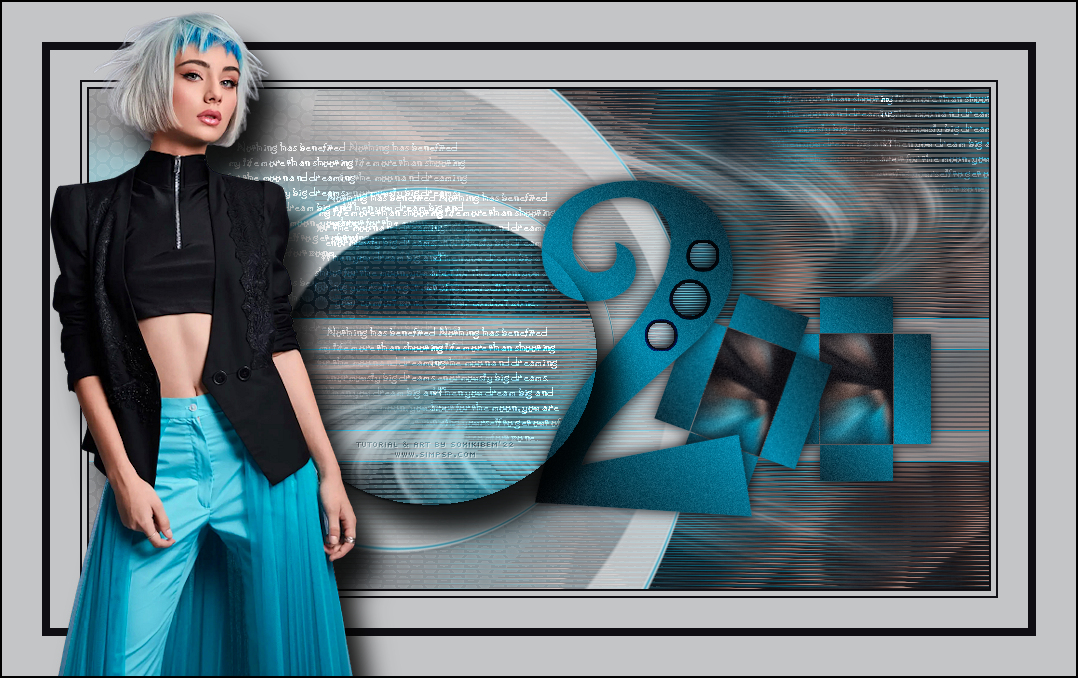
Nada beneficiou mais a minha vida do que voar para a lua e
sonhar grandes sonhos.
Nothing has benefited my life more than shooting for the
moon and dreaming enormously big dreams.
TRADUÇÕES:
Obrigada aos nossos tradutores!
MATERIAL 1 Tube Principal à sua escolha AlphaChannel200BySoxikibem Decor200Xiki Silvie_Mask_Deco8DR
PLUGINS
Mura's Seamless > Polkadot
EXECUÇÃO
1 - Abrir o material no PSP, duplique e feche os originais. Escolha três cores para trabalhar. Aqui usei as cores: Foreground: #0f0e13 Background: #0088ad Cor 3: #c3c5c7
2 - Abra o arquivo AlphaChannel200BySoxikibem. Pintar com a cor do Foreground. Selections > Select All. Edit > Copy no Tube principal. Edit > Paste Into Selection. Selections > Select None.
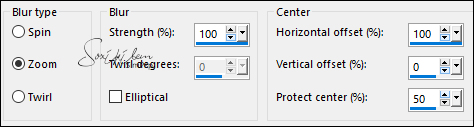
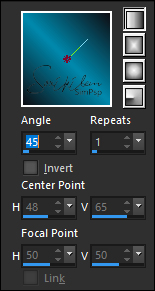
3 - Effects > Image Effects > Seamless Tilng: Default. Adjust > Blur > Radial Blur:
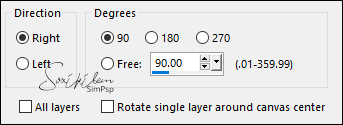
4 - Layers > Duplicate. Image > Free Rotate:
Objects > Align > Right. Ferramenta Crop Tool > Merged Opaque.
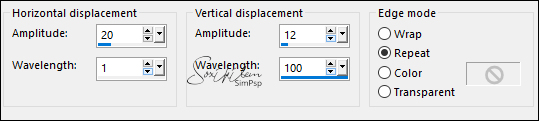
5 - Effects > Distortion Effects > Wave:
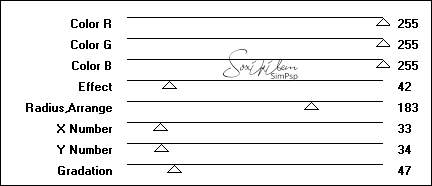
6 - Ativar a layer Raster 1. Effects > Plugins > Mura's Seamless > Polkadot:
7 - Layers > New Raster Layer. Layers > Arrange > Move Up. Selections > Load/Save Selection > Load Selection Fom Alpha Channel: Selection #1. Pintar esta seleção com a cor do background, Opacity: 100.
Selections > Modify > Contract: 1. Pressione a tecla Delete do teclado.
8 - Pintar esta seleção com a cor 3, mudando em Opacity para 50.
Selections > Modify > Contract: 30. Pressione a tecla Delete do teclado. Pintar esta seleção com a cor do background, Opacity 100.
Selections > Modify > Contract: 1. Pressione a tecla Delete do teclado.
9 - Pintar esta seleção com a cor 3, mudando em Opacity para 30.
Selections > Select None. Lembrar de retornar a Opacidade do balde para 100.
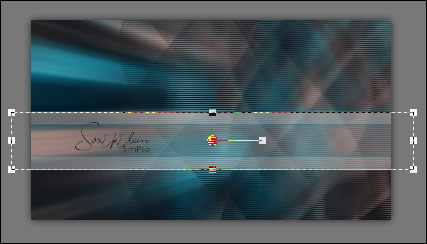
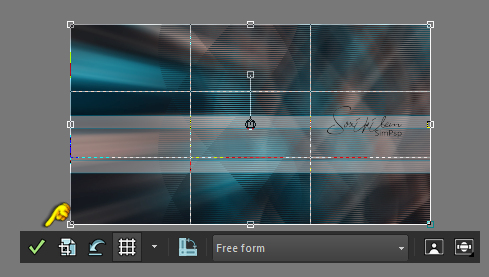
10 - Com a Ferramenta Pick Tool, Mode Scale, puxe nas laterais como no exemplo:
Ferramenta Crop Tool > Merged Opaque.
11 - Layers > New Raster Layer. Selections > Load/Save Selection > Load Selection Fom Alpha Channel: Selection #2. Pintar esta seleção com um Gradiente Linear formado pelas cores do foreground e background:
12 - Adjust > Add/Remove Noise > Add Noise: Gaussian, Noise 10, monochrome marcado. Selections > Select None. Effects > 3D Effects > Drop Shadow: 0, 0, 100, 20, Color: #000000 (preto)
13 - Layers > New Raster Layer. Selections > Load/Save Selection > Load Selection Fom Alpha Channel: Selection #3. Pintar a seleção com a cor do Foreground. Edit > Copy no Tube Principal. Edit > Paste Into Selection. Adjust > Sharpness > Sharpen.
14 - Adjust > Blur > Radial Blur:
Adjust > Add/Remove Noise > Add Noise: Gaussian, Noise 10, monochrome marcado. Selections > Select None. Layers > Arrange > Move Down.
15 - Ativar a Layer Raster 3. Layers > Merge > Merge Down. Layers > Duplicate. Image > Free Rotate: Right, Free: 20. Ferramenta Pick Tool: Position X 551, Position Y 189.
16 - Layers > New Raster Layer. Selections > Load/Save Selection > Load Selection Fom Alpha Channel: Selection #5. Pintar a seleção com o gradiente em uso:
Adjust > Add/Remove Noise > Add Noise: Gaussian, Noise 10, monochrome marcado. Selections > Select None. Effects > 3D Effects > Drop Shadow: 0, 0, 100, 20, Color: #000000 (preto)
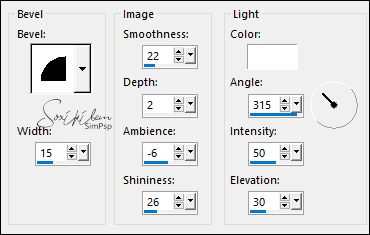
17 - Layers > New Raster Layer. Selections > Load/Save Selection > Load Selection Fom Alpha Channel: Selection #4. Pintar a seleção com a cor 3. Effects > 3D Effects > Inner Bevel:
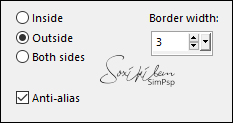
18 - Selections > Modify > Select Selection Borders:
Pintar a seleção com a cor do Foreground. Selections > Select None. Layers > Properties > General > Blend Mode: Overlay.
19 - Ativar a Layer Raster 4. Layers > New Raster Layer. Pintar com a cor 3. Layers > New Mask Layer > From Image: Silvie_Mask_Deco8DR. Layers > Merge > Merge Group. Image > Mirror > Mirror Horizontal. Layers > Properties General > Blend Mode: Luminance (L).
20 - Ativar a Layer Raster 2. Edit > Copy no Decor200Xiki. Edit > Paste As New Layer. Objects > Align: Top. Objects > Align: Right. Layers > Properties General > Blend Mode: Dodge.
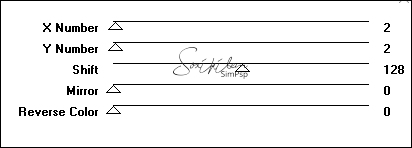
21 - Ativar a Layer Raster 2. Layers > Duplicate. Effects > Plugins > Mura's Seamless > Tiling with Shrink:
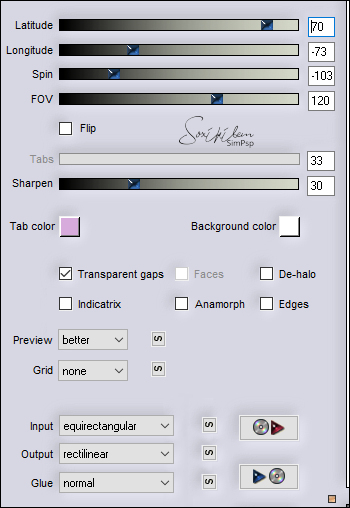
22 - Effects > Plugins > Flaming Pear > Flexify 2:
23 - Selections > Load/Save Selection > Load Selection Fom Alpha Channel: Selection #4. Pressione a tecla Delete do teclado. Selections > Select None.
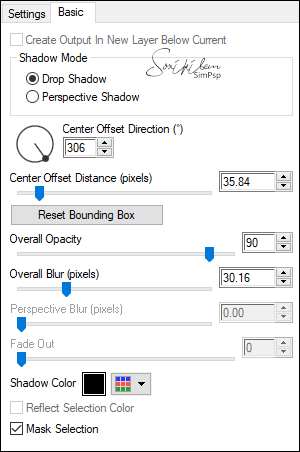
24 - Selections > Load/Save Selection > Load Selection Fom Alpha Channel: Selection #6. Ativar a Layer Raster 3 (A layer do número 2). Effects > Plugins > Alien Skin Eye Candy 5: Impact > Perspective Shadow:
Selections > Select None.
25 - Image > Add Borders > Symmetric: 2px - Color: cor do Foreground 5px - Color: com a cor 3 2px - Color: cor do Foreground 30px - Color: com a cor 3 8px - Color: cor do Foreground 40px - Color: com a cor 3
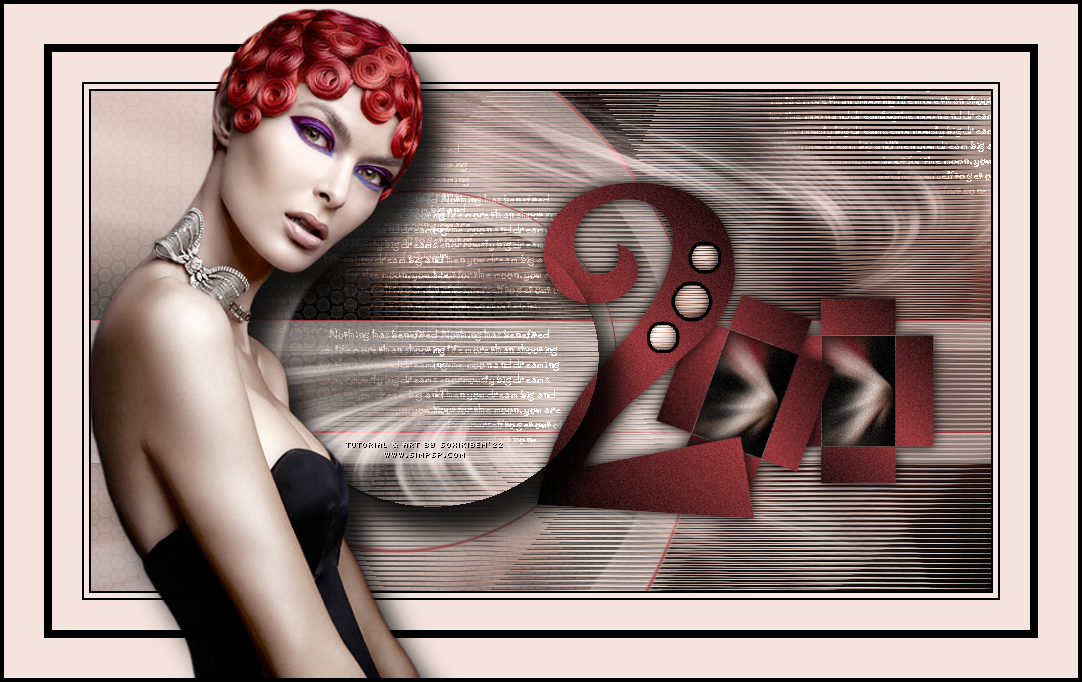
26 - Edit > Copy no Tube Principal. Edit > Paste as New Layer. Image > Resize se for necessário: O tube que usei o Resize foi de 93% Adjust > Sharpness > Sharpen. Posicionar à esquerda. Effects > 3D Effects > Drop Shadow à sua escolha.
27 - Image > Add Borders > Symmetric: 2px - Color: cor do Foreground.
28 - Aplicar sua marca d'água ou assinatura. File > Export > JPEG Optimizer.
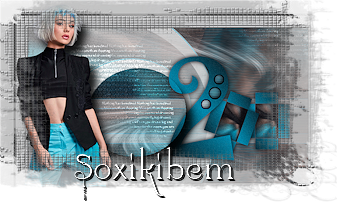
VERSÃO:
CREDITOS: VERSAO 1 & 2 Formatação e Tutorial by Soxikibem Tubes Principais: Tubed by Pqna&Alice Mask by Silvie
Sinta-se à vontade para enviar suas versões. Terei todo o prazer em publicá-las em nosso site.
|