TRADUÇÕES:
Obrigada aos nossos tradutores!
MATERIAL 1 Tube Misted Face Principal à sua escolha 1 Misted Paisagem à sua escolha 001DiversosByPqnaAlice GraficoBySoxikibem TituloLilianaBySoxikibem DecorLilianaBySoxikibem Preset: BacklightBySoxikibem.f1s (De dois cliques para instalar)
PLUGINS
Flaming Pear > Pixel Trash
Tutorial elaborado no PSP 2022
TUTORIAL
1 - Abrir o material no PSP, duplique e feche os originais. Escolha duas cores para trabalhar. Foreground: #000000 Background: #ffffff
2 - Abra o arquivo AlphaBySoxikibem. Selections > Select All. Edit > Copy no GraficoBySoxikibem. Edit > Paste Into Selections. Selections > Select None.
3 - Selections > Load/Save Selections > Load Selection From Alpha Channel: Selection #1. Selections > Promote Selection to Layer. Selections > Select None. Layers > Duplicate. Image > Mirror > Mirror Vertical. Layers > merge > Merge Down.
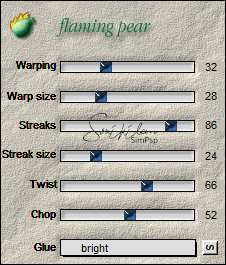
4 - Effects > Plugins > Flaming Pear > Pixel Trash:
Effects > 3D Effects > Drop Shadow: 0, 0, 100, 30, Color: #ffffff (cor do background). Edit > Repeat Drop Shadow.
5 - Layers > Duplicate. Effects > Plugins > Flaming Pear > Twist:
Layers > Arrange > Move Down. Layers > Properties > General: Blend Mode: Screen - Opacity: 60%.
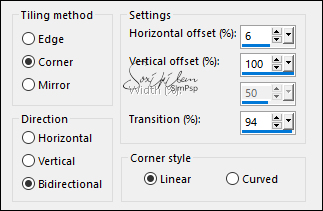
6 - Ativar a Layer Raster 1. Selections > Load/Save Selections > Load Selection From Alpha Channel: Selection #2. Layers > New Raster Layer. Edit > Copy no Misted Paisagem. Edit > Paste Into Selection. Selections > Select None. Effects > Image Effects > Seamless Tiling:
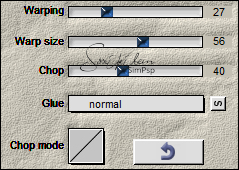
7 - Effects > Plugins > Flaming Pear > Swerve:
Layers > Properties > General: Blend Mode: Overlay.
8 - Ativar a Layer do Topo. Layers > New Raster Layer. Selections > Load/Save Selections > Load Selection From Alpha Channel: Selection #3. Pintar com a cor do background. Selections > Modify > Contract: 2. Pressionar a tecla Delete. Selections > Modify > Contract: 10. Pintar com a cor do background. Selections > Modify > Contract: 2. Pressionar a tecla Delete. Selections > Select None.
9 - Layers > Duplicate. Pick Tool: Position X: 214, Position Y: 182. Layers > Duplicate. Pick Tool: Position X: 377, Position Y: 182. Layers > Merge Down 2 vezes.
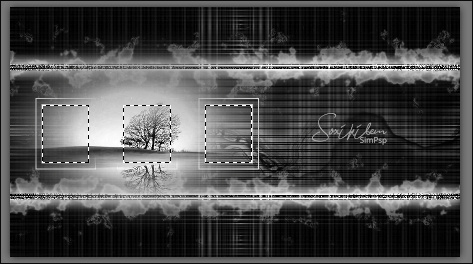
10 - Selections > Load/Save Selections > Load Selection From Alpha Channel: Selection #4. Edit > Copy no Misted Paisagem. Edit > Paste as New Layer. Com a ferramenta Move, posicionar a paisagem entre os três quadrados.
Selections > Invert. Pressionar a Tecla Delete. Selections > Invert.
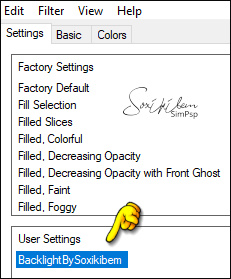
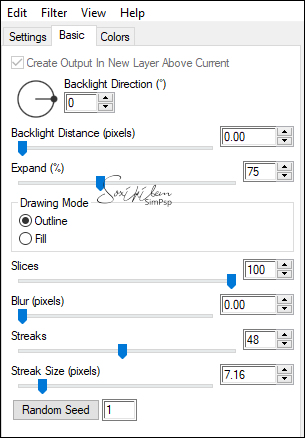
11 - Effects > Plugins > Alien Skin Eye Candy 5: Impact > Backlight: Settings: BacklightBySoxikibem.f1s
ou configure o Basic manulmente:
Selections > Select None. Layers > Merge > Merge Down.
12 - Layers > New Raster Layer. Selections > Load/Save Selections > Load Selection From Alpha Channel: Selection #5. Pintar esta seleção cm a cor do backgound. Selections > Select None.
13 - Effects > Plugins > Mura's Meister > Pole Transform:
Layers > Properties > General: Blend Mode: Difference.
14 - Selections > Load/Save Selections > Load Selection From Alpha Channel: Selection #6. Pressionar a tecla Delete. Ativar a Layer Promoted Selection. Pressionar a Tecla Delete. Ativar a Layer Copy of Promoted Selection. Pressionar a Tecla Delete. Selections > Select None. Ativar a layer Raster 4 (layer do Topo)
15 - Edit > Copy no Tube Misted Face. Edit > Paste as New Layer. *Se estiver usando o do material, resize em 80%, Adjust > Sharpness > Sharpen. Posicionar à direita, (posicionei: Pick Tool, Position X: 509, Position Y: -46. *Opcional - Duplicar esta Layer.
16 - Edit > Copy no TituloLilianaBySoxikibem. Edit > Paste as New Layer. Pick Tool: Position X: 108, Position Y: 61.
17 - Image > Add Borders > Symmetric: 1px - Color: cor do Foreground 8px - Color: cor do Background 1px - Color: cor do Foreground 20px - Color: cor do Background 1px - Color: cor do Foreground 1px - Color: cor do Background 1px - Color: cor do Foreground 40px - Color: cor do Background 1px - Color: cor do Foreground
18 - Edit > Copy no DecorLilianaBySoxikibem. Edit > Paste as New Layer.
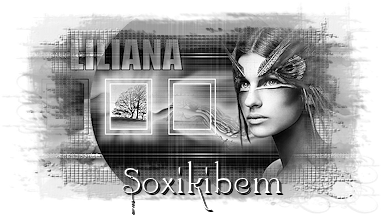
19 - Layers > Merge > Merge All. Se desejar redimensione o seu trabalho.
20 - Aplicar sua marca d'água ou assinatura. File > Export > JPEG Optimizer.
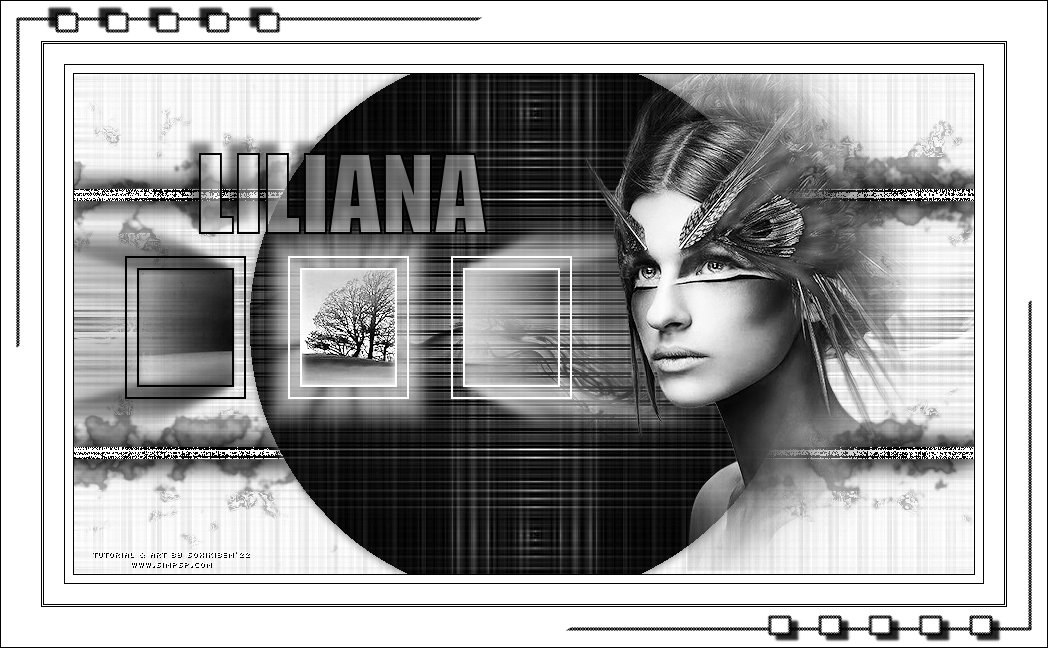
VERSÃO
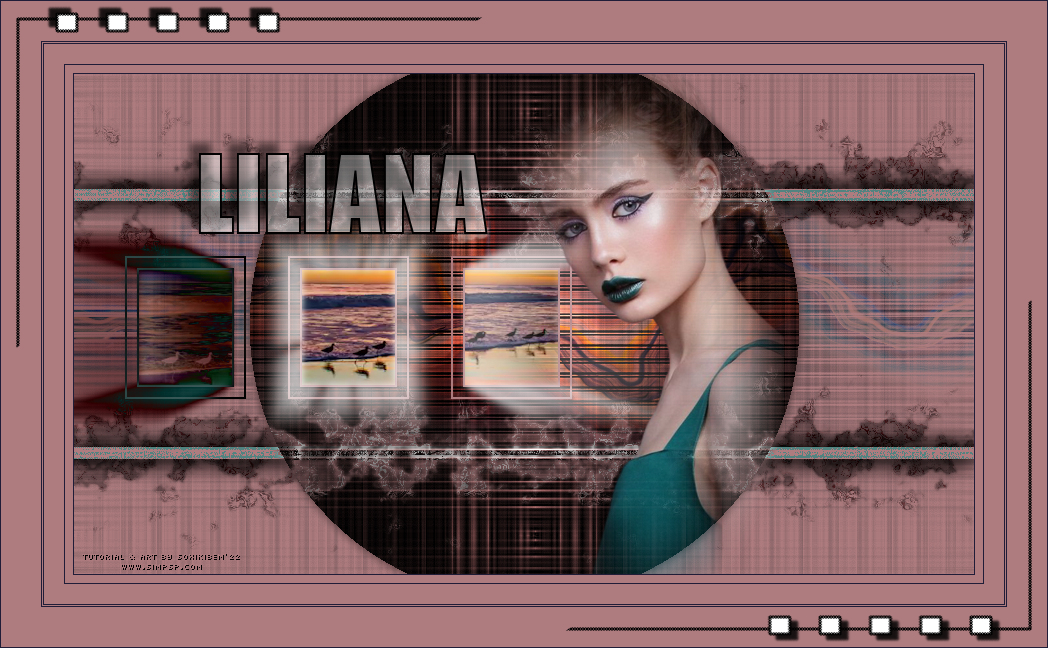
CRÉDITOS: Tutorial & Art by Soxikibem Tubes Principais & Misteds Paisagens: by Pqna&Alice
Sinta-se à vontade para enviar suas versões. Terei todo o prazer em publicá-las em nosso site.
|