|
Tutorial by Soxikibem English Translation by Moderation SIM-PSP Original Tutorial:
MATERIAL 1 Main Tube of your choice 1 Misted Landscape of your choice TituloDistantThoughtsBySoxikibem
PLUGINS ECWS > Tile Maker 1.0 Flaming Pear
Note:
Feel free to change the Blends
according to the material
Tutorial created in PSP 2020 Ultimate Tutorial Translated into PSP 2020 Ultimate
TUTORIAL
1 - Open the material on the PSP, duplicate and close the original. Choose t wo colors to work with:Cor 1 - Foreground: #330406 Cor 2 - Background: #c9132a
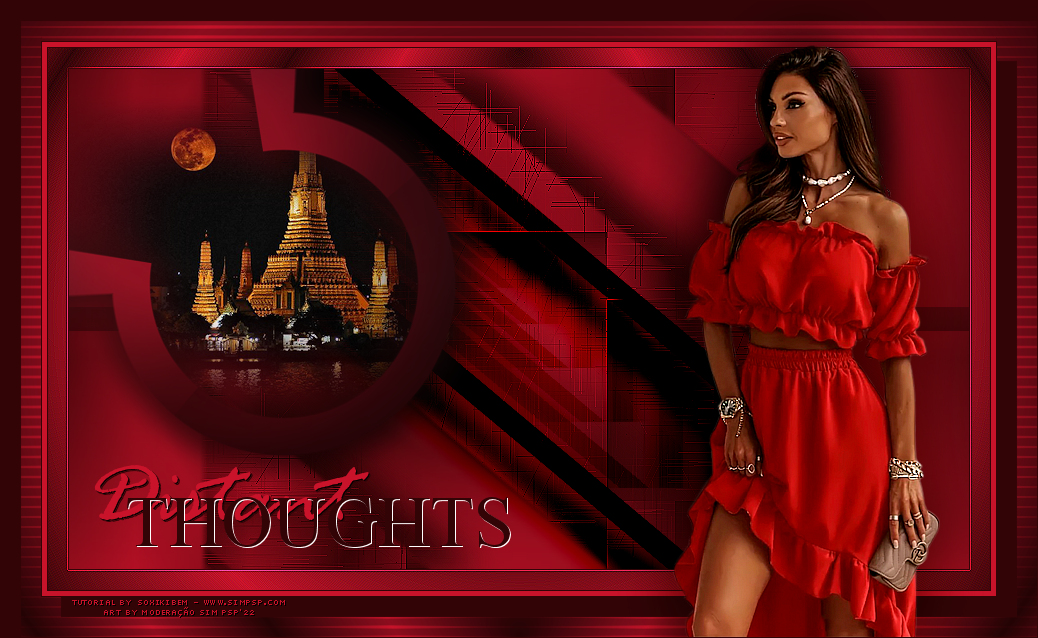
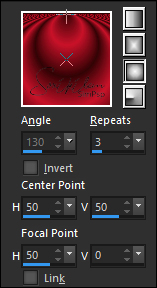
2 - Open a 900x500px transparent image. Paint the transparency with a Sunburst gradient, formed with Foreground and Background colors:
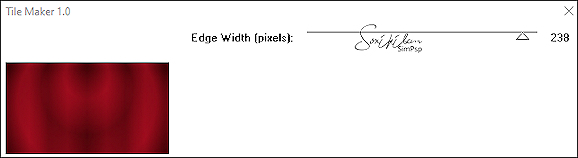
3 - Effects > Plugins > ECWS > Tile Maker 1.0.
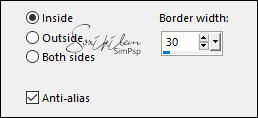
4 - Layers > Duplicate. Selections > Select All. Selections > Modify > Contract: 90. Selections > Modify > Select Selection Borders:
5 - Selections > Invert. Press the keyboard's Delete key. Selections > Select None. Effects > 3D Effects > Drop Shadow: 0, 0, 100, 40, Color: Foreground color. Edit > Repeat Drop Shadow.
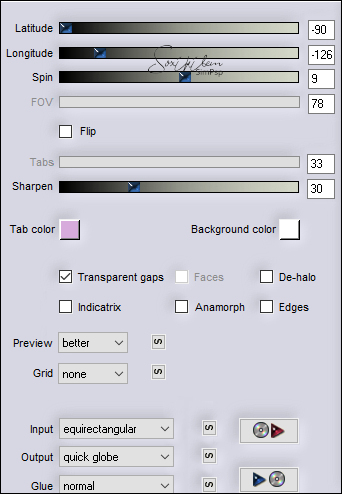
6 - Effects > Plugins > Flaming Pear > Flexify 2:
With the Pick Tool tool, position: Position X: -35, Position Y: -35.
7 - Activate the Layer Raster 1. Edit > Copy in Misted Landscape. Edit > Paste as New Layer. Resize and position within the circular effect. Use the Eraser Tool to erase what is left out of the circular effect. Adjust > Sharpness > Sharpen.
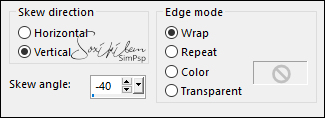
8 - Activate the Layer > Raster 1. Layers > Duplicate. Image > Resize: 70%, all layers unchecked. Effects > Geometric Effects > Skew:
9 - Effects > 3D Effects > Drop Shadow: Color: Foreground color
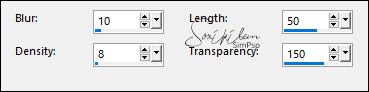
10 - Effects > Texture Effects > Fur:
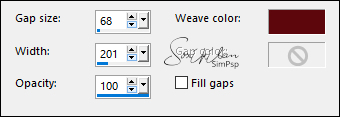
11 - Effects > Texture Effects > Weave: Weave color: Foreground color
Effects > Edge Effects > Enhance.
12 - Activate the Layer Raster 1. Layers > Duplicate. Layers > Arange > Move Up. Image > Resize: 50%, all layers unchecked.
13 - Selections > Select All. Selections > Float. Selections > Defloat. Selections > Modify > Contract: 30. Press the keyboard's Delete key. Selections > Select None.
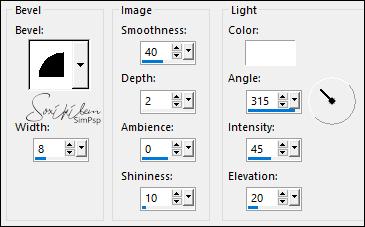
14 - Effects > 3D Effects > Inner Bevel:
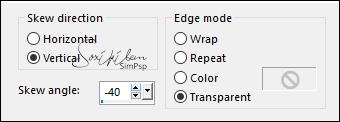
15 - Effects > Geometric Effects > Skew:
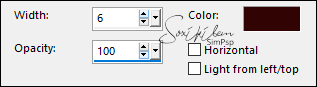
16 - Effects > Texture Effects > Blinds Color: Foreground color.
Effects > 3D Effects > Drop Shadow: 44, 0, 100, 40, Color: Foreground color.
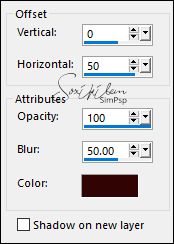
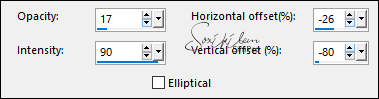
17 - Effects > Reflection Effects > Feedback:
Layers > Properties > General > Blend Mode: Burn.
18 - Image > Add Borders > Symmetric: 1px - Color: Foreground color. Selections > Select All. Image > Add Borders > Symmetric: 20px with any color. Selections > Invert. Paint with the gradient in use:
Effects > Edge Effects > Enhance. Edit > Repeat Enhance Edges. Selections > Select None.
19 - Image > Add Borders > Symmetric: 1px - Color: Foreground color 5px - Color: Background color 1px - Color: Foreground color
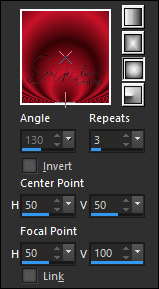
20 - Selections > Select All. Image > Add Borders > Symmetric: 40px with any color. Selections > Invert. Paint with current gradient changing Focal Point V to 100:
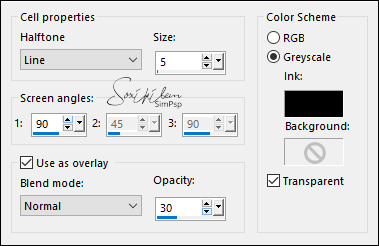
21 - Effects > Artistic Effects > Halftone: Ink: cor #000000 (black)
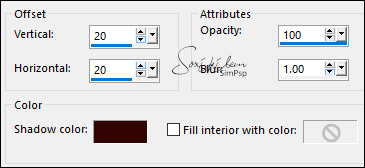
22 - Effects > 3D Effects > Cutout: Shadow color: Foreground color.
Selections > Select None.
23 - Edit > Copy in TituloDistantThoughtsBySoxikibem. Edit > Paste as New Layer. With the Pick Tool tool, position: Position X: 93, Position Y: 464.
24 - Edit > Copy on Tube Main. Edit > Paste as New Layer. Position to the right. Effects > 3D Effects > Drop Shadow of your choice.
25 - Image > Add Borders > Symmetric: 1px - Color: Foreground color.
26 -
Apply your watermark or signature.
CREDITS:
Tutorial by
Soxikibem
English Translation by
Moderation SIM-PSP
Main Tube and
Misted
Landscape: Tubed by
LB Tubes & Mists
Feel free to send your versions. I will be happy to publish them on our website.
|