|
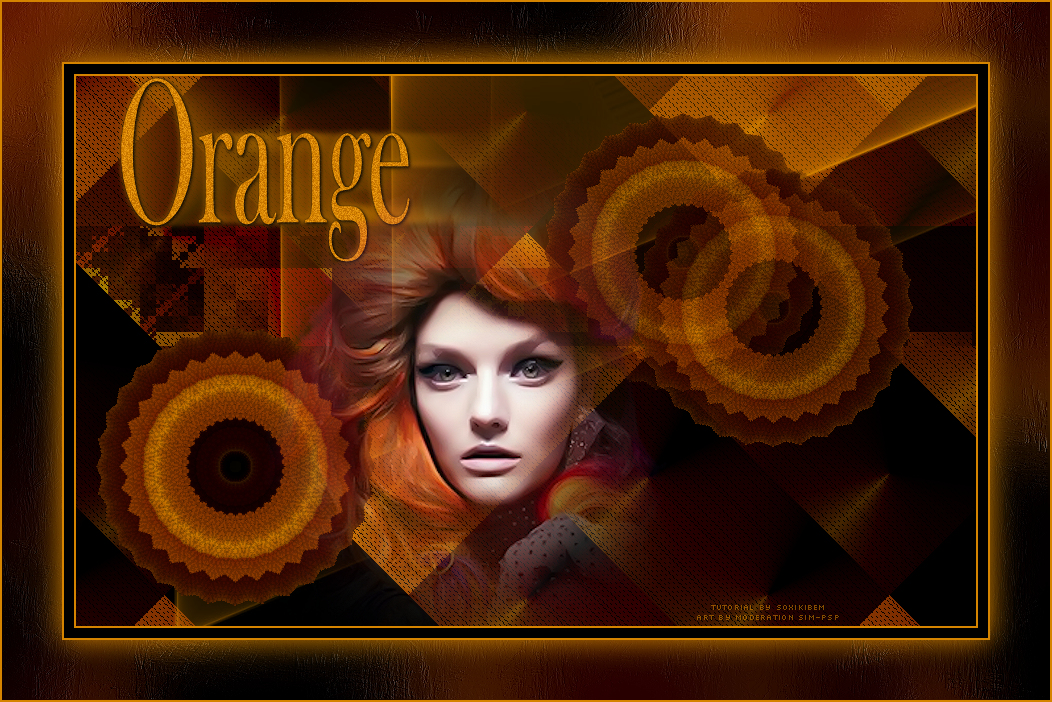
Tutorial By Soxikibem English Translation by SIM-PSP moderation Original Tutorial
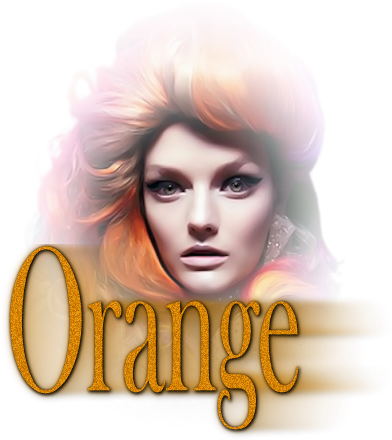
MATERIAL 1 Misted Facial of your choice tituloOrangeXiki LeniDinizMask_LDM017
PLUGINS Cybia Filters Unlimited 2.0 VM Extravaganza
TUTORIAL
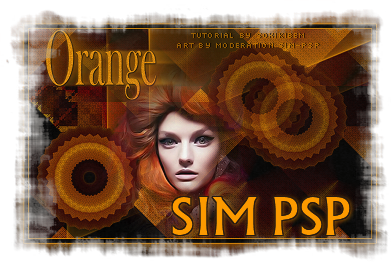
1 - Open the material on the PSP, duplicate and close the original. Choose two colors to work with: Foreground: #000000 Background: #d58400
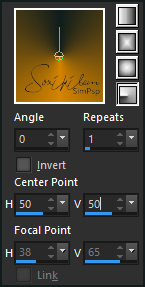
2 - Form a Radial gradient with your chosen colors.
3 - Open a transparent image of 900x550px. Paint with the Gradient.
4 - Plugin VM Extravaganza > Picture in a Picture.
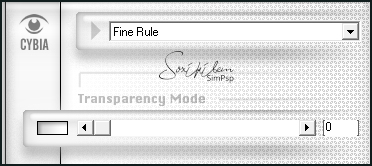
5 - Effects > Plugin Cybia > ScreenWorks.
6 - Effects > Plugins > Filters Unlimited 2.0 > Background Designers IV > sf10 Slice N Dice.
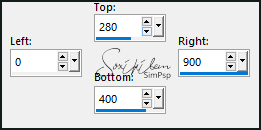
7 - Edit > Copy. Layers > New Raster Layer. Selections > Custon Selection.
Edit > Copy > Paste Into Selection Selections > Select None.
8 - Layers > Duplicate. Image > Mirror > Mirror Vertical. Effects > Plugins > Filters Unlimited 2.0 > Bkg Designer sf10 I > bee morph.
Layers > Properties > General > Blend Mode: Soft Light.
9 - Activate Layer Raster 2. Effects > Plugins > Filters Unlimited 2.0 > Bkg Designer sf10 II > Kaleidoscope 8.
Layers > Arrange > Bring To Top.
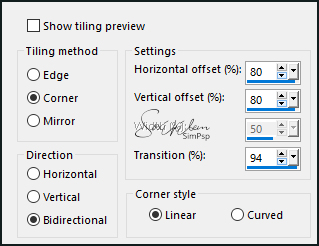
10 - Layers > Duplicate. Close the visibility of the Copy of Raster 2 layer Activate Layer Raster 2. Effects > Image Effects > Seamless Tiling.
With the Pick Tool, position: Position X 468, Position Y 37. Adjust > Sharpness > Sharpen.
11 - Activate and open the visibility of the Copy of Raster 2 layer. With the Pick Tool, position: Position X 20, Position Y 251.
12 - Layers > New Raster Layer. Paint with the background color. Layers > New Mask Layer > From Image: LeniDinizMask_LDM017. Layers > Merge > Merge Group. Layers > Arrange > Move Down Repetir > Layers > Arrange > Move Down.
13 - Activate the top layer. Edit > Copy no tituloOrangeXiki. Edit > Paste as New Layer. With the Pick Tool, position: Position X 35, Position Y 0.
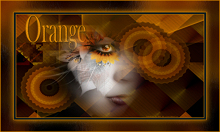
14 - Edit > Copy the Main Tube Edit > Paste as New Layer. Position as you prefer.
15 - Activate Layer Raster 1. Edit > Copy. Image > Add Borders > simmetric: 2px color: background 10px color: foreground 2px color: background Selections > Select All Image > Add Borders > simmetric: 60px with any color. Selections > Invert Edit > Paste Into Selection.
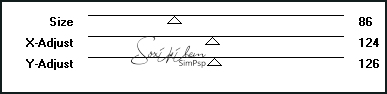
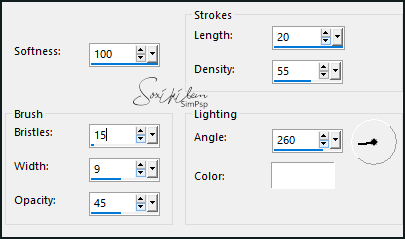
16 - Adjust > Blur > Gaussian Blur: 30. Effects > Art Media Effects > Brush Strokes.
17 - Selections > Invert. Effects > 3D Effects > Drop Shadow: 0, 0, 100, 40, color: background. Selections > Select None.
18 - Image > Add Borders > simmetric: 2px color: background.
19 - Apply your watermark or signature.File > Export > JPEG Optimizer.
Tutorial by Soxikibem'21 English Translation by Moderation SIM-PSP Main Tubel: Tubed by Beatrice
Feel free to send your versions.
|