|
Tutorial By Soxikibem English Translation by SIM-PSP moderation Original Tutorial
MATERIAL 1 Main Tube of your choice 1 Misted landscape of your choice 1 Decorative tube of your choice. Brush_TheGoodLife (File > Export > Custom Brush) Selections: 1DelicateSoxikibem 2DelicateSoxikibem (Save your selections to the PSP Selections folder)
Pluguins Alf's Power Toys Funhouse Mehdi Mura's Meister
TUTORIAL
1 - Open the material on the PSP, duplicate and close the original. Export the Brush_TheGoodLife file to Brush: File> Export> Custom Brush Choose four colors to work with:
Foreground: #59574a Background: #c2d8b3 Cor 3: #f6f0a5 Cor 4: #d86f69
2 - Open a transparent image of 900x600px. Effects > Plugins > Mehdi > Wavy Lab 1.1. Color sequence: 2, 4, 1, 3.
Adjust > Blur > Gaussian Blu: 30.
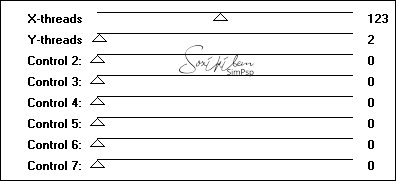
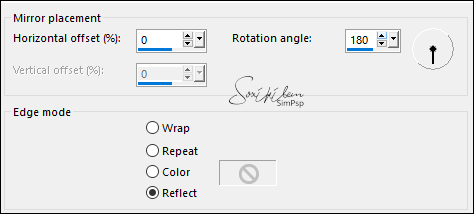
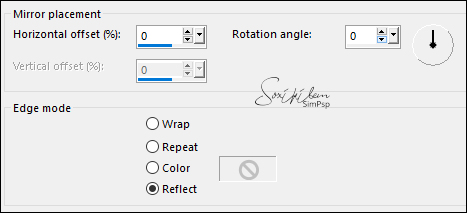
3 - Effects > Plugins > Alf's Power Toys > Mirror Offset: 0, 125.
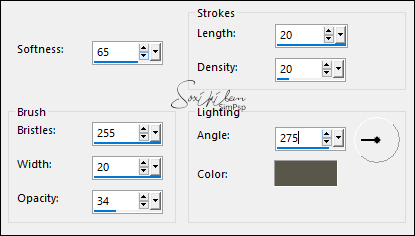
4 - Effects > Art Media Effects > Brush Strokes: Color: 1- Foreground
5 - Layers > New Raster Layer. Selections > Select All. Edit > Copy in the Misted landscape. Edit > Paste Into Selection. Selections > Select None.
6 - Effects > Image Effects > Seamless Tiling: Default. Adjust > Blur > Motion Blur.
Edit > Repeat Motion Blur. Effects > Edge Effects > Enhance.
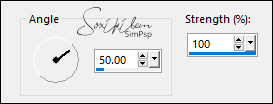
7 - Effects > Geometric Effects > Skew:
8 - Layers > Duplicate. Image > Mirror > Mirror Horizontal. Layers > Merge > Merge Down. Effects > Plugins > Mura's Meister > Copies:
Layers > Properties > General > Blend Mode: Multiply.
9 - Selections > Load/Save Selection > Load Selection From Disk: 1DelicateSoxikibem. Selections > Promote Selection to Layer. Selections > Select None.
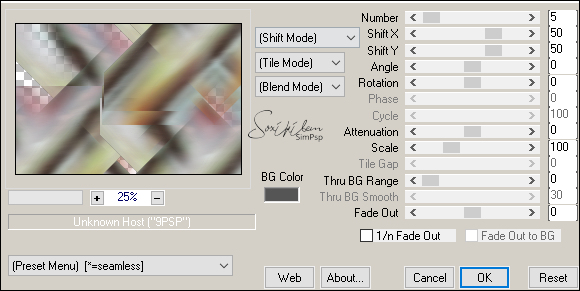
10 - Effects > Plugins > Funhouse > Loom.
Layers > Duplicate. Image > Mirror > Mirror Horizontal. Image > Mirror > Mirror Vertical. Layers > Merge > Merge Down. Layers > Properties > General > Blend Mode: Hard Light.
11 - Activate the Raster 2 layer. Selections > Load/Save Selection > Load Selection From Disk: 2DelicateSoxikibem. Selections > Promote Selection To layer. Selections > Select None.
12 - Effects > Geometric Effects > Skew:
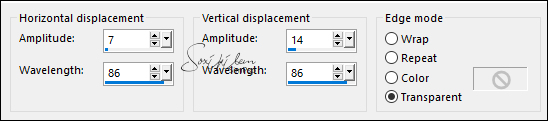
Effects > Distortion Effects > Wave:
13 - Effects > Reflection Effects > Rotating Mirror:
Layers > Arrange > Bring to Top.
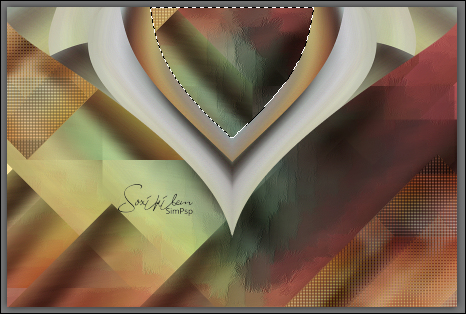
14 - With the Magic Wand Tool: Tolerance e Feather: 0, select as in the example:
Selections > Modify > Expand: 2. Activate the Promoted Selection layer and press the Delete key on the keyboard.
15 - Layers > New Raster layer. Edit > Copy in the Misted landscape. Edit > Paste Into Selection. Adjust > Sharpness > Sharpen. Selections > Select None.
16 - Activate the Promoted Selection 1 layer. Layers > Duplicate. Layers > Merge > Merge Down. Effects > 3D Effects > Drop Shadow: 30, 0, 65, 50, color: #000000 Layers > Properties > General > Blend Mode: Overlay.
17 - Edit > Copy in the Misted landscape. Edit > Paste a New Layer. Position at the bottom left. Layers > Properties > General > Blend Mode: Soft Light.
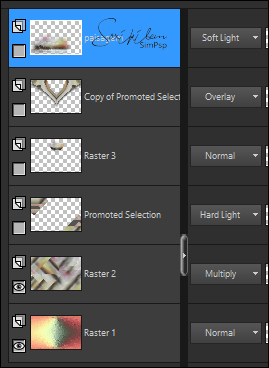
18 - Close the visibility of the layers, leaving only the layers Raster 1 and Raster 2 visible.
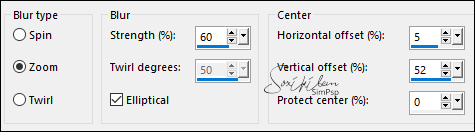
Activate Layer Raster 2. Layers > Merge > Merge Visibile. Duplicate the Merged layer. Effects > Reflection Effects > Rotating Mirror:
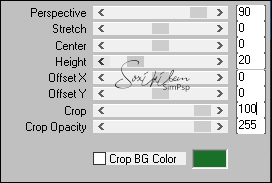
19 - Effects > Plugins > Mura's Meister > Perspective Tiling:
Layers > Arrange > Bring To Top. Effects > 3D Effects > Drop Shadow: -7, 0, 65, 50, color: #000000
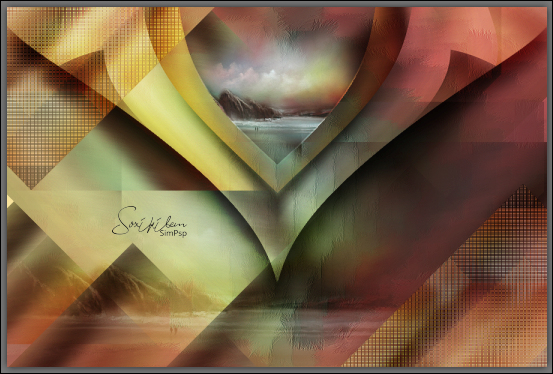
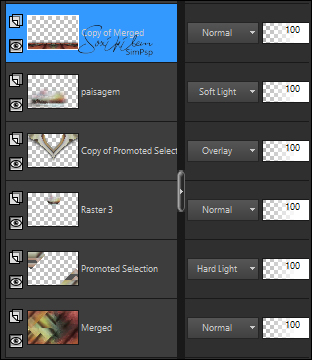
20 - Open the visibility of all layers. Check the layers.
*If desired, modify the blends. Layers > Merge > Merge Visibile. Make a copy of the work for us to use later: Window > Duplicate (Shift+D). Reserve.
21 - Edit > Copy the Main Tube. Edit > Paste as New Layer. Position to the right. Effects > 3D Effects > Drop Shadow: your choice
22 - Image > Add Borders: 1px color: foreground 10px color 3 1px color: foreground Selections > Select All. Image > Add Borders: 50px > Any color. Selections > Invert.
23 - Edit> Copy on the image that has been reserved. Edit > Paste Into Selection. Adjust > Blur > Radial Blur:
Effects > Art Media Effects > Brush Strokes:
24 - Selections > Invert. Effects > 3D Effects > Drop Shadow: 0, 0, 80, 50, color: #000000 Selections > Select None. Image > Add Borders: 1px color: foreground.
25 - Layers > New Raster Layer. With the Paint Brush tool apply the Brush_TheGoodLife title with one of the chosen colors.
Effects > 3D Effects > Drop Shadow: 1, 1, 55, 0, color: #000000 Pick Tool: Position X 140, Position Y 288.
26 - Edit > Copy in Decorative tube. Edit > Paste a New Layer. Position to your choice. Effects > 3D Effects > Drop Shadow: your choice.
27 - Apply your watermark or signature. File > Export > JPEG Optimizer.
CREDITS: Tutorial by Soxikibem'21 English Translation by Moderation SIM-PSP Main Tube: Tubed by Ana Ridzi Decorative tube and Misted landscape: Tubed by by Nicole
Feel free to send your versions.
|