|
It is time for change. It is past time for change. We must throw out the old way because it is broken. Division, racism, it never wins, it never works, it never has... other than to cause pain and anguish and terror and loss. Shame, outrage and anger - that's what every American shoud be feeling right now. We should be disgusted and embarrassed and inspired to change or be a part of the solution. Now is the time for real, meaningful action... Leia o Texto publicado por P!nk
TRADUÇÕES:
Obrigada aos nossos tradutores!
MATERIAL FlagEuaGrungeComPinceladas usa-map 1 Misted Maos a sua escolha listrasBySoxikibem 50starsBySoxikibem tituloUsaBySoxikibem
*Ao usar o material lembre-se de apagar a Marca D'água.
Pluguins Carolaine and Sensibility Filters Unlimited 2.0 > AFS IMPORT (Junto com o material) Flaming Pear VanDerLee
* Os Blends podem variar de acordo com as cores que esta usando. Fique a vontade para testar outros blends.
Execução
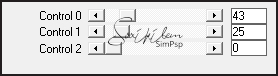
1 - Abrir o material no PSP, duplique e feche o original. Escolher 2 cores para trabalhar. Foreground #050055 Background #c90010 Cor Extra: Branca #ffffff
2 - Abra uma imagem transparente de 900x450px. Selections > Select All. Edit > Copy na FlagEuaGrungeComPinceladas. Edit > Paste Into Selection. Selections > Select None.
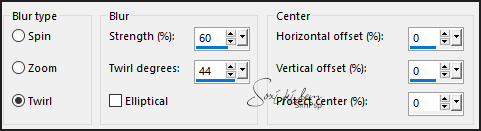
3 - Adjust > Blur > Radial Blur.
4 - Plugin VanDerLee > UnPlugged-X v2.0.
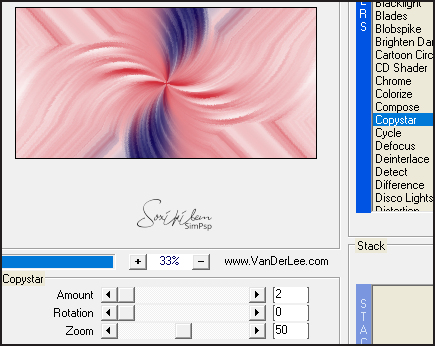
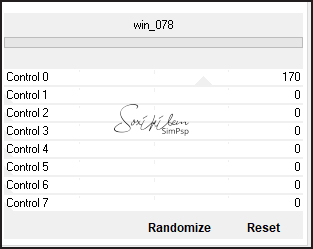
5 - Layers > Duplicate. Filters Unlimited 2.0 > AFS IMPORT > win_078.
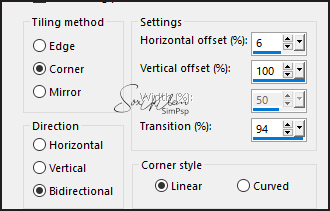
6 - Effects > Image Effects > Seamless Tiling.
7 - Effects > Edge Effects > Enhance. Edit > Repeat Enhance Edges.
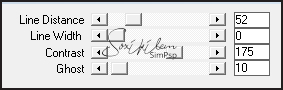
8 - Plugin Carolaine and Sensibility > CS-Linear-H.
Layers > Properties: Blend Mode Soft Light.
9 - Edit > Copy no listrasBySoxikibem. Edit > Paste a New Layer.
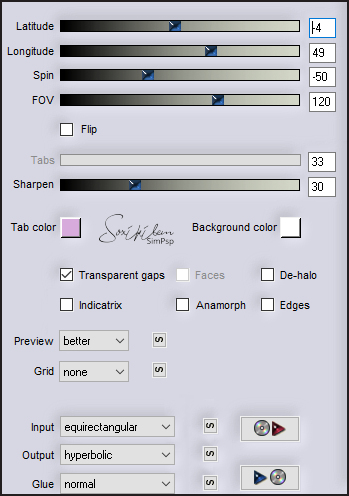
10 - Plugin Flaming Pear > Flexify 2.
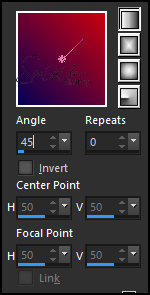
11 - Plugin Carolaine and Sensibility > cs_texture.
12 - Layers > Duplicate. Adjust > blur > Gaussian Blur > Gaussian Blur: 20. Layers > Properties: Blend Mode Multiply.
13 - Edit > Copy no usa-map. Edit > Paste a New Layer. Image > Resize: 60%, all layers desmarcado.
14 - Adjust > Sharpness > Sharpen. Layers > Properties: Blend Mode Burn.
15 - Com a ferramenta Pick Tool posicione: Position X 22, Position Y 135. Layers > Duplicate. Effects > Image Effects > Sealess Tiling: Default.
16 - Edit > Copy no Misted Maos. Edit > Paste a new Layer. Posicione conforme o modelo.
17 - Edit > Copy no 50starsBySoxikibem. Edit > Paste a New Layer. Layers > Properties: Blend Mode Soft Light.
18 - Edit > Copy no tituloUsaBySoxikibem. Edit > Paste a new Layer. Com a ferramenta Pick Tool posicione: Position X 380, Position Y 33. Layers > Properties: Blend Mode Soft Light.
19 - Image > Add Borders: 2px cor branca 5px cor foreground 5px cor background 2px cor branca
20 - Selections > Select All. Image > Add Borders: 40px com qualquer cor. Selections > Invert.
21 - Pintar esta borda com um gradiente Linear formado pelas cores do foreground e background.
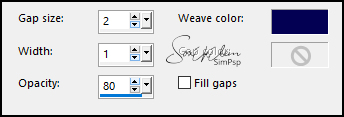
22 - Effects > Texture Effects > Weave com a cor do foreground.
Adjust > Sharpness > Sharpen. Selections > Select None.
23 - Image > Add Borders: 2px cor branca 5px cor foreground 5px cor background
24 - Se você desejar, redimensiona seu trabalho.Aplicar sua marca d'água ou assinatura. File > Export > JPEG Optimizer.
CREDITOS Mapa Aqui - Bandeira Aqui - Hands Aqui
Sinta-se à vontade para enviar suas versões. Terei todo o prazer em publicá-las em nosso site.
|