|
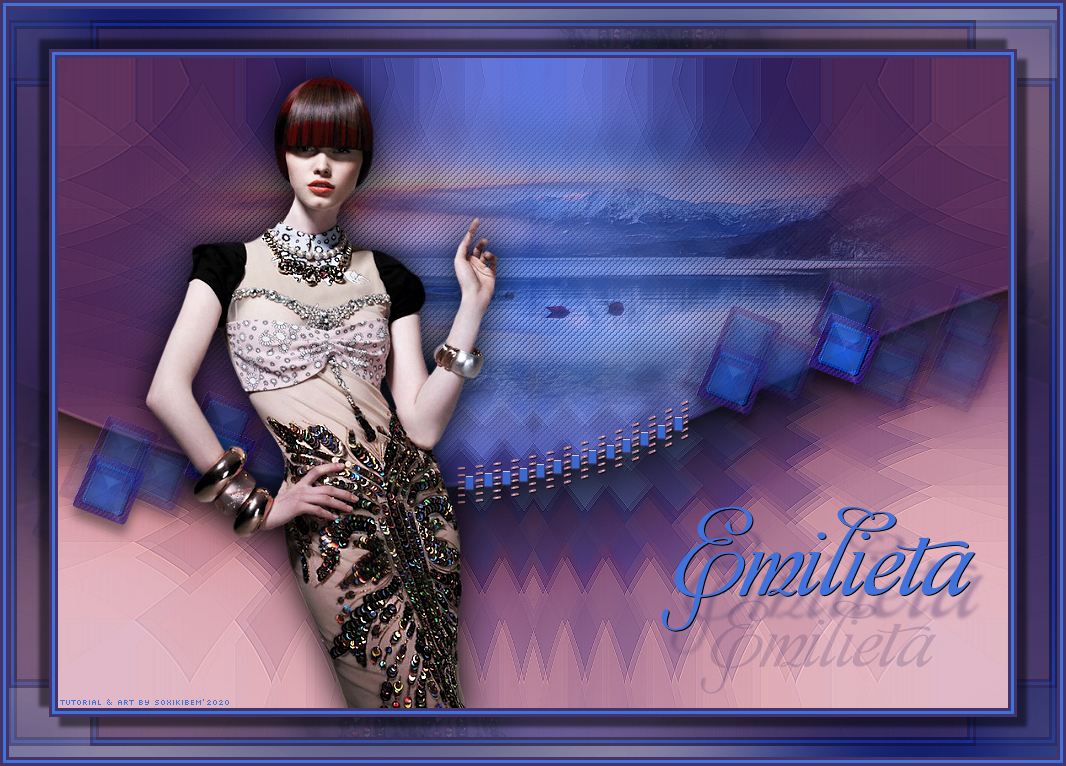
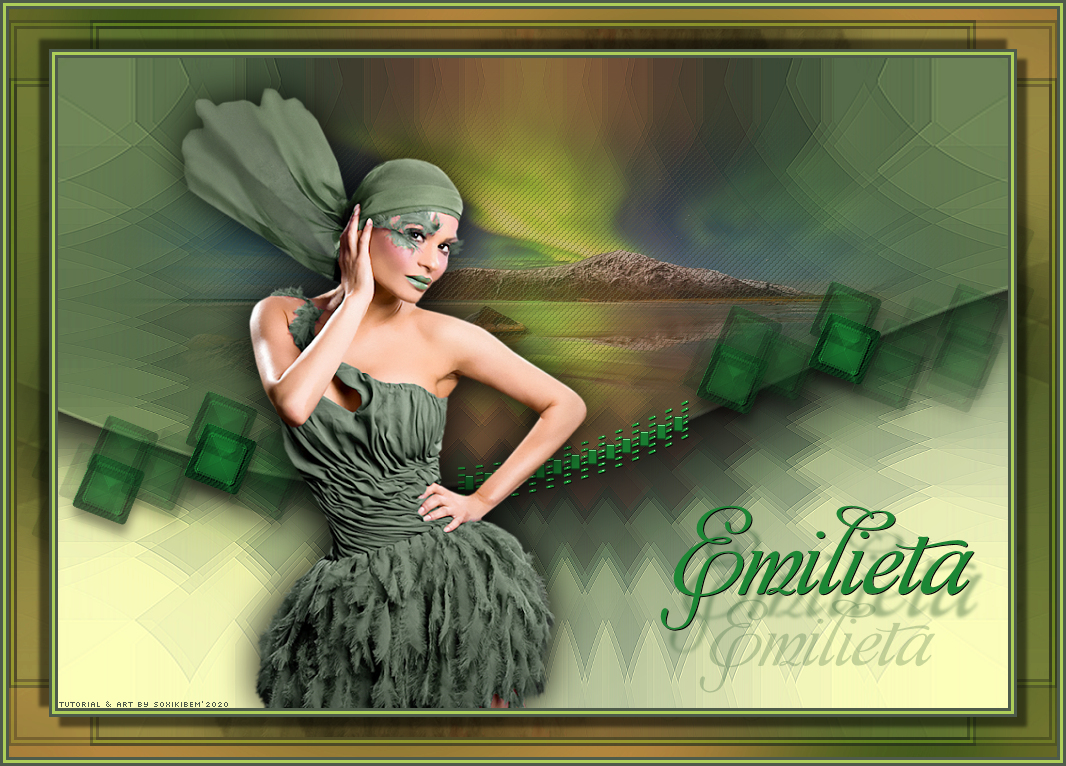
Tutorial dedicado a Emilieta!!!
TRADUÇÕES: Obrigada aos nossos tradutores!
MATERIAL 1 Tube Principal à sua escolha 1 Misted Paisagem à sua escolha decor_emilieta_bysoxikibem ttulo_emilieta decor_emilieta2_bysoxiki
PLUGINS Lotis Filters Mehdi XE Xtras
EXECUÇÃO
1 - Abrir o material no PSP, duplique e feche o original. Escolher duas cores para trabalhar. Cor 1: #443369 foreground Cor 2: #3f72dc background Cor 3: #e0a6a2 Cor 4: #9acfff
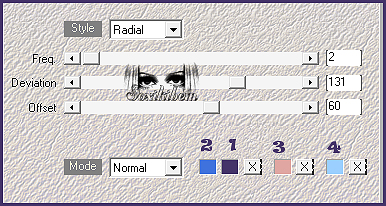
2 - Abra uma Transparencia de 950x650px. Plugin Mehdi > Wavy Lab 1.1. A seqüência das cores são: cor 2, cor 1, cor 3, cor 4.
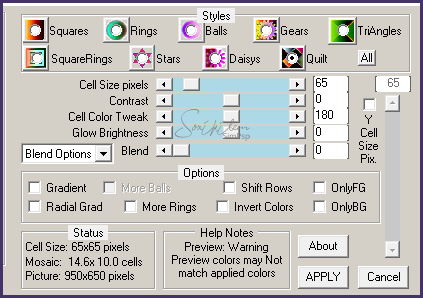
3 - Effects > Plugin Lotis Filters > Mosaic Toolkit v2.01: Quilt.
4 - Effects > Filters Unlimited 2.0 > Bkg Designer sf10 I > Cruncher: 20, 20.
5 - Effects > Effects > Edge Effects > Enhance.
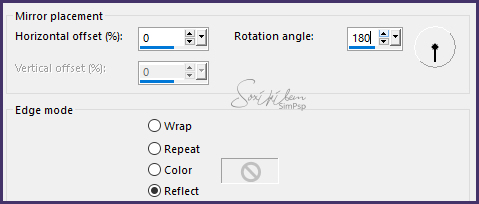
6 - Effects > Distortion Effects > Pinch: 100. Effects > Reflection Effects > Rotating Mirror.
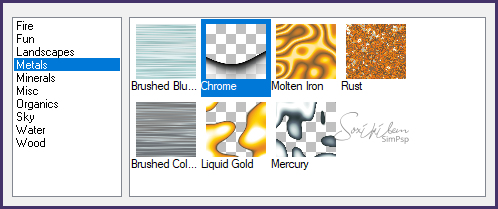
7 - Layers > New Raster Layer. Pintar com a cor 1. Effects > Plugin XE Xtras > Elemental.
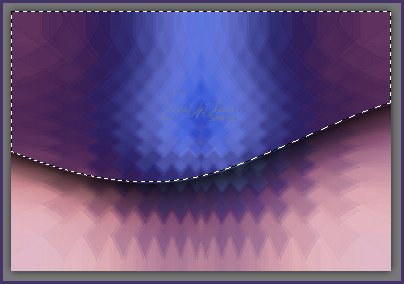
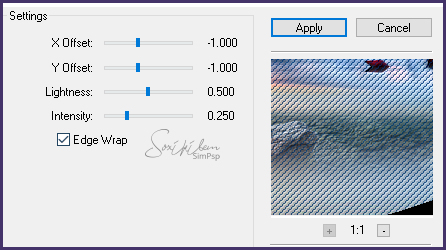
8 - Layers > Properties > General > Blend Mode: Hard Light - Opacity: 70. Com a Magic Wand Tool selecione a parte de cima como o print abaixo.
9 - Layers > New Raster layer. Edit > Copy no Misted Paisagem. Edit > Paste Into Selection. Layers > Properties: Opacity 50.
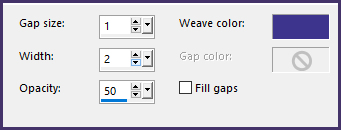
10 - Effects > Texture Effects > Weave. Weave color com a cor 1.
Effects > Plugin FM Tile Tools > Saturation Emboss.
Selections > Select None.
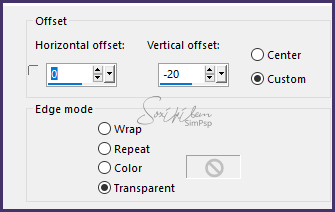
11 - Edit > Copy no decor_emilieta_bysoxikibem. Edit > Paste a New Layer. Effects > Image Effects > Offset.
12 - Effects > 3D Effects > Drop Shadow: 10, 0, 55, 15.
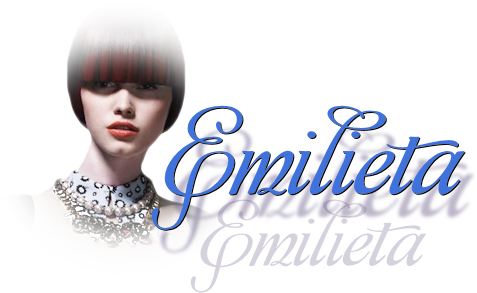
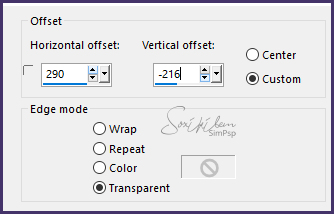
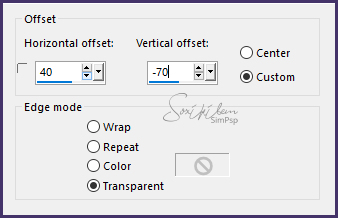
13 - Edit > Copy no ttulo_emilieta. Edit > Paste a New Layer. Effects > Image Effects > Offset.
14 - Edit > Copy no decor_emilieta2_bysoxiki. Edit > Paste a New Layer. Effects > Image Effects > Offset.
15 - Edit > Copy no tube principal. Edit > Paste a new Layer. Posicione. Effects > 3D Effects > Drop Shadow: como preferir.
16 - Image > Add Borders: 3px cor 1 3px cor 2 3px cor 1 Selections > Select All. Image > Add Borders: 40px Selections > Invert.
17 - Effects > Plugin Mehdi > Wavy Lab 1.1.
18 - Effects > Filters Unlimited 2.0 > Bkg Designer sf10 I > Cruncher: 20, 20.
19 - Selections > Promote Selection to Layer. Selections > Select None. Image > Mirror > Mirror Horizontal. Image > Mirror > Vertical.
20 - Layers > Properties > General > Opacity 50%. Layers > Merge > Merge Down.
21 - Selections > Select All. Selections > Modify > Contract: 40. Selections > Invert.
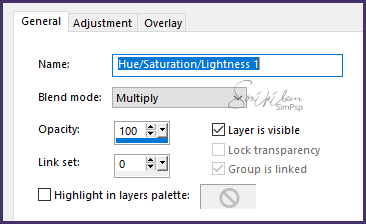
22 - Layers > New Adjustment Layer > Hue/Saturation/Lightness. Mude apenas na aba General como no print abaixo.
23 - Layers > Merge > Merge Down. Selections > Invert. Effects > 3D Effects > Drop Shadow: 10, 10, 50, 5, cor preta. Effects > 3D Effects > Drop Shadow: -10, -10, 50, 5, cor preta. Selections > Select None.
24 - Image > Add Borders: 3px na cor 1 3px na cor 2 3px na cor 1
25 - Se você desejar, redimensione seu trabalho. Aplicar sua marca d'água ou assinatura. File > Export > JPEG Optimizer.
CREDITOS Versao 1 & 2 Tube by Isa - MistedPaisagem by Animabelle
Tutorial by Soxikibem'19
Sinta-se à vontade para enviar suas versões. Terei todo o prazer em publicá-las em nosso site.
|
