|
Tutorial dedicado a Alessandra minha querida amiga!!!
TRADUÇÕES:
Obrigada aos nossos tradutores!
MATERIAL 1 Tube Principal à sua escolha 1 Misted Paisagem à sua escolha titulo_alessandra decor_alessandra_bysoxikibem
PLUGINS AAA Frames > Foto Frame Carolaine and Sensibility > CS-LDots Deformation > Miroir 4 cadrans (hr) Filters Unlimited 2.0 > Bkg Designer sf10 I Flaming Pear > Flexify 2
EXECUÇÃO
1 - Abrir o material no PSP, duplique e feche o original. Escolher duas cores para trabalhar. Foreground #032b58 Background #1c98d8
2 - Abra uma transparência de 950x550px.
3 - Pintar com o gradiente Linear formado com as cores escolhidas.
4 - Selections > Select All. Edit >Copy no tube principal. Edit > Paste Into Seletion. Selections > Select None. Effects > Image Effects > Seamless Tiling: Default.
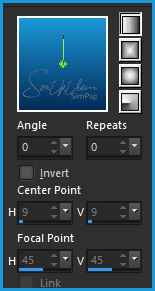
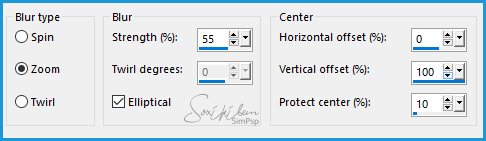
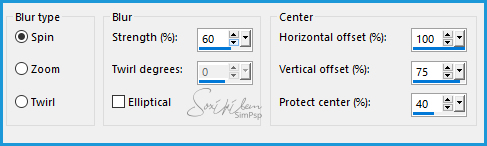
5 - Adjust > Blur > Radial Blur.
6 - Layers > Duplicate. Feche a visibilidade da layer Raster 1. Deixe ativada a layer Copy of Raster 1.
7 - Effects > Geometric Effects > Perspective - Horizontal: 95, Transparent. Repita o efeito mudando o valor para -95. Layers > Duplicate. Image > Mirror > Mirror Horizontal. Layers > Merge > Merge Down.
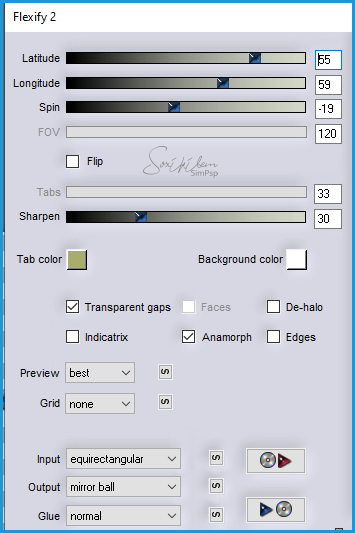
8 - Plugin Flaming Pear > Flexify 2.
9 - Layers > Duplicate. Image > Mirror > Mirror Horizontal. Image > Mirror > Mirror Vertical. Layers > Merge > Merge Down.
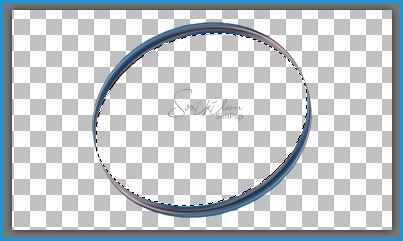
10 - Com a ferramenta Magic Wand selecionar como mostra o print.
Selections > Modify > Expand: 2. Layers > New Raster Layer. Pintar com o gradiente em uso.
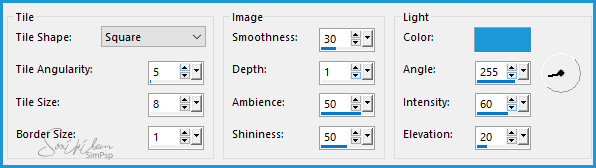
11 - Effects > Textures Effects > Tiles. Com a cor mais clara em uso.
12 - Layer > Arrange > Move Down. Layers > New Raster Layer. Edit > Copy no Misted Paisagem. Edit > Paste Into Selection.
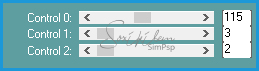
13 - Adjust > Blur > Radial Blur.
Effects > Edge Effects > Enhance More.
14 - Layers > New Raster Layer. Edit > Paste Into Selection o misted paisagem novamente. Layers > Merge > Merge Down. Adjust > Sharpness > Sharpen. Layers > Merge > Merge Down. Layers > New Raster Layer.
15 - Effects > 3D Effects > Cutoud.
Layers > Merge > Merge Down. Selections > Select None.
16 - Ative a layer Copy Of Raste 1. Layers > Merge > Merge Down.
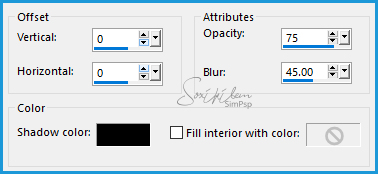
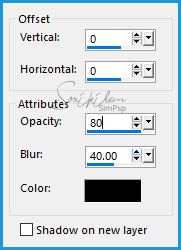
17 - Image > Resize: 80%, all layers desmarcado. Adjust > Sharpness > Sharpen. Effects > 3D Effects > Drop Shadow.
18 - Ative e abra a visibilidade da layer Raster 1. Effects > Plugin Deformation > Miroir 4 cadrans (hr)
Effects > Edge Effects > Enhance.
19 - Layers > Duplicate. Ativar a layer Copy of Raster 1. Image > Resize em 70%, all layers desmarcado.
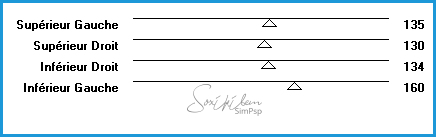
20 - Effects > Distortion Effects > Wave.
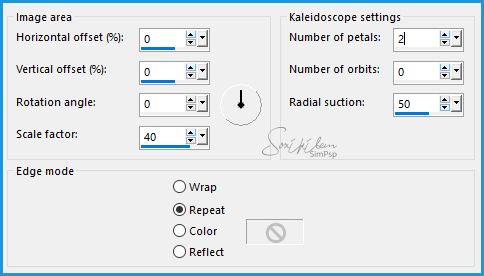
21 - Effects > Reflections Effects > Kaleidoscope.
22 - Filters Unlimited 2.0 > Bkg Designer sf10 I > Cruncher: 20, 20.
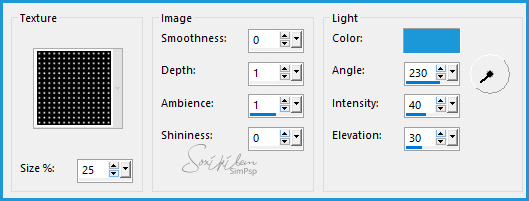
23 - Effects > Texture Effects > Texture: Grid. Com a cor mais clara em uso.
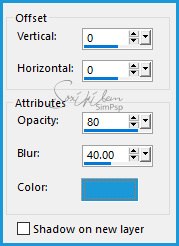
24 - Layers > Properties > General: Blend Mode Multiply. Effects > 3D Effects> Drop Shadow, com a cor mais clara.
25 - Ative a layer Raster 1. Edit > Copy no Misted Paisagem. Edit > Paste a New Layer.
26 - Layers > Properties > General: Blend Mode: Overlay ou outro que preferir. Opacity: 70%
27 - Ative a layer Raster 1. Effects > Plugin Carolaine and Sensibility > CS-LDots.
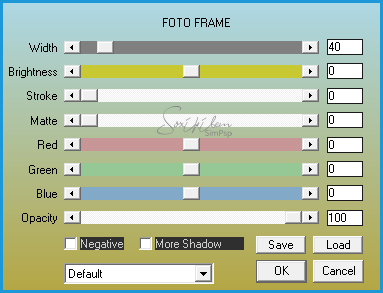
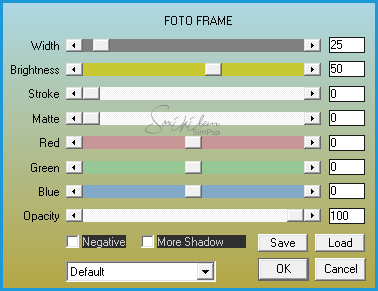
28 - Layers > merge > Merge Visibile. Effects > Plugin AAA Frames > Foto Frame.
Effects > Plugin AAA Frames > Foto Frame.
29 - Edit > Copy no decor_alessandra_bysoxikibem. Edit > paste a New Layer. Posicione como o modelo apresentado.
30 - Edit > Copy no titulo_alessandra. Edit > Paste a New Layer. Posicionar à direita.
31 - Edit > Copy no tube principal. Edit > Paste a New Layer. Posicionar à esquerda. Effects > 3D Effects > Drop Shadow: como preferir.
32 - Finalizar com uma borda de 1px na cor preta.
33 - Se você desejar, redimensione seu trabalho. Aplicar sua marca d'água ou assinatura. File > Export > JPEG Optimizer.
CREDITOS Versao 1 & 2 Tube by Colybrix - Misted Paisagem by Animabelle
Tutorial by Soxikibem'19
Sinta-se à vontade para enviar suas versões. Terei todo o prazer em publicá-las em nosso site.
|