|
English Translation by Soxikibem Original Tutorial
MATERIAL 1 Main Tube of your choice 1 Decorative Tube or Misted of your choice titulo94_douglas
PLUGINS AAA Frames Mura's Meister Carolaine and Sensibility
EXECUTION:
1 - Open material in PSP, duplicate and close original.Choose two colors to work with .Foreground #b8a281 Background #776458
2 - Open a transparent 900x600px image. Paint with a gradient formed by the chosen colors.
3 - Layers > New Raster Layer. Selections > Select All. Edit > Copy ON tube OR misted decorative. Edit > Paste Into Selection. Selections > Select None.
4 - Effects > Image Effects > Seamless Tiling: Default.
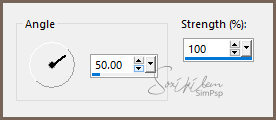
5 - Adjust > Blur > Motion Blur.
Edit > Repeat Motion Blur. Edit > Repeat Motion Blur.
6 - Layers > Duplicate. Close visibility of Raster 2 and Raster1 Layers. Leave the Copy of Raster2 layer active.
7 - Effects > Geometric Effects > Perspective - Horizontal.
Effects > Geometric Effects > Perspective - Horizontal.
8 - Layers > Dupllicate. Image > Mirror > Mirror Horizontal. Layers > Merge > Merge Down.
9 - Layers > Duplicate. Close the visibility of the Copy (2) layer of Raster 2. Enable layer Copy of Raster 2.
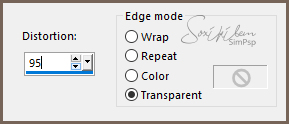
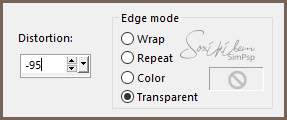
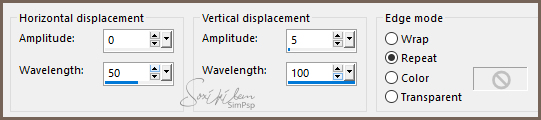
10 - Effects > Distortion Effects > Wave.
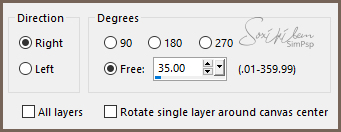
11 - Image > Free Rotate.
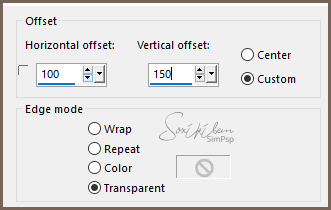
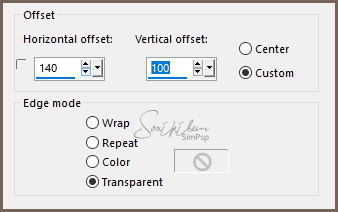
12 - Effects > Image Effects > Offset.
13 - Layers > Duplicate. Image > Mirror > Mirror Horizontal. Image > Mirror > Mirror Vertical. Layers > Merge > Merge Down. Name this layer to CURVES.
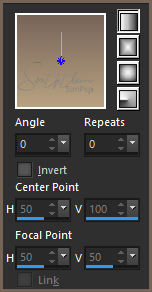
14 - Open visibility and activate the Copy (2) of Raster 2 layer. Effects > Plugin Mura's Meister > Pole Trasnsform.
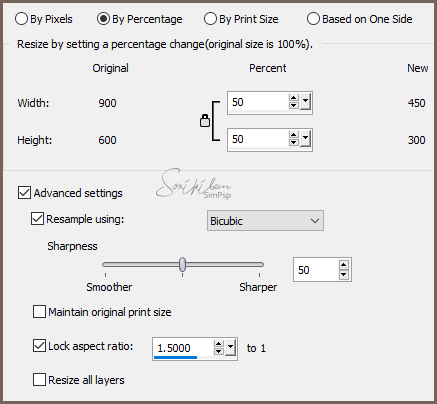
15 - Image > Resize.
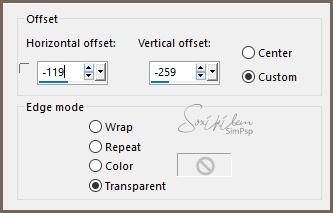
16 - Effects > Image Effects > Offset.
Rename this layer to CIRCLE.
17 - With the Magic Wand Tool, Feather 5, click inside the circle to select. Activate the CURVES layer, press the Delete key on the keyboard three times. Selections > Select None.
18 - Enable layer CIRCLE. Layers > Duplicate. Image > Resize.
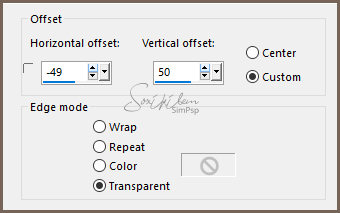
Effects > Image Effects > Offset.
19 - Layers > Duplicate. Effects > Image Effects > Offset.
Layers > Merge > Merge Down.
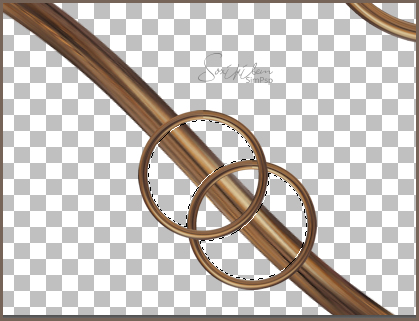
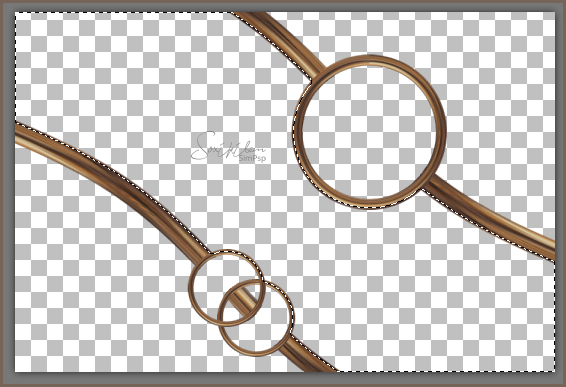
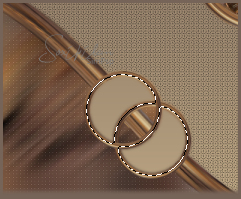
20 - With the Magic Wand tool select as in the print below.
Activate the CURVES layer and press the Delete key on the keyboard 3 times.
Selections > Select None.
21 - Layers > Merge > Merge Visible.
22 - With the Magic Wand tool, Feather 5, select the medium.
Activate and open the visibility of the Raster 2 layer. Press the Delete key on the keyboard. Activate and open the visibility of the Raster layer 1.
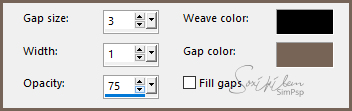
23 - Effects > Texture Effects > Weave. With background color in Gap color.
Adjust > Sharpness > Sharpen. Layers > New Raster Layer. Copy on tube or misted. Edit > Paste Into Selection. Layers > Properties > General > Blend Mode: Soft Light / Opacity: 30%. Name this layer IMAGE. Selection > Select None.
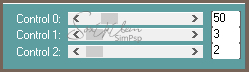
24 - Enable layer Raster 2. Effects > Plugin Carolaine and Sensibility > CS-LDots.
Adjust > Sharpness > Sharpen.
25 - Enable layer Merged. With the Magic Wand tool, Feather 5, select the center of the largest circle. Enable layer Raster 2. Layer > New Raster Layer. Edit> Copy in misted landscape or decorative. Edit > Paste Into Selection. Adjust > Sharpness > Sharpen. Selections > Select None.
26 - Enable layer Merged. With the Magic Wand tool select the sides of the smaller circles. Activate the Raster 2 layer and press the Delete key on the Keyboard.
Selections > Select None.
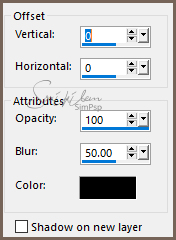
26 - Enable layer Merged. Effects > 3D Effects > Drop Shadow.
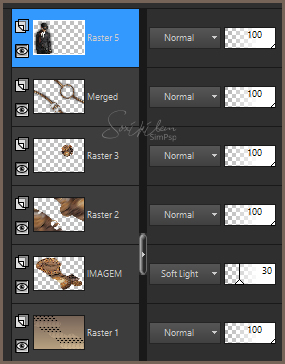
27 - Effects > Copy on Main Tube. Edit > Paste a New Layer. Position left. Effects > 3D Effects > Drop Shadow: as you wish. Look at Layers position:
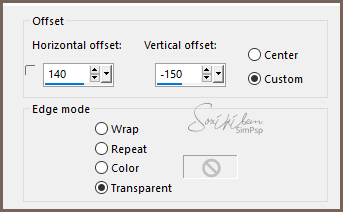
28 - Edit > Copy on titulo94_douglas. Edit > Paste a New layer. Effects > Emage Effects > Offset.
29 - Image > Add Borders: 1px black color. Selections > Select All. Image Add Borders: 50px background color.. Selections > Selections None. Layers > New Raster layer. Selections > Select All. Edit > Copy on tube ou misted landscape. Edit > Paste Into Selection. Selections > Select None.
30 - Effects > Image Effects > Seamless Tiling: Default. Adjust > Blur > Motion Blur.
Edit > Repeat Motion Blur. Edit > Repeat Motion Blur. Effects > Edge Effects > Enhance. Edt > Repeat Enhance Edges.
31 - Selections > Select All. Selections > Modify > Contract Selection: 50. Press the Delete key on the keyboard. Selections > Invert. Layers > Merge > Merge Down. Effects > Plugin AAA Frames > Foto Frame.
Selections > Select None.
32 - If you want to resize your work now. Apply your watermark or signature. File > Export > JPEG Optimizer...
CREDITS: Version 1 & 2: Tube by Animabelle - Tube Decor by Isa Tutorial by Soxikibem'19
Feel free to submit your versions. I'll be happy to post them on our site .
|