|
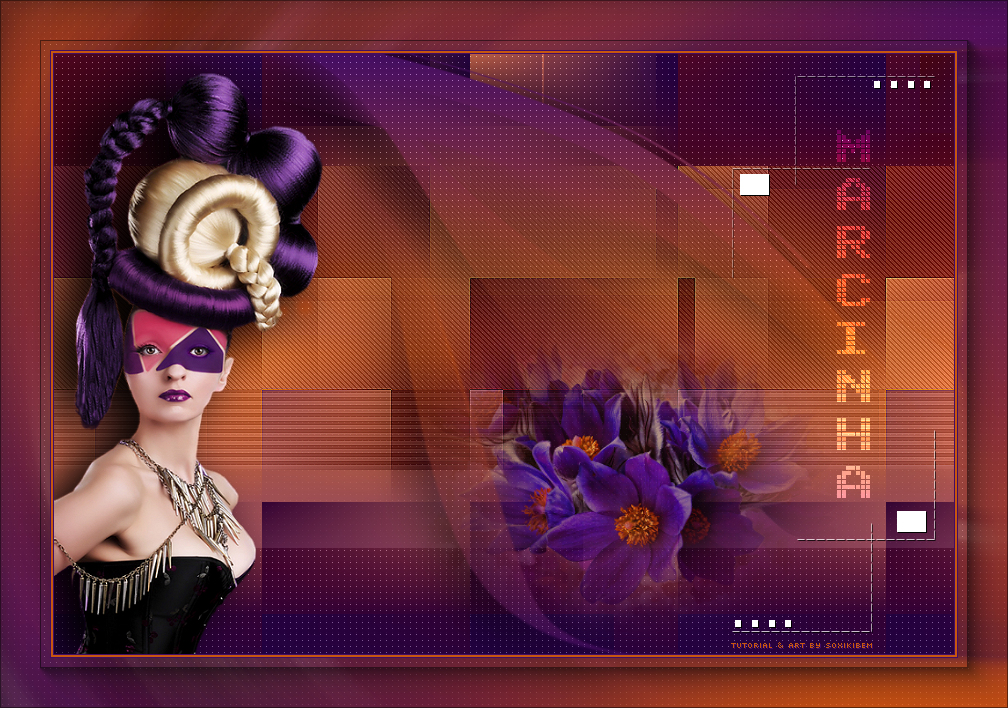
English Translation by Soxikibem Original Tutorial
MATERIAL 1 Main Tube 1 Misted Flower titulo_marcinha_bysoxikibem lines_marcinha_bysoxikibem alpha_channel_82marcinha Narah_Mask_1490.
Pluguins AAA Frames Carolaine and Sensibility VM Extravaganza Mehdi Toadies
Tutorial
1- Open material in PSP, duplicate and close original. Choose two colors to work with. Foreground #440d64 Background #c7560f
2 - Open the alpha_channel_82marcinha. Paint with a gradient formed with the colors you choose.
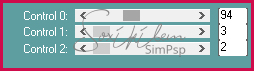
3 - Effects > Plugin VM Extravaganza > Transmission.
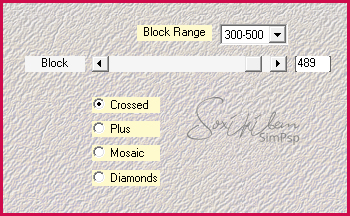
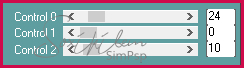
4 - Effects > Plugin Mehdi > Sorting Tiles.
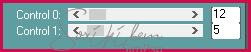
5 - Effects > Plugin Toadies > Weaver.
6 - Selections > Load/Save Selection > Load Selection From Alpha Channel: Selection #1. Effects > Plugin Carolaine and Sensibility > CS-LDots.
Selections > Select None.
7 - Selections > Load/Save Selection > Load Selection From Alpha Channel: Selection #2. Effects > Plugin Carolaine and Sensibility > CS-HLines.
Effects > Edge Effects > Enhance. Selections > Select None.
8 - Selections > Load/Save Selection > Load Selection From Alpha Channel: Selection #3. Effects > Plugin Carolaine and Sensibility > CS-LDots.
Selections > Select None.
9 - Selections > Load/Save Selection > Load Selection From Alpha Channel: Selection #4. Effects > Plugin Carolaine and Sensibility > CS-DLines.
Effects > Edge Effects > Enhance. Selections > Select None.
10 - Layers > New Raster layer. Paint with gradient in use. Layers > New Mask Layer > From Image: Narah_Mask_1490. Layers > Merge Group. Layers > Duplicate. Layers > Merge > Merge Down.
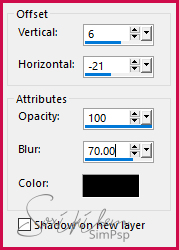
11 - Effects > 3D Effects > Drop Shadow.
12 - Effects > Plugin Carolaine and Sensibility > CS-LDots.
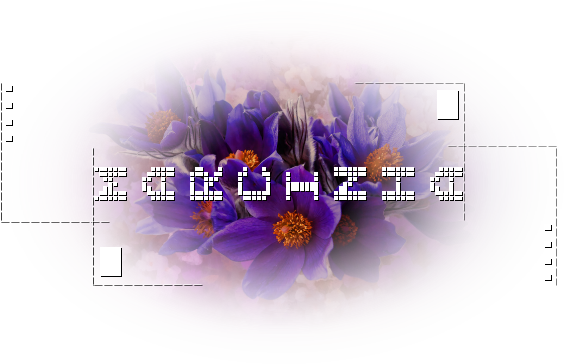
13 - Edit > Copy in the Misted Flower. Edit > Paste a new layer. Position as in print below.
14 - Layers > Arrange > Move Down. Adjust > Sharpness > Sharpen.
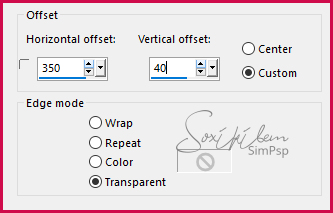
15 - Enable layer Group-Raster2. Edit > Copy in the titulo_marcinha_bysoxikibem Edit > Paste a New layer. Effects > Image Effects > Offset.
16 - Layers > Properties > General > Blend Mode: Soft Light.
17 - Edit > Copy in the tube. Edit > Paste a New Layer. Position left. Apply Drop Shadow as you prefer.
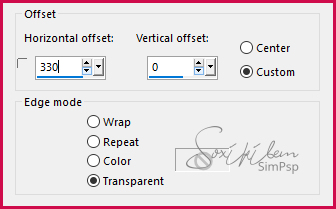
18 - Edit > Copy in the lines_marcinha_bysoxikibem. Edit > Paste a New Layer. Effects > Image Effects > Offset.
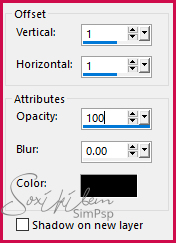
19 - Effects > 3D Effects > Drop Shadow.
20 - Image > Add Borders: 1px Foreground color 2px Background color 1px Foreground color
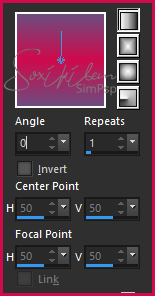
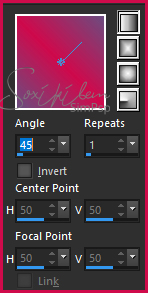
21 - Selections > Select All. Image > Add Borders: 50px. Selections > Invert. Paint this selection with the gradient in the following setting:
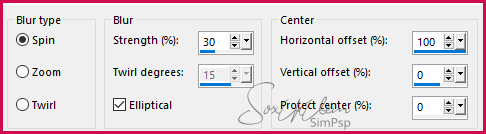
22 - Adjust > Blur > Radial Blur.
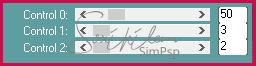
23 - Effects > Plugin Carolaine and Sensibility > CS-LDots.
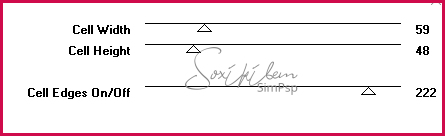
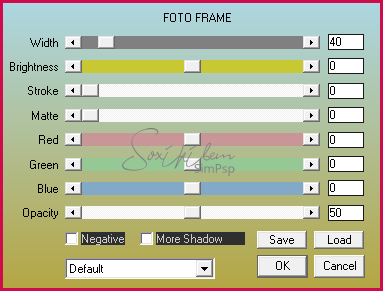
24 - Effects > Plugin AAA Frames > Foto Frame.
25 - Selections > Select None.
26 - If you want to resize your work now. Apply your watermark or signature. File > Export > JPEG Optimizer...
CREDITOS: Versao 1 & 2: Tube & Misted by Isa - Mask by Narah - Fonte Arcade.ttf
Tutorial by Soxikibem'19
Feel free to submit your versions. I'll be happy to post them on our site .
|