|
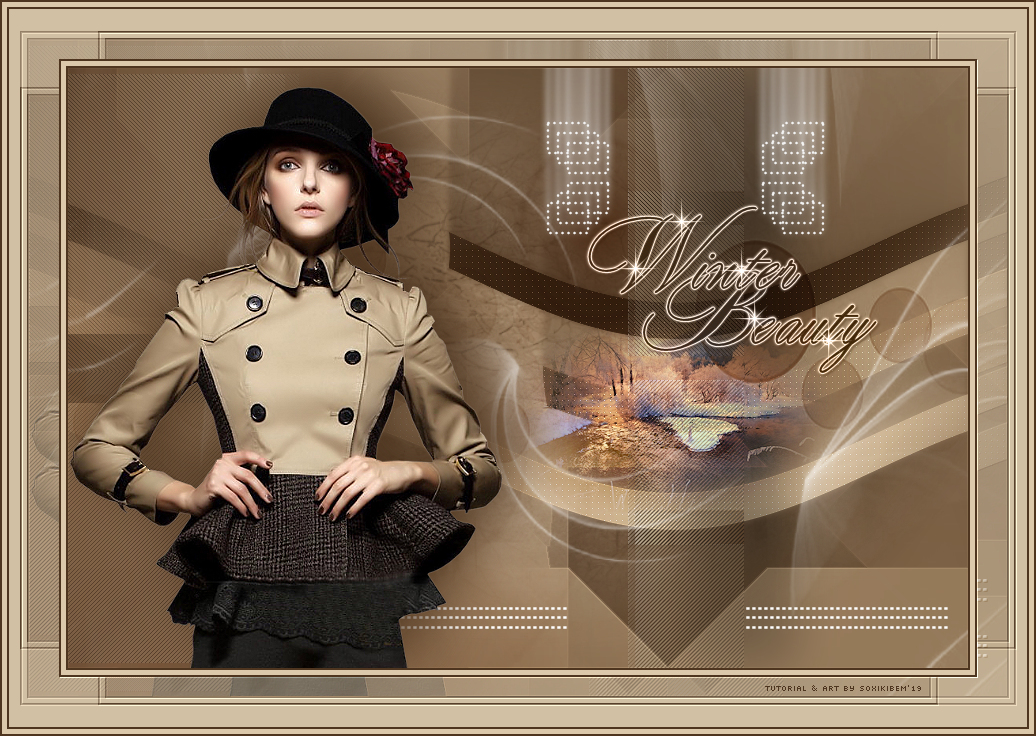
English Translation by Soxikibem Original Tutorial
MATERIAL: 1 Main Tube. Misteds Landscape by Kad: KaD_WinterScenery8.png e KaD_WinterScenery4 grafico_74_soxiki.pspimage, pontilhados_xiki.png, square_xiki.png word_art_by_Kathyfrances.png Masks: cas_mask_0316_02a e Narah_Mask_1411
Pluguins Alien Skin, AP [Lines], Carolaine and Sensibility, FM TileTools, Italian Editors Effect, Mehdi, Unlimited 2.0
Execution
1 – Open the tube, duplicate and close the original. Choose two colors: Foreground: #4d3520 Background: #dcc9ab
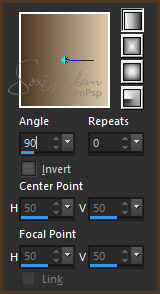
2 - Open the grafico_74_soxiki.pspimage. Paint with the gradient formed by the colors chosen. Linear, Angle 0, Repeats 0, dark color at the top of the gradient.
3 - Effects > Plugin Unlimited 2.0 > Tile & Mirror > Radial Mirror: 144, 187.
4 - Effects > Plugin Mehdi > Sorting Tiles: 300-500, 500, Plus.
5 - Effects > Plugin Mehdi > Sorting Tiles: 150-300, 300, Crossed.
6 - Effects > Plugin FM TileTools > Edge Glow in the original settings.
7 - Edit > Copy no Misted KaD_WinterScenery8.png, Layers > New Raster Layer. Selections > Select All. Edit > Paste Into Selection. Selections > Select None.
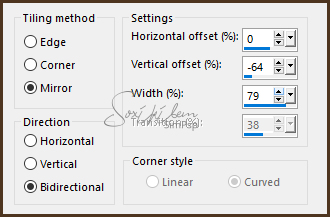
8 - Effects > Image Effects > Seamless Tiling.
9 - Layers > Properties > General > Blend Mode: Soft Light.
10 - Adjust > One Step Photo Fix.
11 - Layers > New Raster Layer. Paint with background color. Apply mask: Layers > New Mask Layer > Form Image > cas_mask_0316_02a.
Effects > image Effects > Offset: Horizontal 60, Vertical 190, Custom, Transparent.
32 - Layers > Duplicate. Image > Mirror > Mirror Horizontal. Effects > image Effects > Offset: Horizontal 335, Vertical 0, Custom, Transparent.
33 - Layers > Merge > Merge Down. Plugin Alien Skin Eye Candy 5 > Impact > Motion Trail. Settings: Jumping off a Cliff.
34 - Plugin FM Tile Tools > Blend Emboss: Default.
35 - Layers > New Raster Layer. Paint with color #FFFFFF (white). Apply mask: Layers > New Mask Layer > Form Image > Narah_Mask_1411. Layers > Merge > Merge Group.
36 - Edit > Copy in the main tube. Edit > paste as new layer. Effects > 3D Effects > Drop Shadow: of your choice.
37 - Edit > Copy in the word_art_by_Kathyfrances.png. Edit > paste as new layer. Effects > image Effects > Offset: Horizontal 215, Vertical 80, Custom, Transparent. Layers > Properties > General > Blend Mode: Luminense (L).
38 - Image > Add Borders > symmetric: 2px border foreground color. 5px border background color. 2px border foreground color. 50px border background color. 2px border foreground color. 5px border background color. 2px border foreground color.
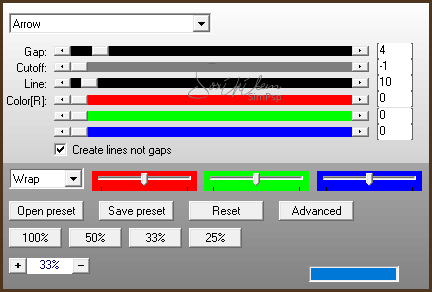
39 - With the Magic Wand Tool, Tolerance 0, Feather 0, select the border of 50px. Effects > Filtres Unlimited 2.0 > Bkg Designer sf10 I > Cruncher: 20, 20.
40 - Effects > Plugin FM Tile Tools > Blend Emboss: Default. Selections > Select None.
41 - If you want to resize your work now. Apply your watermark or signature. File > Export > JPEG Optimizer...
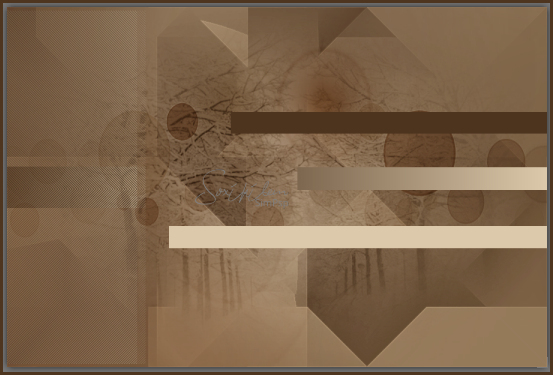
CREDITS: Version 1 & 2: Main Tube, Misted Landscape by Kad - Word Art by KatyFrances - Mask 141 by Narah - cas_mask_0316_02a
Tutorial by Soxikibem'19
Feel free to submit your versions. I'll be happy to post them on our site.
|